

So in this exercise my aim was to try and gain some control over my new drawing tool. Until now I had only drawn lines going back and fourth over the paper. I knew how far from the paper I needed to be and how much pressure I needed to put on the trigger for darker lines but I still had no real control over the Eclipse HP-CS so it was time to take the bull by the horns.
On the first sheet of paper I drew lines moving from the top left corner to the bottom right starting off with heavy pressure on the trigger and close to the paper and then continuing to move the airbrush away from the surface and taking releasing pressure. It was almost a continuation of the last exercise.
Drawing Circles
On the next sheet I drew a series of circles, by doing this, my intention was to try and make the circles as smooth and as round as possible

and to this I had to keep my wrist steady. I didn’t do a very good job of this but there are some circles that are much better than others.
From there I moved my hand further away from the paper and attempted to fill the circles with a wider spray. Although I did mostly keep the paint inside the circles there were times where the paint came out uneven or didn’t touch the border lines at all.
Drawing Squares
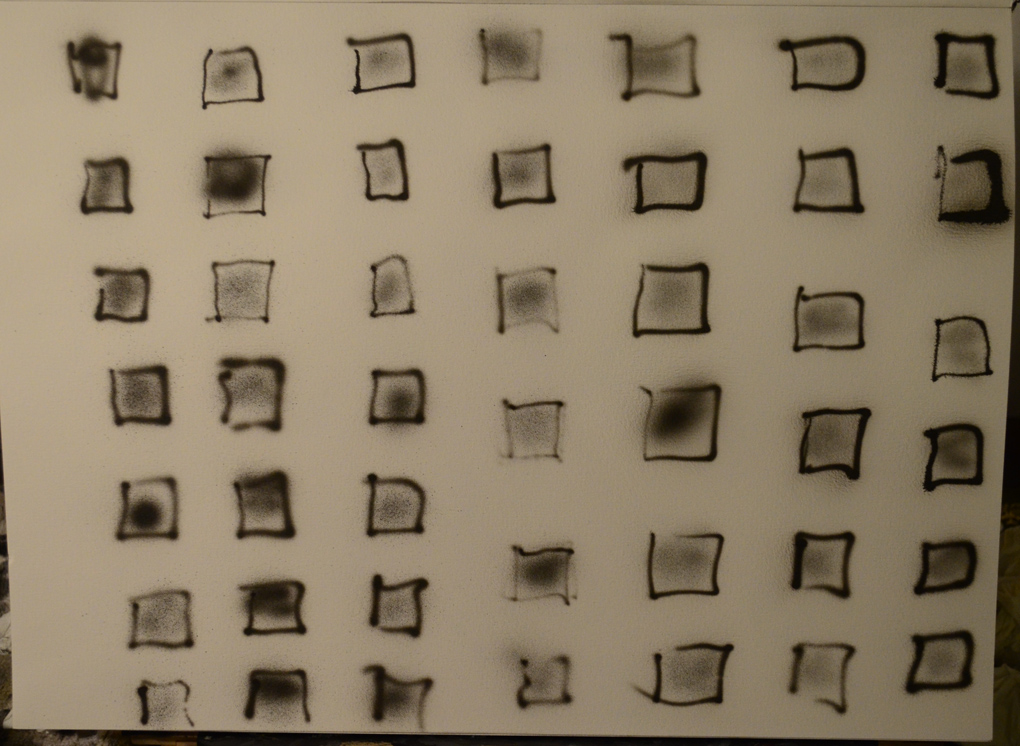
From there I did the same again but this time instead of drawing circles I drew squares, I made two attempts at drawing squares both of which were pretty poor. However this did give me an idea for another exercise, to actually draw the squares and shapes in pencil first and follow the lines with the airbrush like a child would when learning top write letters.
