So in this exercise my aim was to try and gain some control over my new drawing tool. Until now I had only drawn lines going back and fourth over the paper. I knew how far from the paper I needed to be and how much pressure I needed to put on the trigger for darker lines but I still had no real control over the Eclipse HP-CS so it was time to take the bull by the horns.
On the first sheet of paper I drew lines moving from the top left corner to the bottom right starting off with heavy pressure on the trigger and close to the paper and then continuing to move the airbrush away from the surface and taking releasing pressure. It was almost a continuation of the last exercise.
Drawing Circles
On the next sheet I drew a series of circles, by doing this, my intention was to try and make the circles as smooth and as round as possible
2 Controlling the Airbrush Circles
and to this I had to keep my wrist steady. I didn’t do a very good job of this but there are some circles that are much better than others.
From there I moved my hand further away from the paper and attempted to fill the circles with a wider spray. Although I did mostly keep the paint inside the circles there were times where the paint came out uneven or didn’t touch the border lines at all.
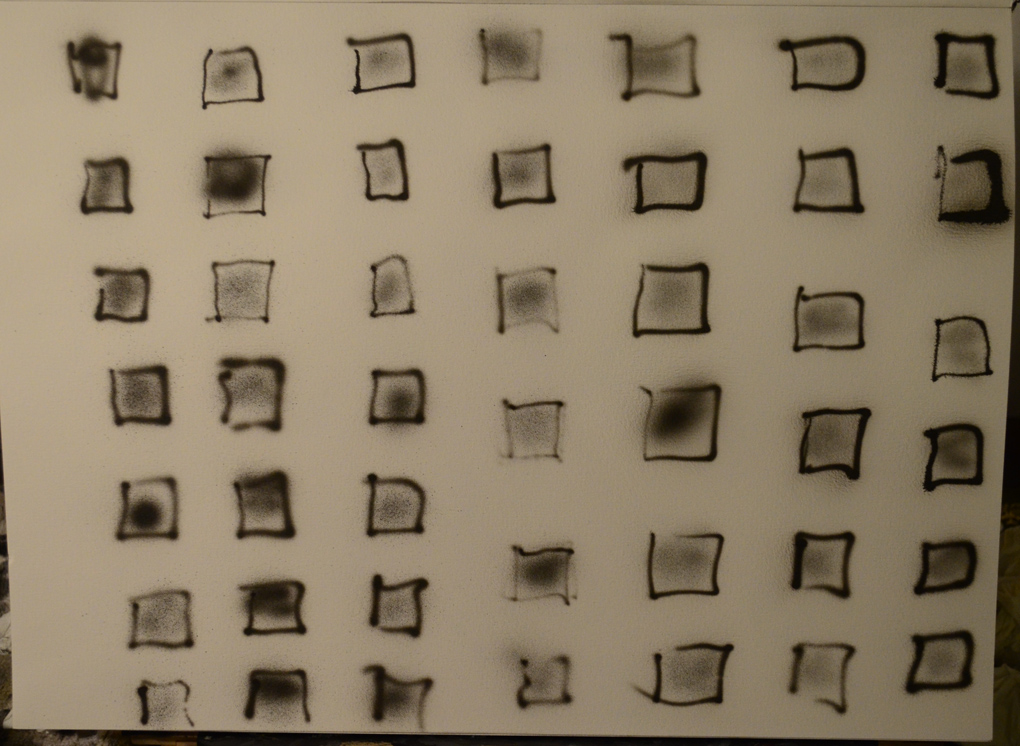
Drawing Squares
Controlling The Airbrush Squares 1
From there I did the same again but this time instead of drawing circles I drew squares, I made two attempts at drawing squares both of which were pretty poor. However this did give me an idea for another exercise, to actually draw the squares and shapes in pencil first and follow the lines with the airbrush like a child would when learning top write letters.
For this exercise I had to draw comprehensive tonal studies of cloud formations in charcoal, oil pastel and conte with the aid of a putty rubber.
It’s in the transition from rainy season to dry season here in Thailand but most of the rain happens in the afternoon and as I drew most of the following around mid day most of the clouds seemed to be developing into rain clouds.
I probably went about this exercise the wrong way, instead of drawing sketches in my sketchbook as it seemed a lot of other students have done I used separate sheets of paper and tried filling them up with not just the clouds but the blue skies behind the clouds to try and capture how the rays of light bouncing of the clouds effected the skies around them, and what a task.
1 – Cloud Formation in Oil Pastel
My first drawing was started in the morning from the car park at the Tesco Lotus shopping mall where I teach. I’m still really new to oil pastel so I started the drawing by drawing in the blue skies giving me the silhouette of the cloud then drawing in the dark parts of the cloud after. I could see it was going to take me a long time but luckily there was no strong winds, which is usually the norm here in Thailand during the rainy season, as the clouds just seem to form slowly through the course of the day, so I took a photo and finished the drawing at home.
The hardest part was depicting the sun shining behind the top of the clouds, I think I managed to do this by making the shadow of the cloud a lot darker in that area, so the white would look brighter.
I wasn’t going to be able to any more drawings until the next day so that night I decided to do something different. It was about 9 o’clock in the evening and I could see the moon shining through the sun so I took a photo of it from my window, When taking a photo of the night skies the camera seems to capture a lot more than what the eyes can see, I live on the 26th floor and I’ve often noticed that when taking photos of Bangkok at night clouds appear on photos that I didn’t think were there.
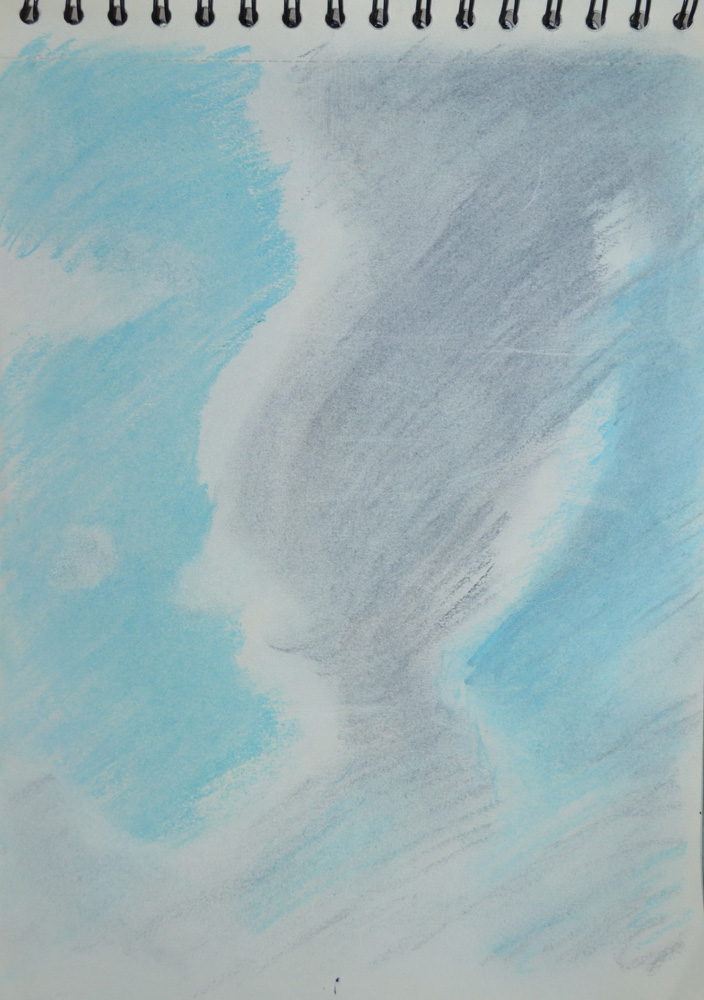
2 – Clouds at Night in Hard Pastel on Black Paper
I originally thought that I could do the drawing just in conte but I only had three colours a dark brick, black and white but then as I started to draw more and more colours began to appear so I highlighted the moon and the clouds in yellow and orange hard pastel, a move that would change the course of the exercise.
A Photo of the Moon at Night
The next drawings was done from my apartment window it was about half past two in the afternoon and the clouds were really starting to form now. One particular cloud caught my eye and because of the lack of wind I managed to get two drawings of it one using hard pastel for the blue skies.
3 – Cloud Formation in Charcoal
To be honest I don’t think I captured the full body of the cloud very well in charcoal and it could have looked a lot fluffier than what it did. The next drawing in hard pastel was a lot better.
4 – Cloud Formation in Hard Pastel and Charcoal
The next three drawings were done in my sketchbook in soft pastel. a medium that I wasn’t instructed to use in the brief but I really wanted to have ago in another medium as I wasn’t very keen on oil-pastel and because of the soft cloud formations and blue skies outside my window I thought it was very suitable, plus I haven’t done much work in soft pastel so far so it gave me a chance to use it.
6 – Sketchbook Drawng in Soft Pastel5 – Sketchbook Drawing in Soft Pastel
The final drawing was done in the early evening and it looks like wain was on the way but it was a really nice evening the problem was lack of selection of colours in the soft pastel set that I bought so this is something I have to correct.
7 – Sketchbook Drawing in Soft Paste (Evening)
I haven’t done as many studies I would have liked to in this exercise but with the amount of work I have had on lately I’ve slipped right behind and I want to get moving with the final exercise in this module but I’ll hopefully be doing more cloud studies throughout this part of the course and adding them later.