
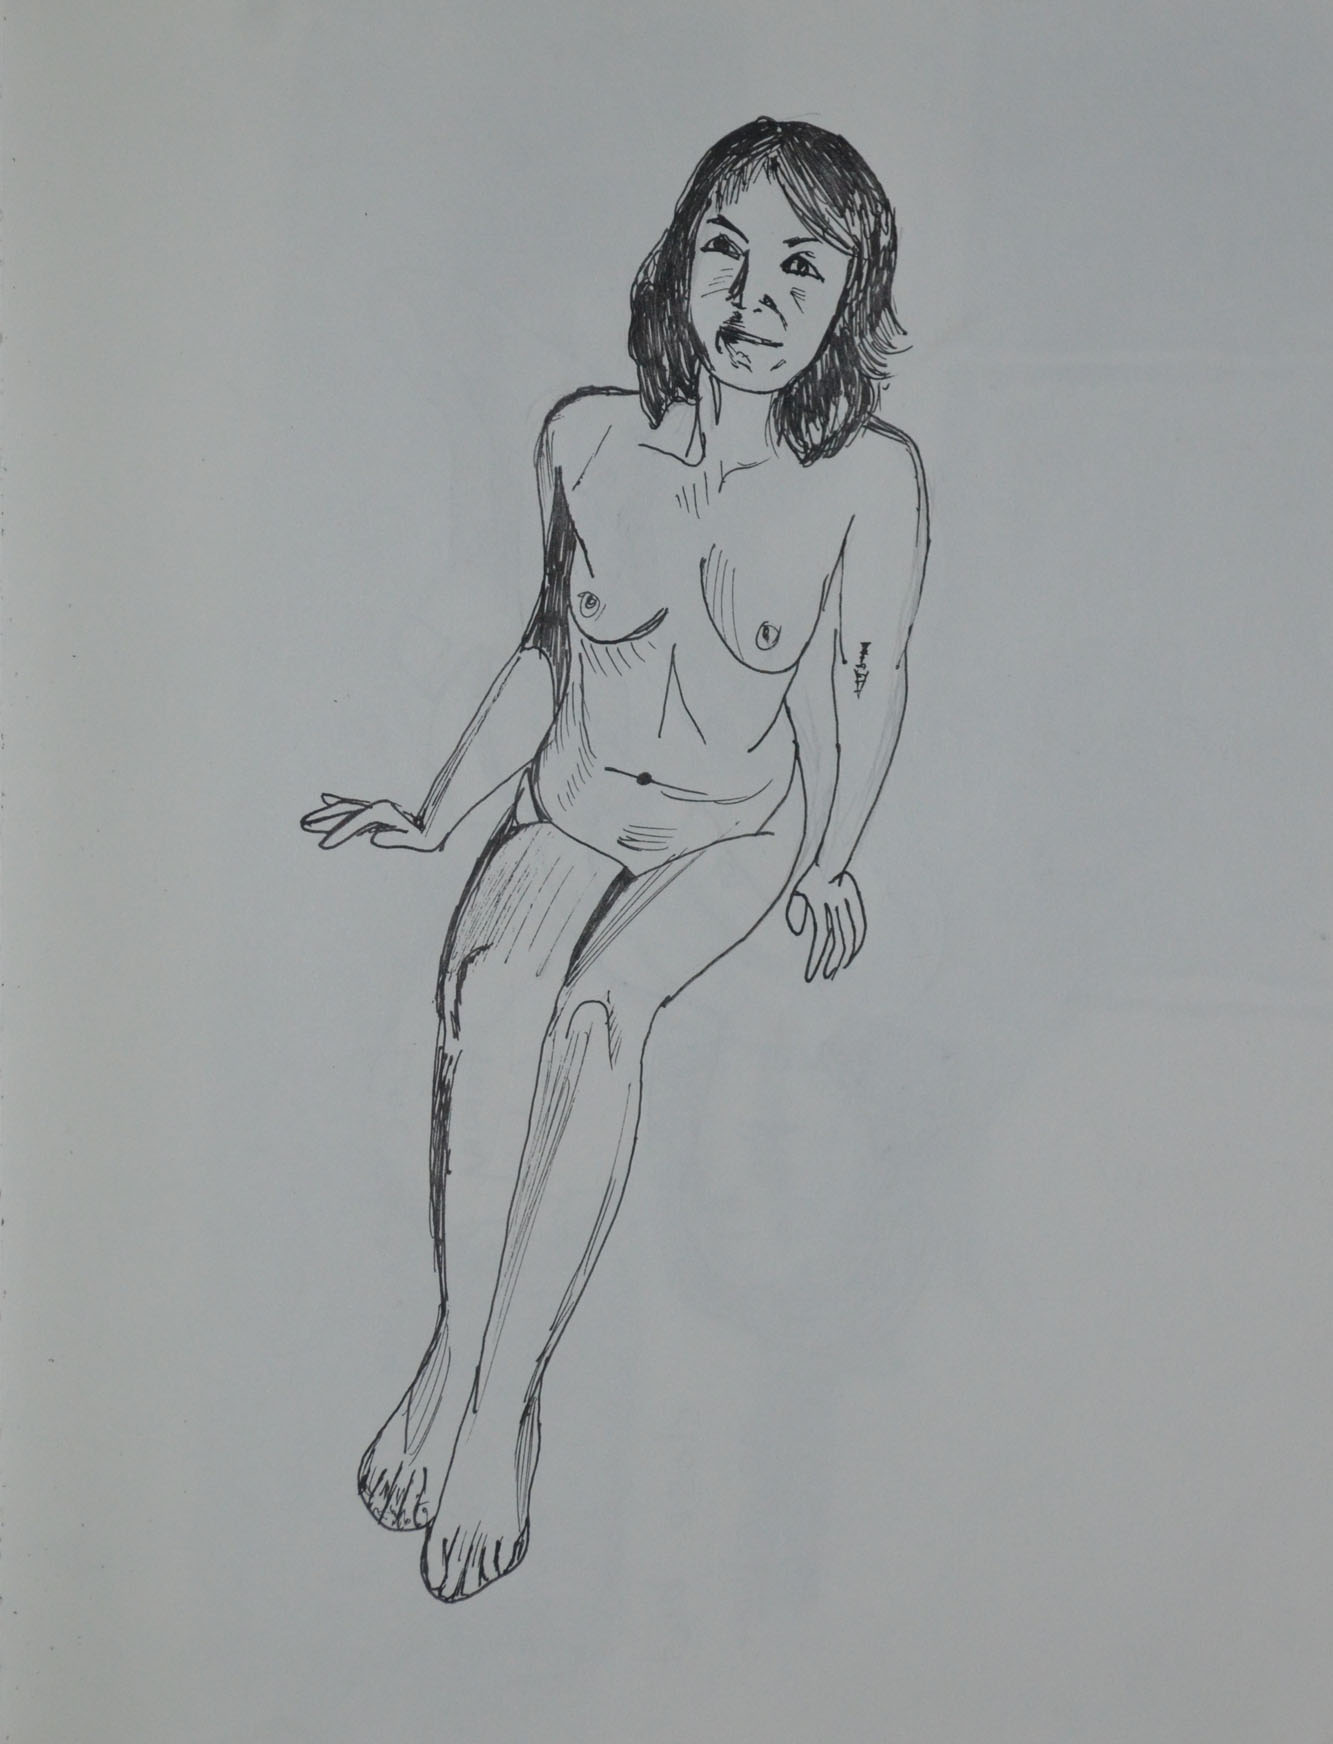
For this exercise I started out in my sketchbook with a Rotring drawing pen and with my model in a seated position on the sofa I decided to start off with a continuous line drawing without taking my pen from the paper. The result was pretty good even though the face has no real resemblance.

The second drawing wasn’t a continuous drawing but it was quick and the results were almost the same. Like the first drawing it was quite small and off centre so I included the sofa to give it some balance. I have yet to choose a pose that I am happy with without including a background, maybe this could be a challenge for the 5th assignment.
The third drawing was of the same pose but this time more care and time was taken and because I messed up on the right arm and corrected it with shadow I tried to balance it out by adding some shading in other areas.
For the next pose the model was laid on her back, curled up grabbing her knees, I started out with a continuous line drawing to see how could I would be at drawing this pose on the first try. It had to be corrected as it was a very difficult pose to try and complete a drawing of without lifting my pen off the paper.

The next drawing was messy, it was all going well until I decided to go over some of the lines again and picked up the wrong pen so then I thought I would experiment by adding charcoal.

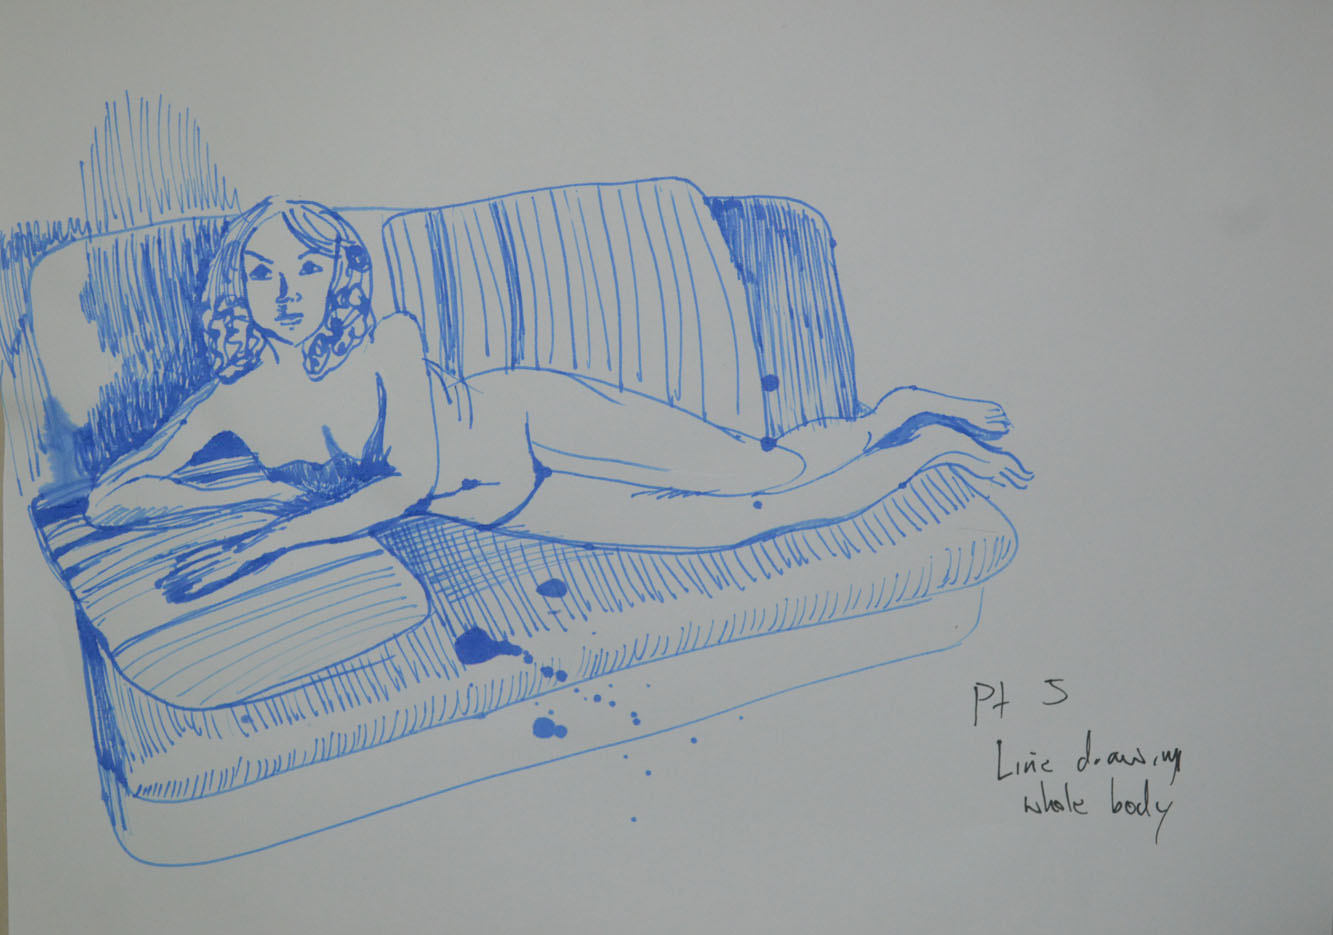
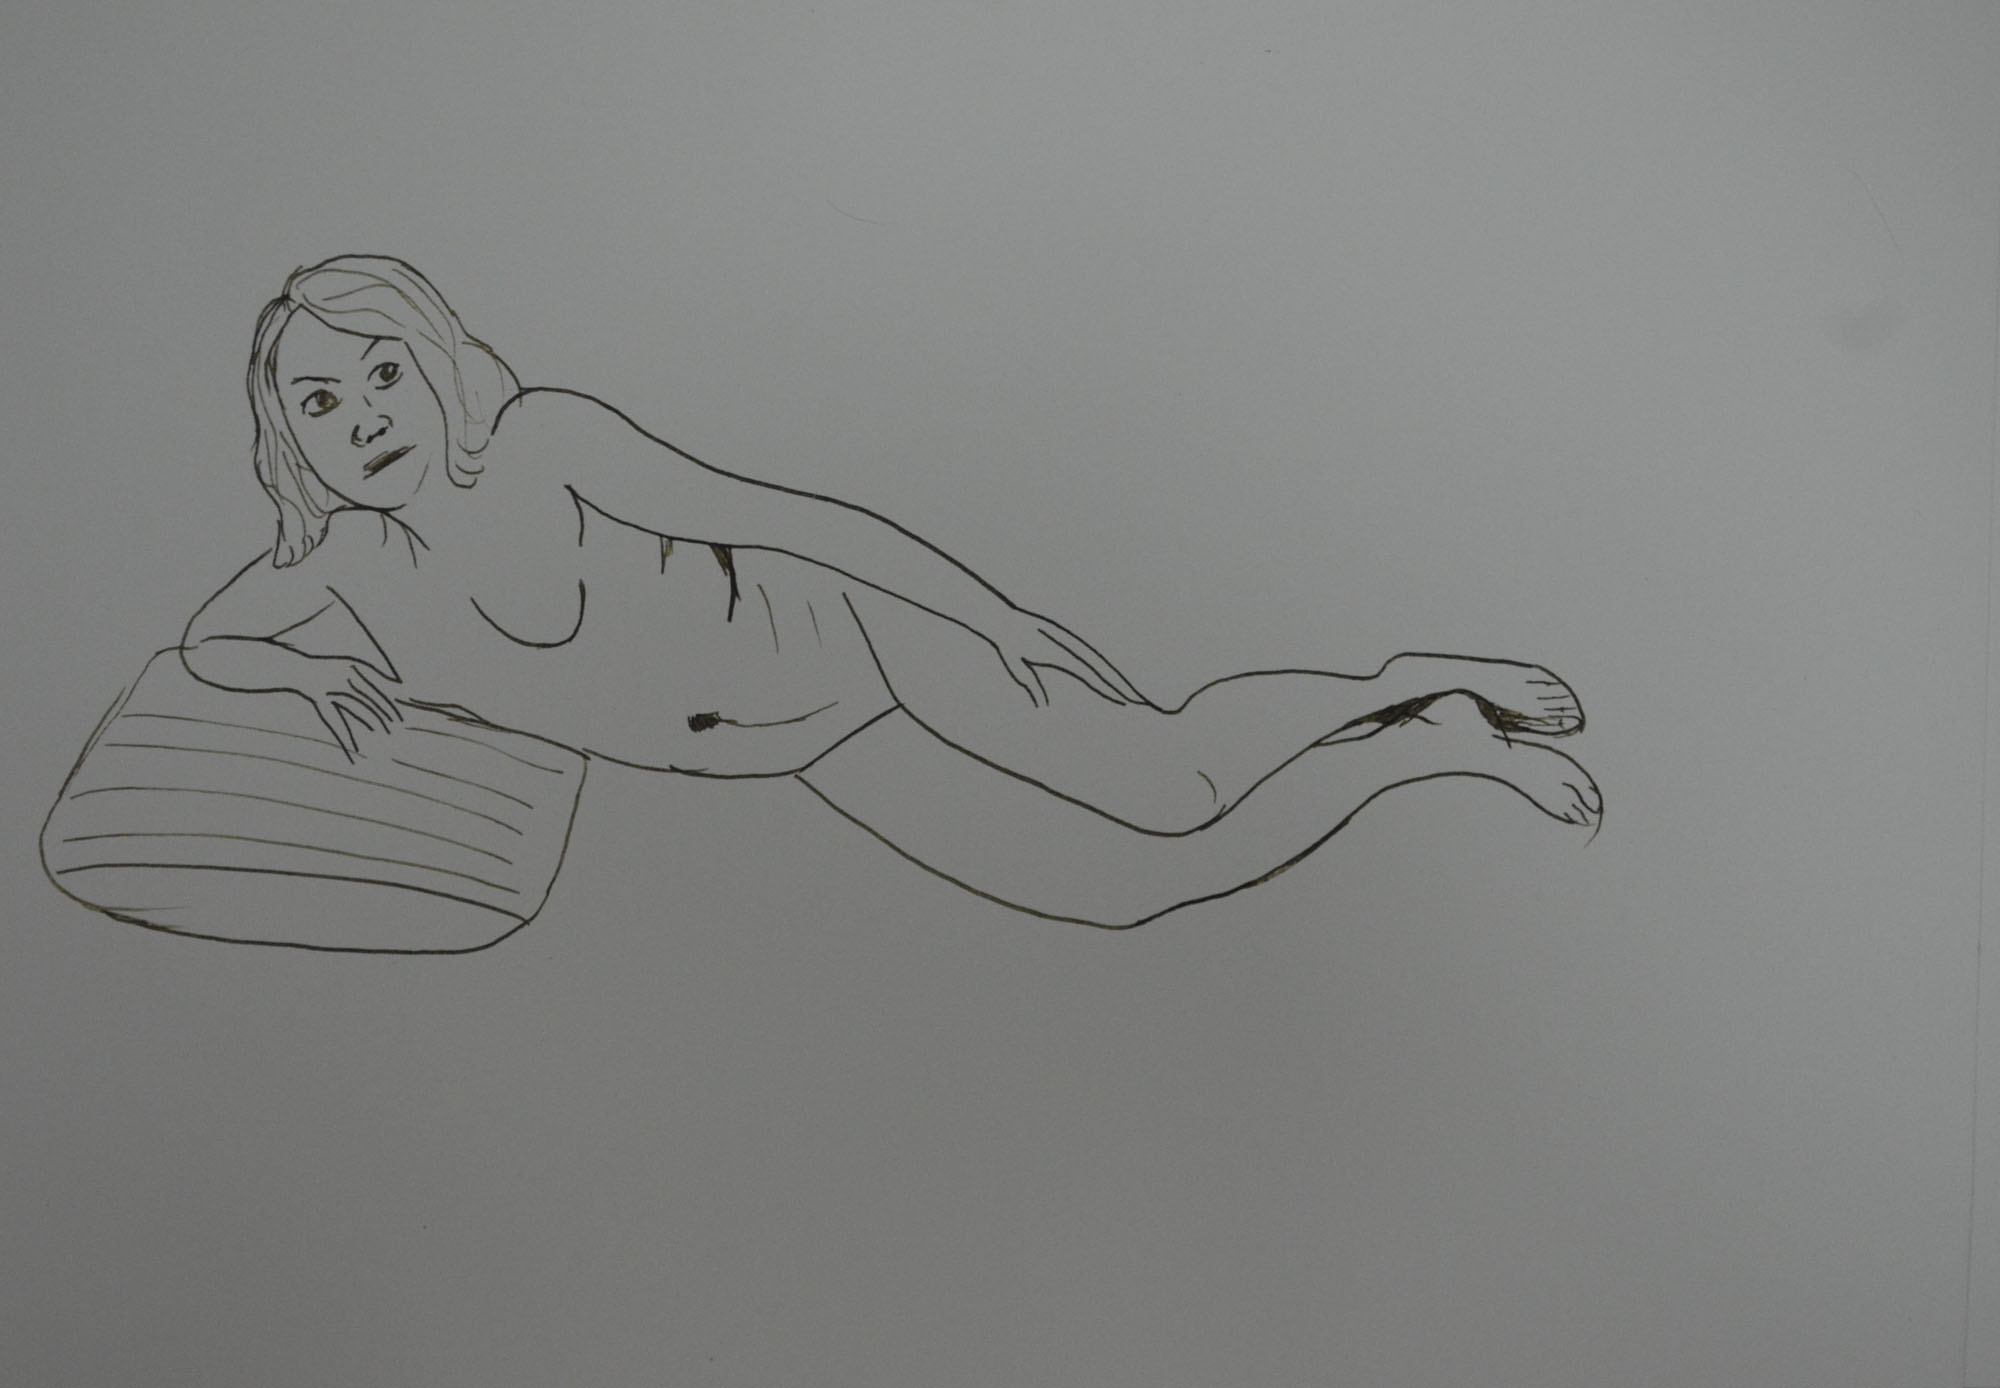
From there I went back to drawing with a 0.3 drawing pen, the drawing below may look like I have tried to draw in the style of David Hockney but this was drawn before the last research point ‘How Artists Use Line’ with no particular artist in mind. Everything was going well until I had a problem with foreshortening on the arm but because I liked how the legs stretched back and so I decided to do a larger drawing on A3 paper.

The second drawing was a bit more than a line drawing as I decided to add more detail to both the figure and the room. I probably should have took my time and got it bang on but it is a project that I can come back to at a later date.

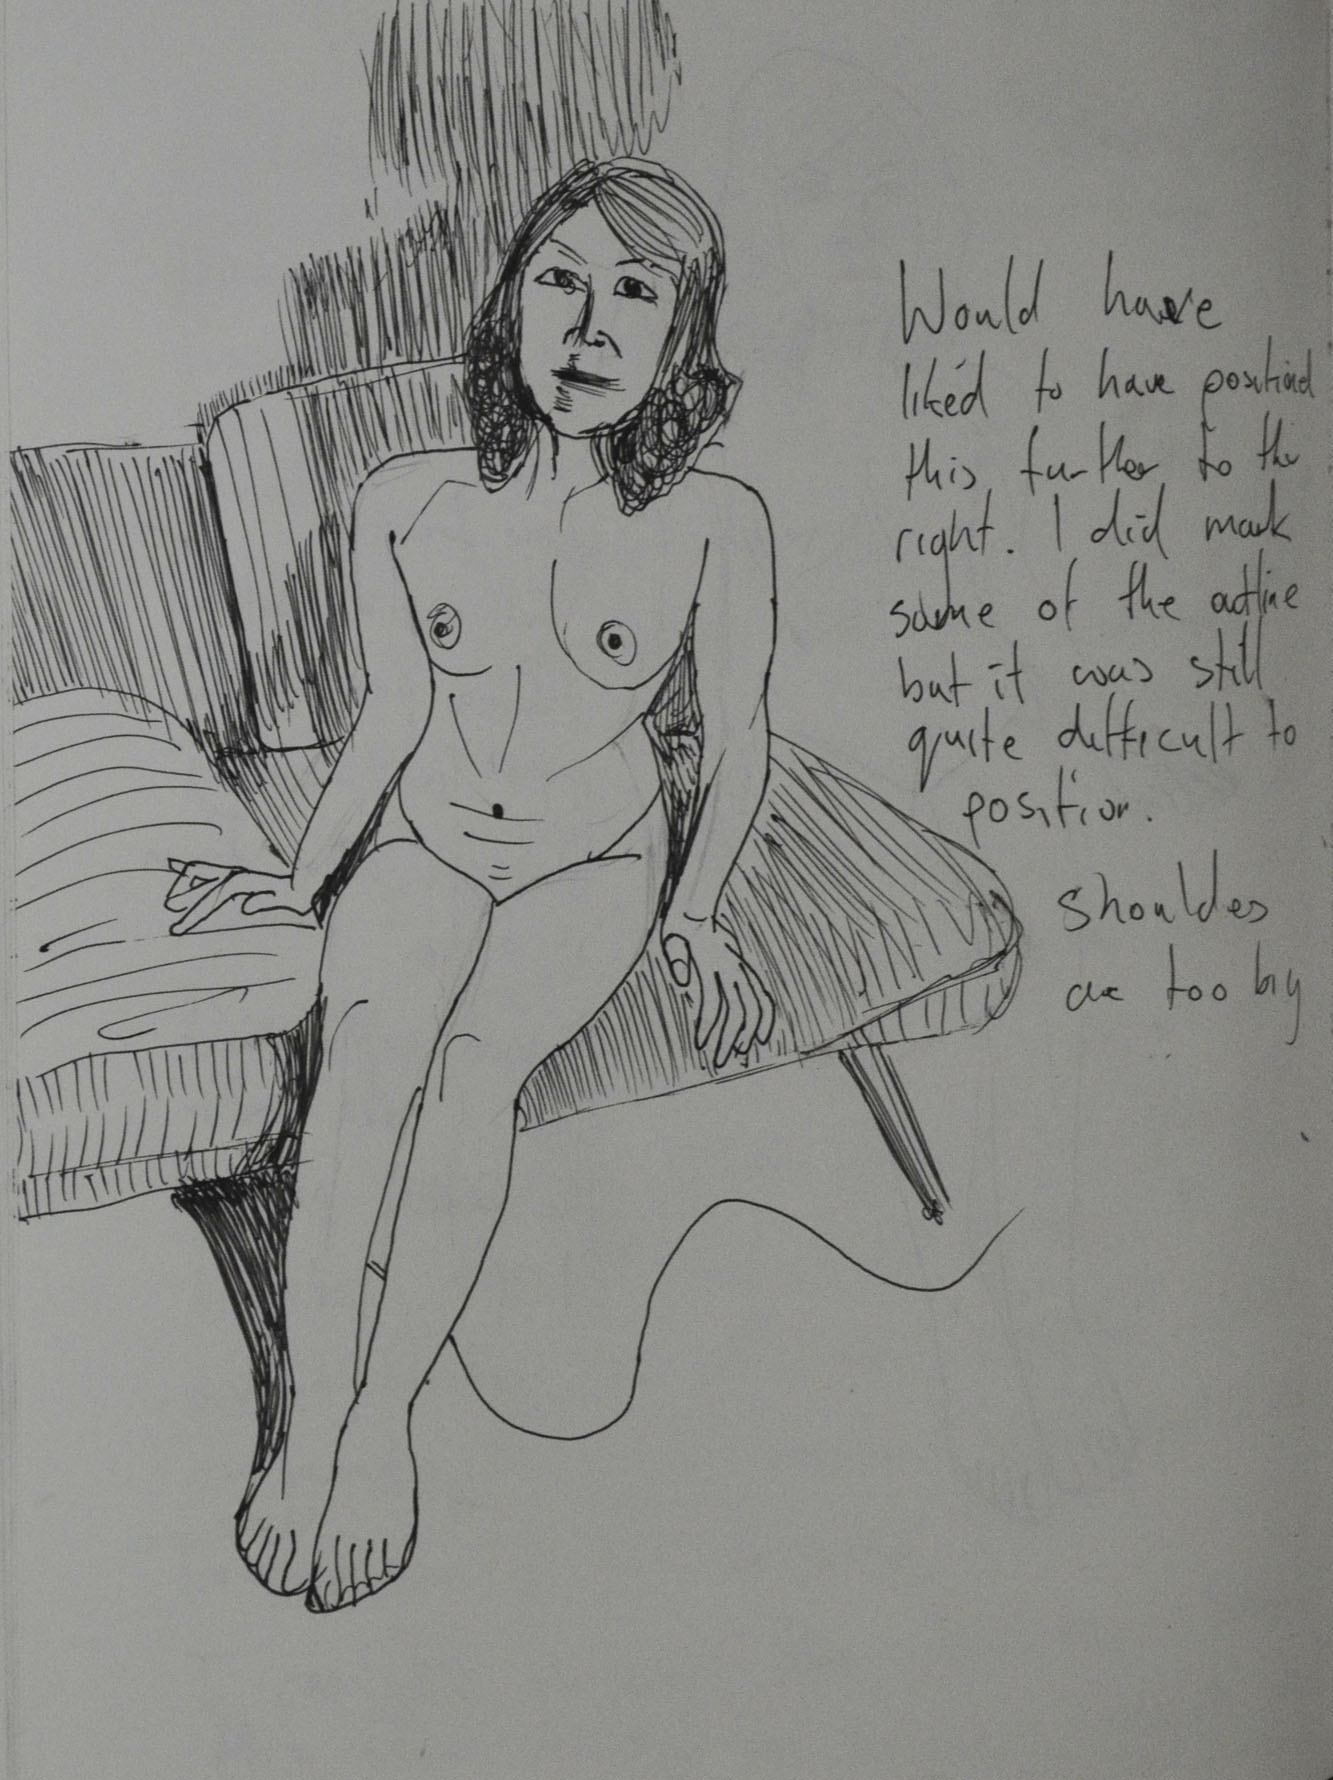
For the next drawing I went back to a seated pose but this time my model crossed her hands over each other on her lap. Her head looks out of proportion but I believe it’s because I have drawn her eyes to high which has made her face look longer. With this drawing I started with the V between her arms and worked up, then worked my way down again. I use block shadow to describe the shape of her body.

The next drawing was done at work from an existing sketch in the Quick Poses exercise, total failure so I decided to do a couple more drawings on the same sheet just to mess it up completely.

The final drawing before going onto research how other artists use line was the ink on A3 drawing below. It was ink on drawing cartridge paper, totally forgetting what I had learnt about drawing with ink on watercolour paper for best outcome.
After the last research point I came back to see how researching how other artists use line would affect my line drawing. The next drawing started off as a line drawing but then I went further trying to produce a drawing in the style of Edgar Degas, something that I wasn’t very successful in doing in my last bit of research ‘using line in the style of famous artists ‘. I had since stocked up with some beige eggshell paper so after drawing the line in Conté I got carried away and added some tonal values in white pastel, unfortunately I zombified my girlfriends face but I was quite happy with the rest of the drawing.

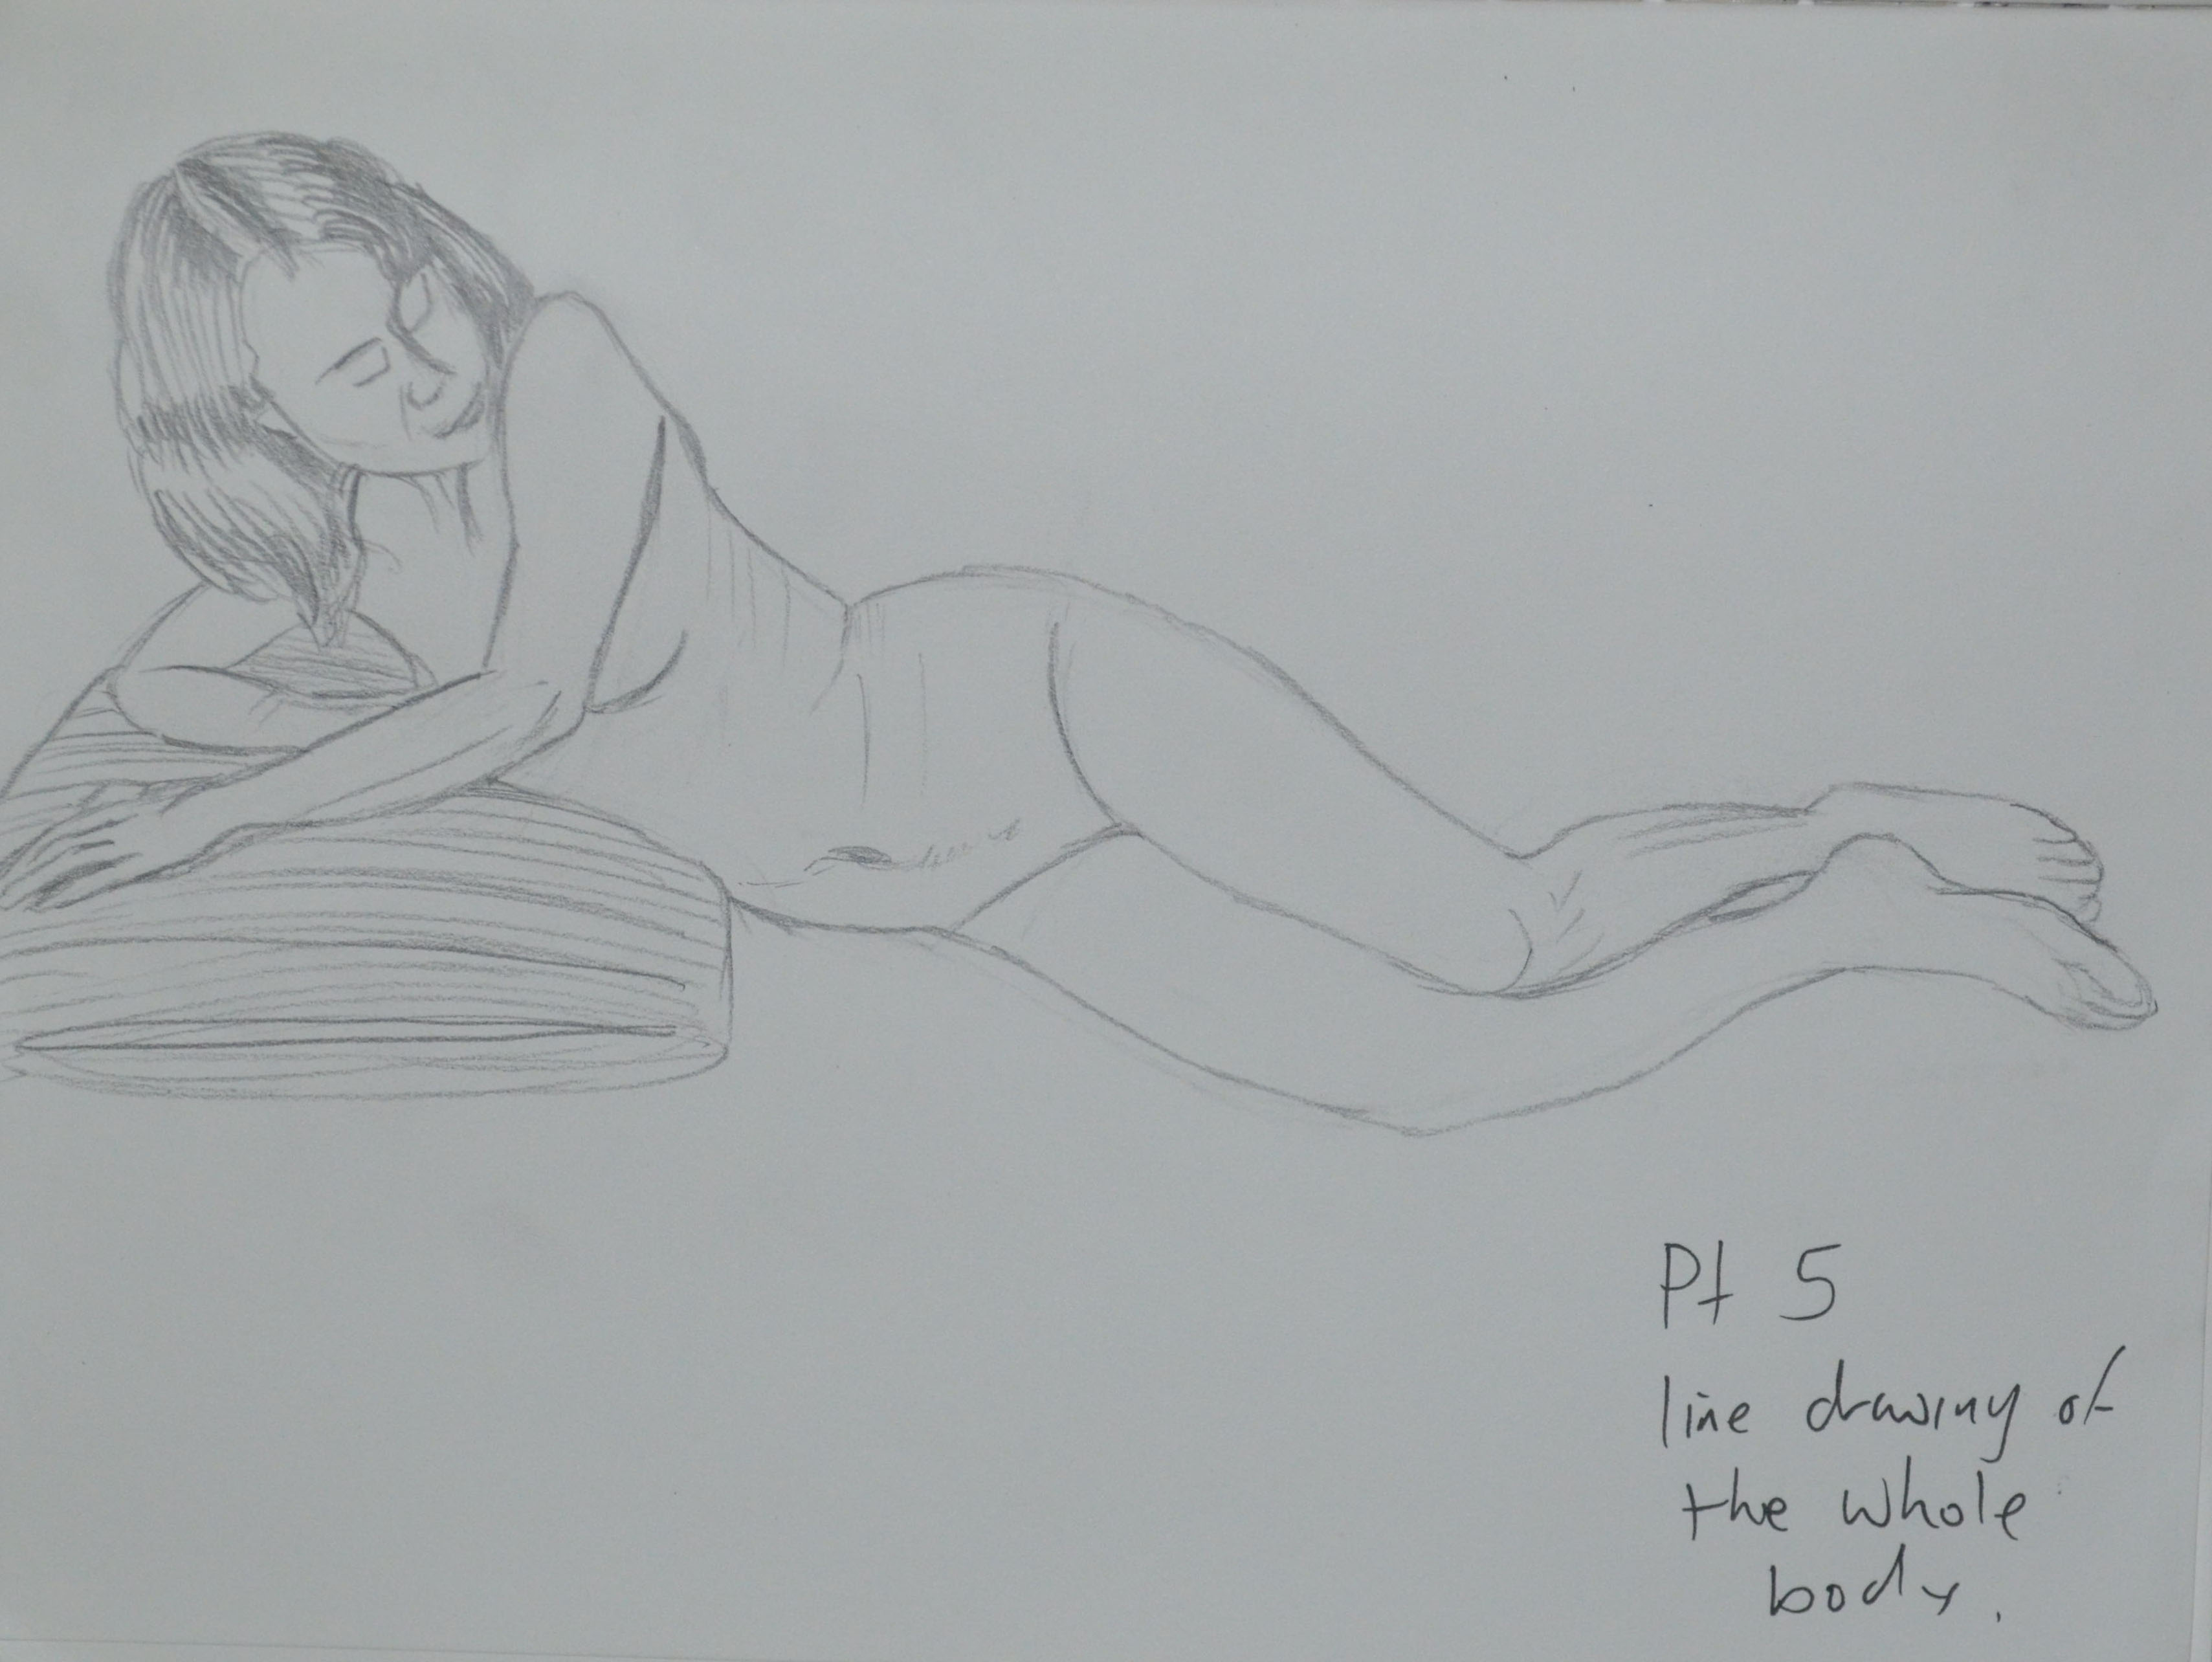
From there I went back to basics and produced the following 2 lne drawings in my sketchbook with a 4B pencil, what is usually the easiest medium for me to use, after drawing with the pen was the most difficult but I think this was down to the fact that I was aware it could be corrected and because I wanted to fill the paper did so very often.

The next drawing was an attempt at drawing with ink again on A3 cartridge paper which kept blotching every time the nib stopped moving and then I realized why, I was drawing on the wrong type of paper so I switched to watercolour paper for the next two drawings.

The next two drawings were shoddy attempts, on both drawings I started with the arm on top and worked my way down then on to the legs, on both drawings I messed up when I got back up to her belly.
I really liked the feel of the nib pen on the watercolour paper and so I have set it in my sites to do a decent ink line drawing before the end of the course.

Where did I go wrong?
Well, I think I am still having problems with positioning the figure on the paper as to fill as much paper as possible. I also am still having problems with foreshortening and also,I think, choosing the best pose for the task at hand.
