The feedback from my replacement tutor for Assignment 5 that said my original quick studies were weak and that my drawings for a fresh try at gesture drawings were a lot better I decided to have another go at the Quick Poses exercise with both of these in mind. This time though, I stayed away from drawing faces and just concentrated on the essential elements and shapes, structure, stance and applied force.
1 Drawing with wrong hand2 Quick Study of Standing Pose3 Quicker Study of Standing Pose4 More Correct Standing Pose Study5 Another Quick Study6 Another Quick Study7 One Legged Standing pose8 Quick Study Different Pose9 two More Quick Poses10 Quick Study More Difficult Pose11 Another Quick Study
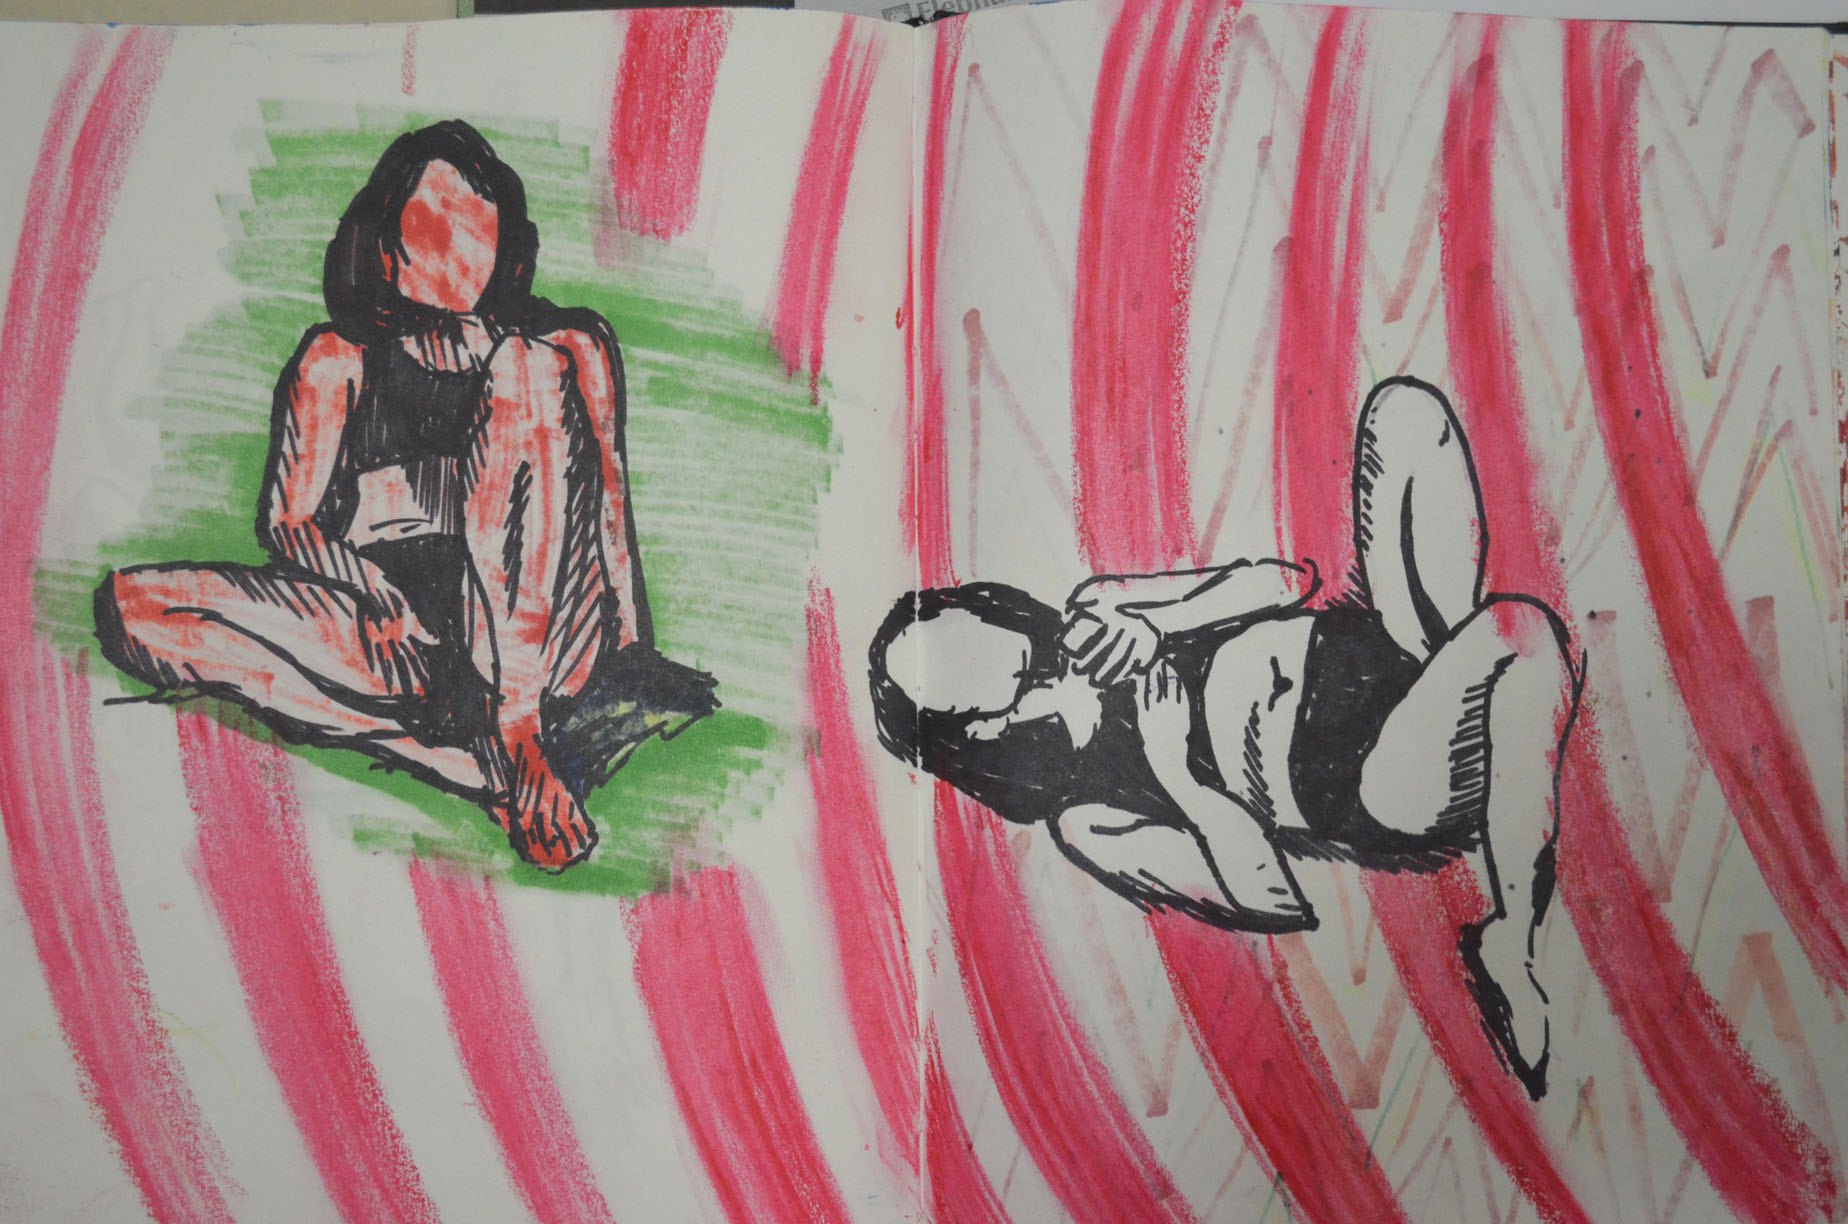
In the first set of drawings I used 2B pencil but this time I used a 5B pencil which is softer and gave me stronger lines, switching to a fine marker for the last few drawings which I then used for more experimentation with colour.
Two quick studies that I experimented with colour onDrawing over the back of the reverse side of two marker pen quick studies
This exercised proved I had improved considerably since the Quick Poses in the previous part of this course and it was all the projects in between that had got me here. After studying proportions, form and structure I approached this exercise with much more confidence and I think this showed in the drawings I produced below compared to previous quick drawings.
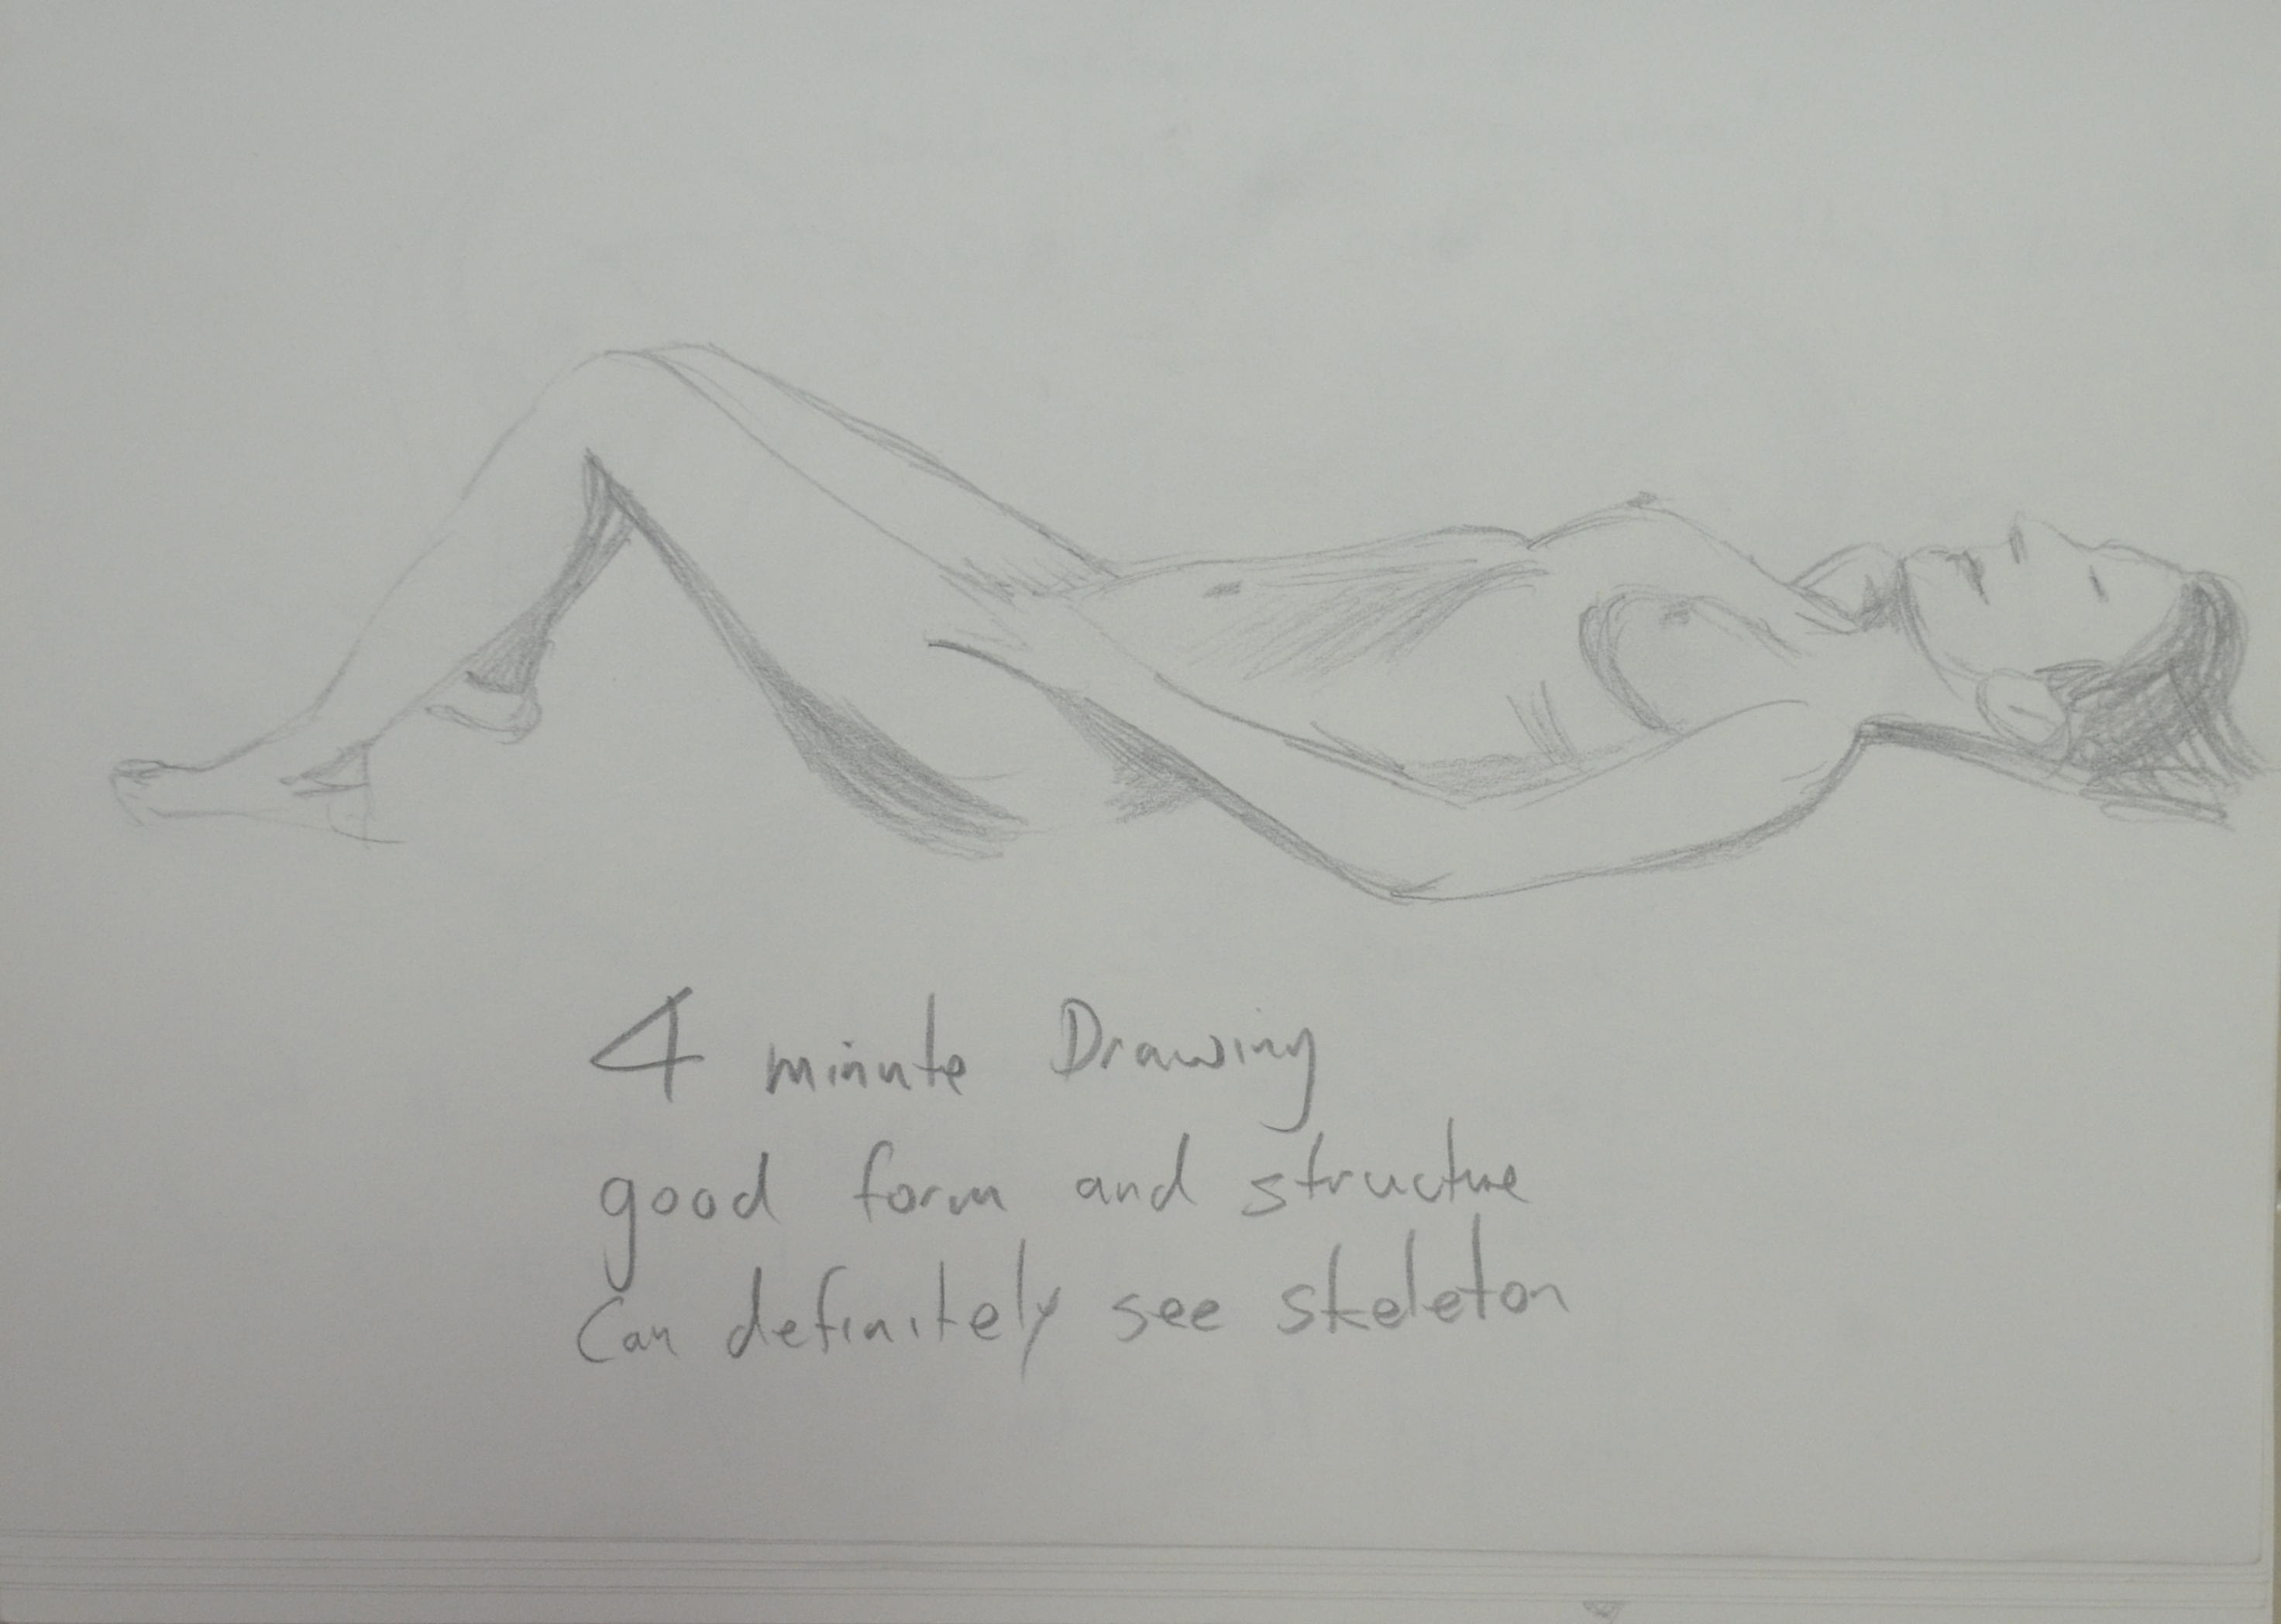
Drawing 1 – Laying Down – 3B on A3
All though I produced better sketches than I expected, it wasn’t a problem free exercise. The first problem I came across was with drawing the clothed figure. I found that I got the proportions almost spot on straight way with the model naked but with clothes on I got distracted. I fall into the trap of drawing the clothes rather than drawing the outline of the model and then drawing the details of the clothes in afterwards, i.e. folds. And because of this the proportions on the first few quick clothed figure studies are slightly out.
Drawing 2 – Lying Down – 3B on A3Drawing 3 – Lying Down – 3B on A3
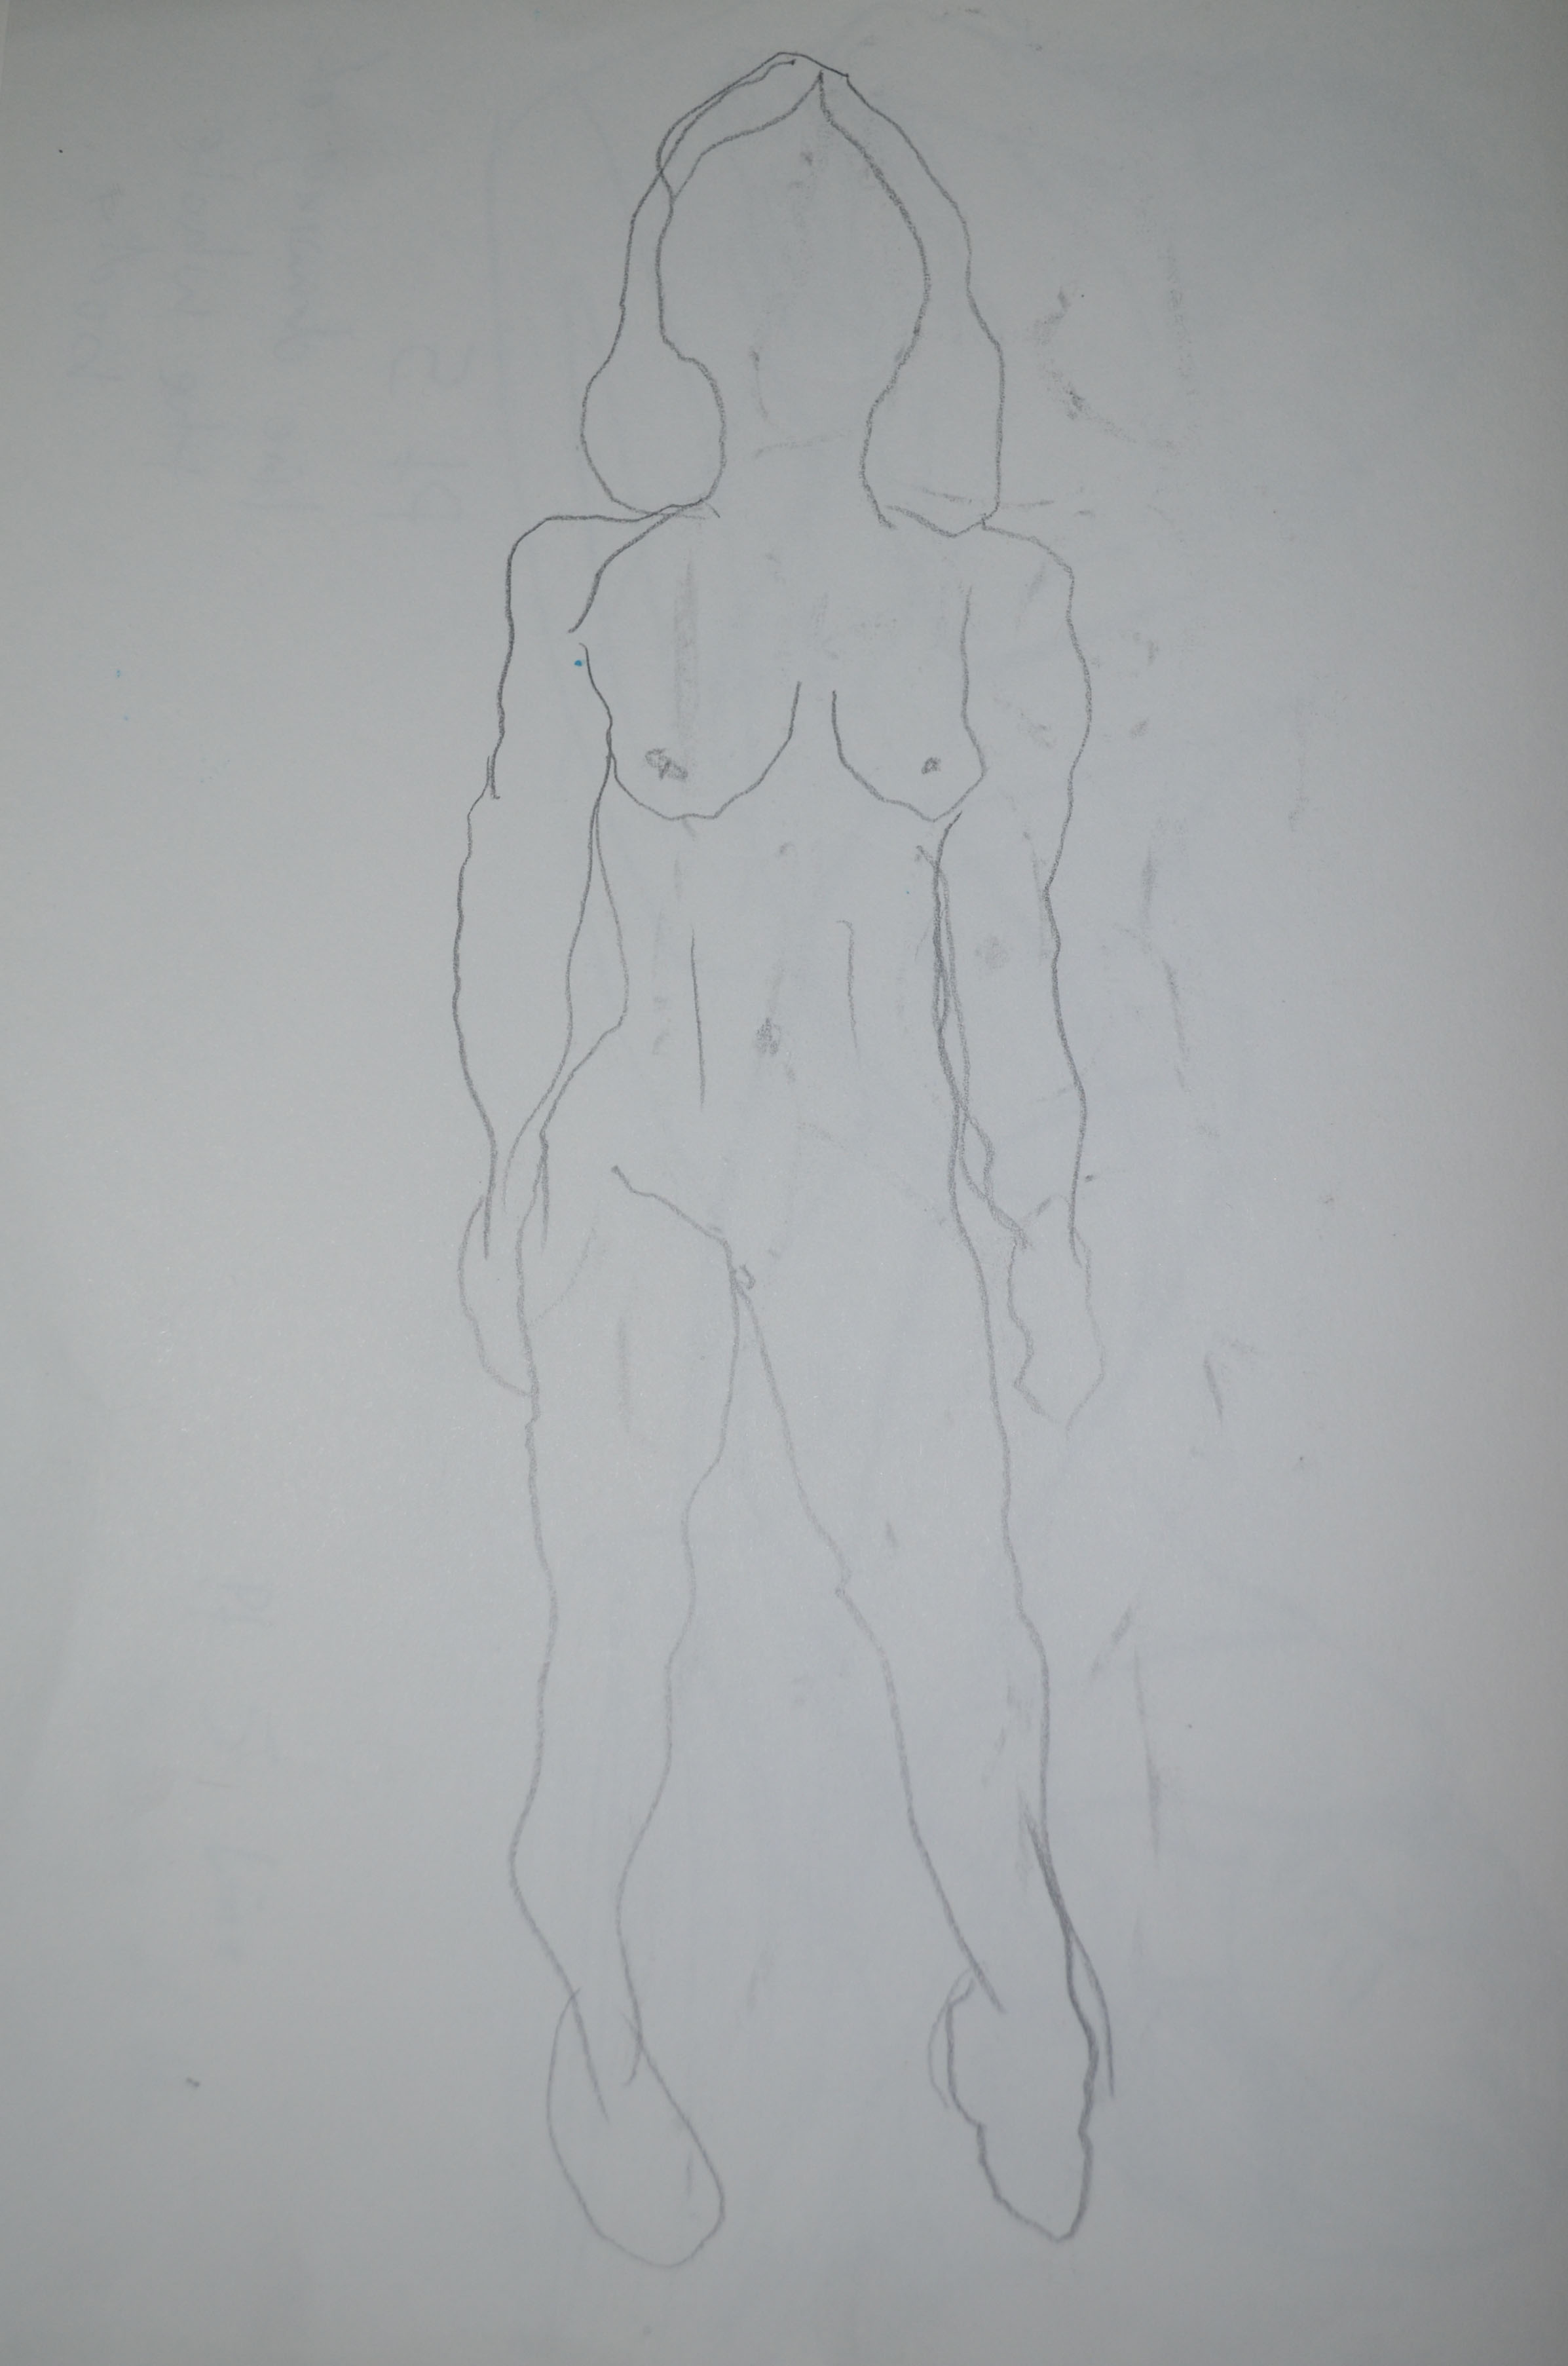
I Started off by drawing different poses clothed on A3 sheets of paper in 3B pencil before moving on to drawing nude poses in my sketchbook. For each pose I tried different pencil hardness’s, all the while trying to complete each new sketch in shorter periods of time, even managing to get my time down to 2 minutes for poses where it wasn’t necessary to draw facial features.
Drawing 4 – Lying Down – 3B on A3
I drew the model in many different poses and for the poses that I had difficulty on the first attempt, I made a second and sometimes even third attempt at drawing the same pose, taking into consideration all I had learnt in Part 4, Drawing figures with each attempt the drawings improved.
Drawing 5 – Lying Down – 3B on A3Drawing 6 – Lying Down – 3B on A3Drawing 7 – Lying Down – 3B on A3
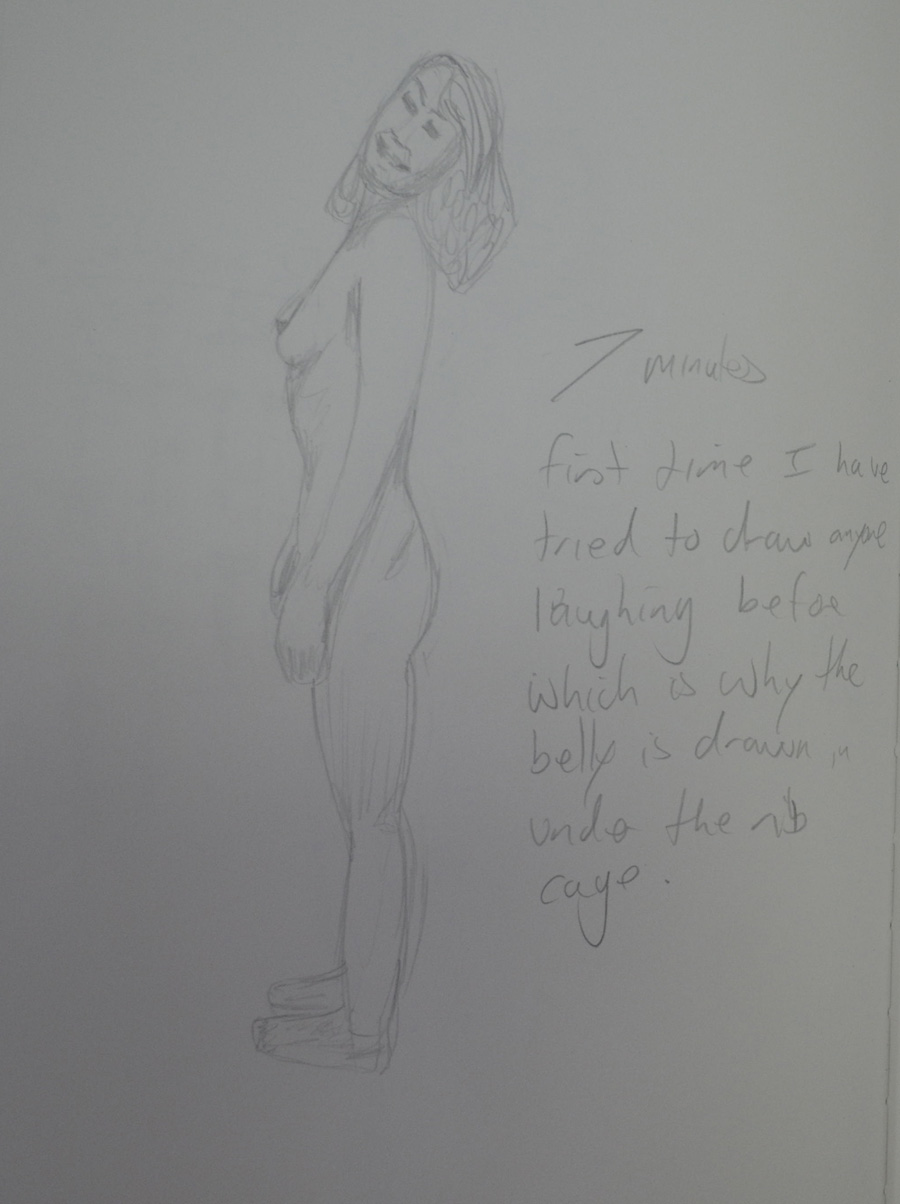
The poses that created the most problems for me were the poses that needed a lot of foreshortening on the legs such as Drawings 4, 17 and 18. Another problem, that I encountered was when the models head was tilted to one site, however, there was more likeness in these drawings, even with the shorter drawing periods, than I have managed to capture before. I even had some success in capturing different facial expressions, like laughing and smiling (Drawings 20 and 21).
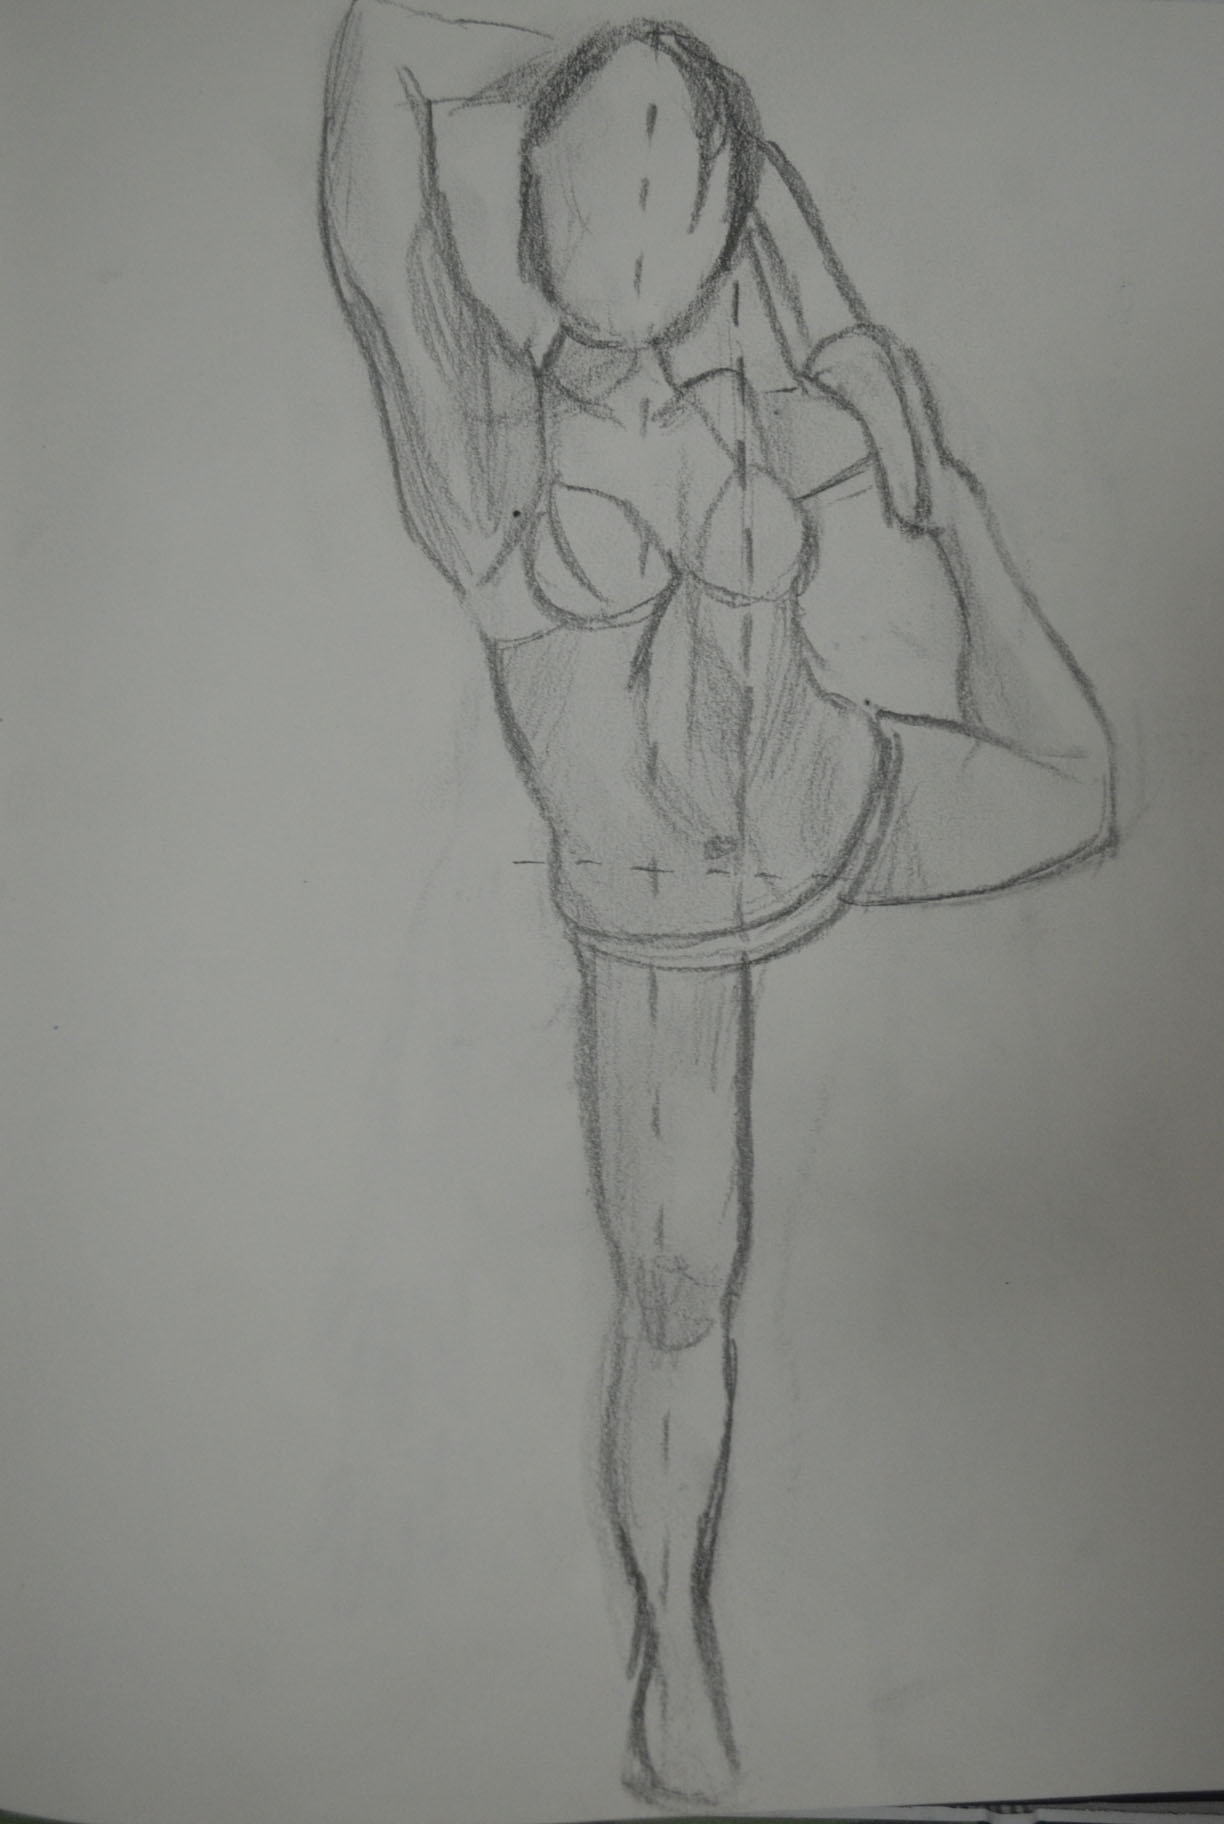
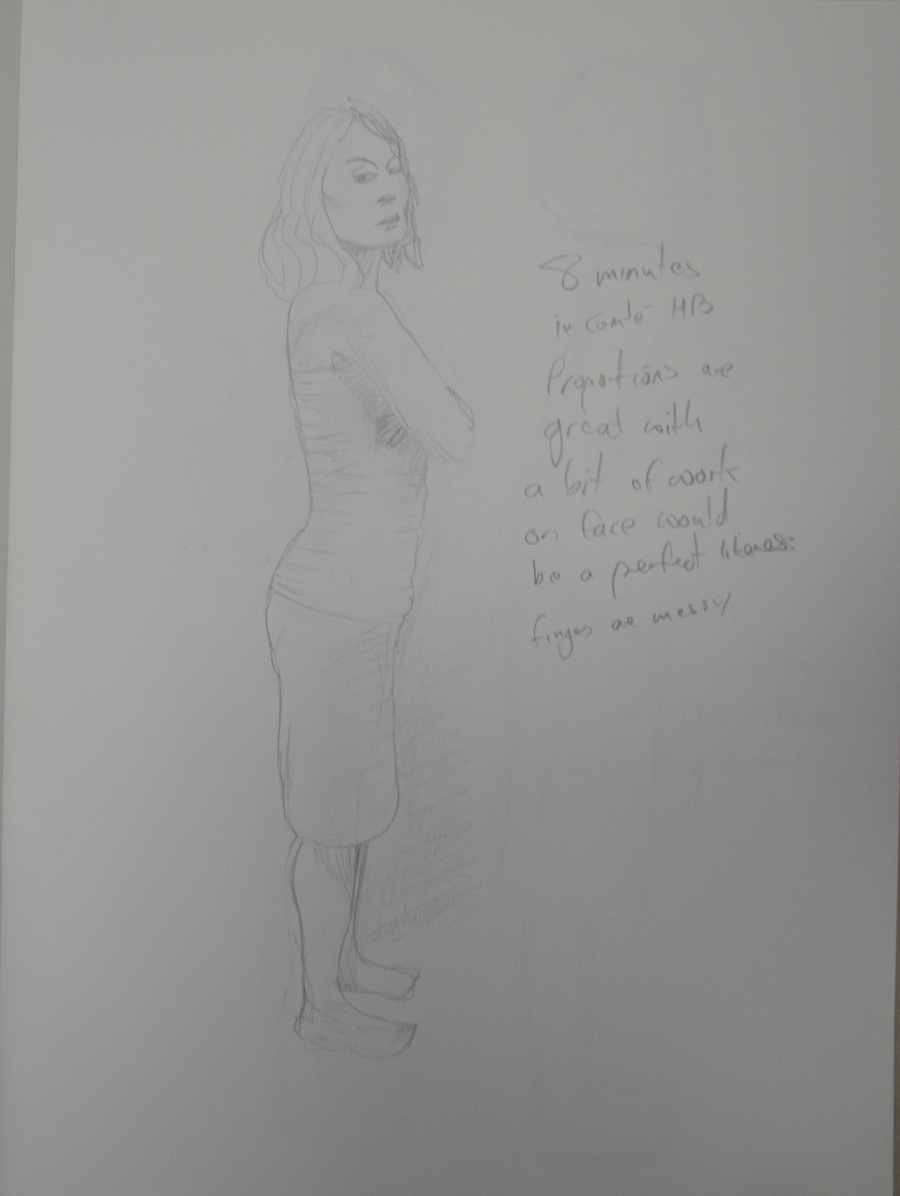
Drawing 8 – Standing Up – 3B on A3
I found that looking for shapes within the figure such as the square within the folded arms in the drawing above (Drawing 8) and the ‘V’ between the arms on drawing 13 helped me to get the proportions and right and so help me to position the figure on the paper.
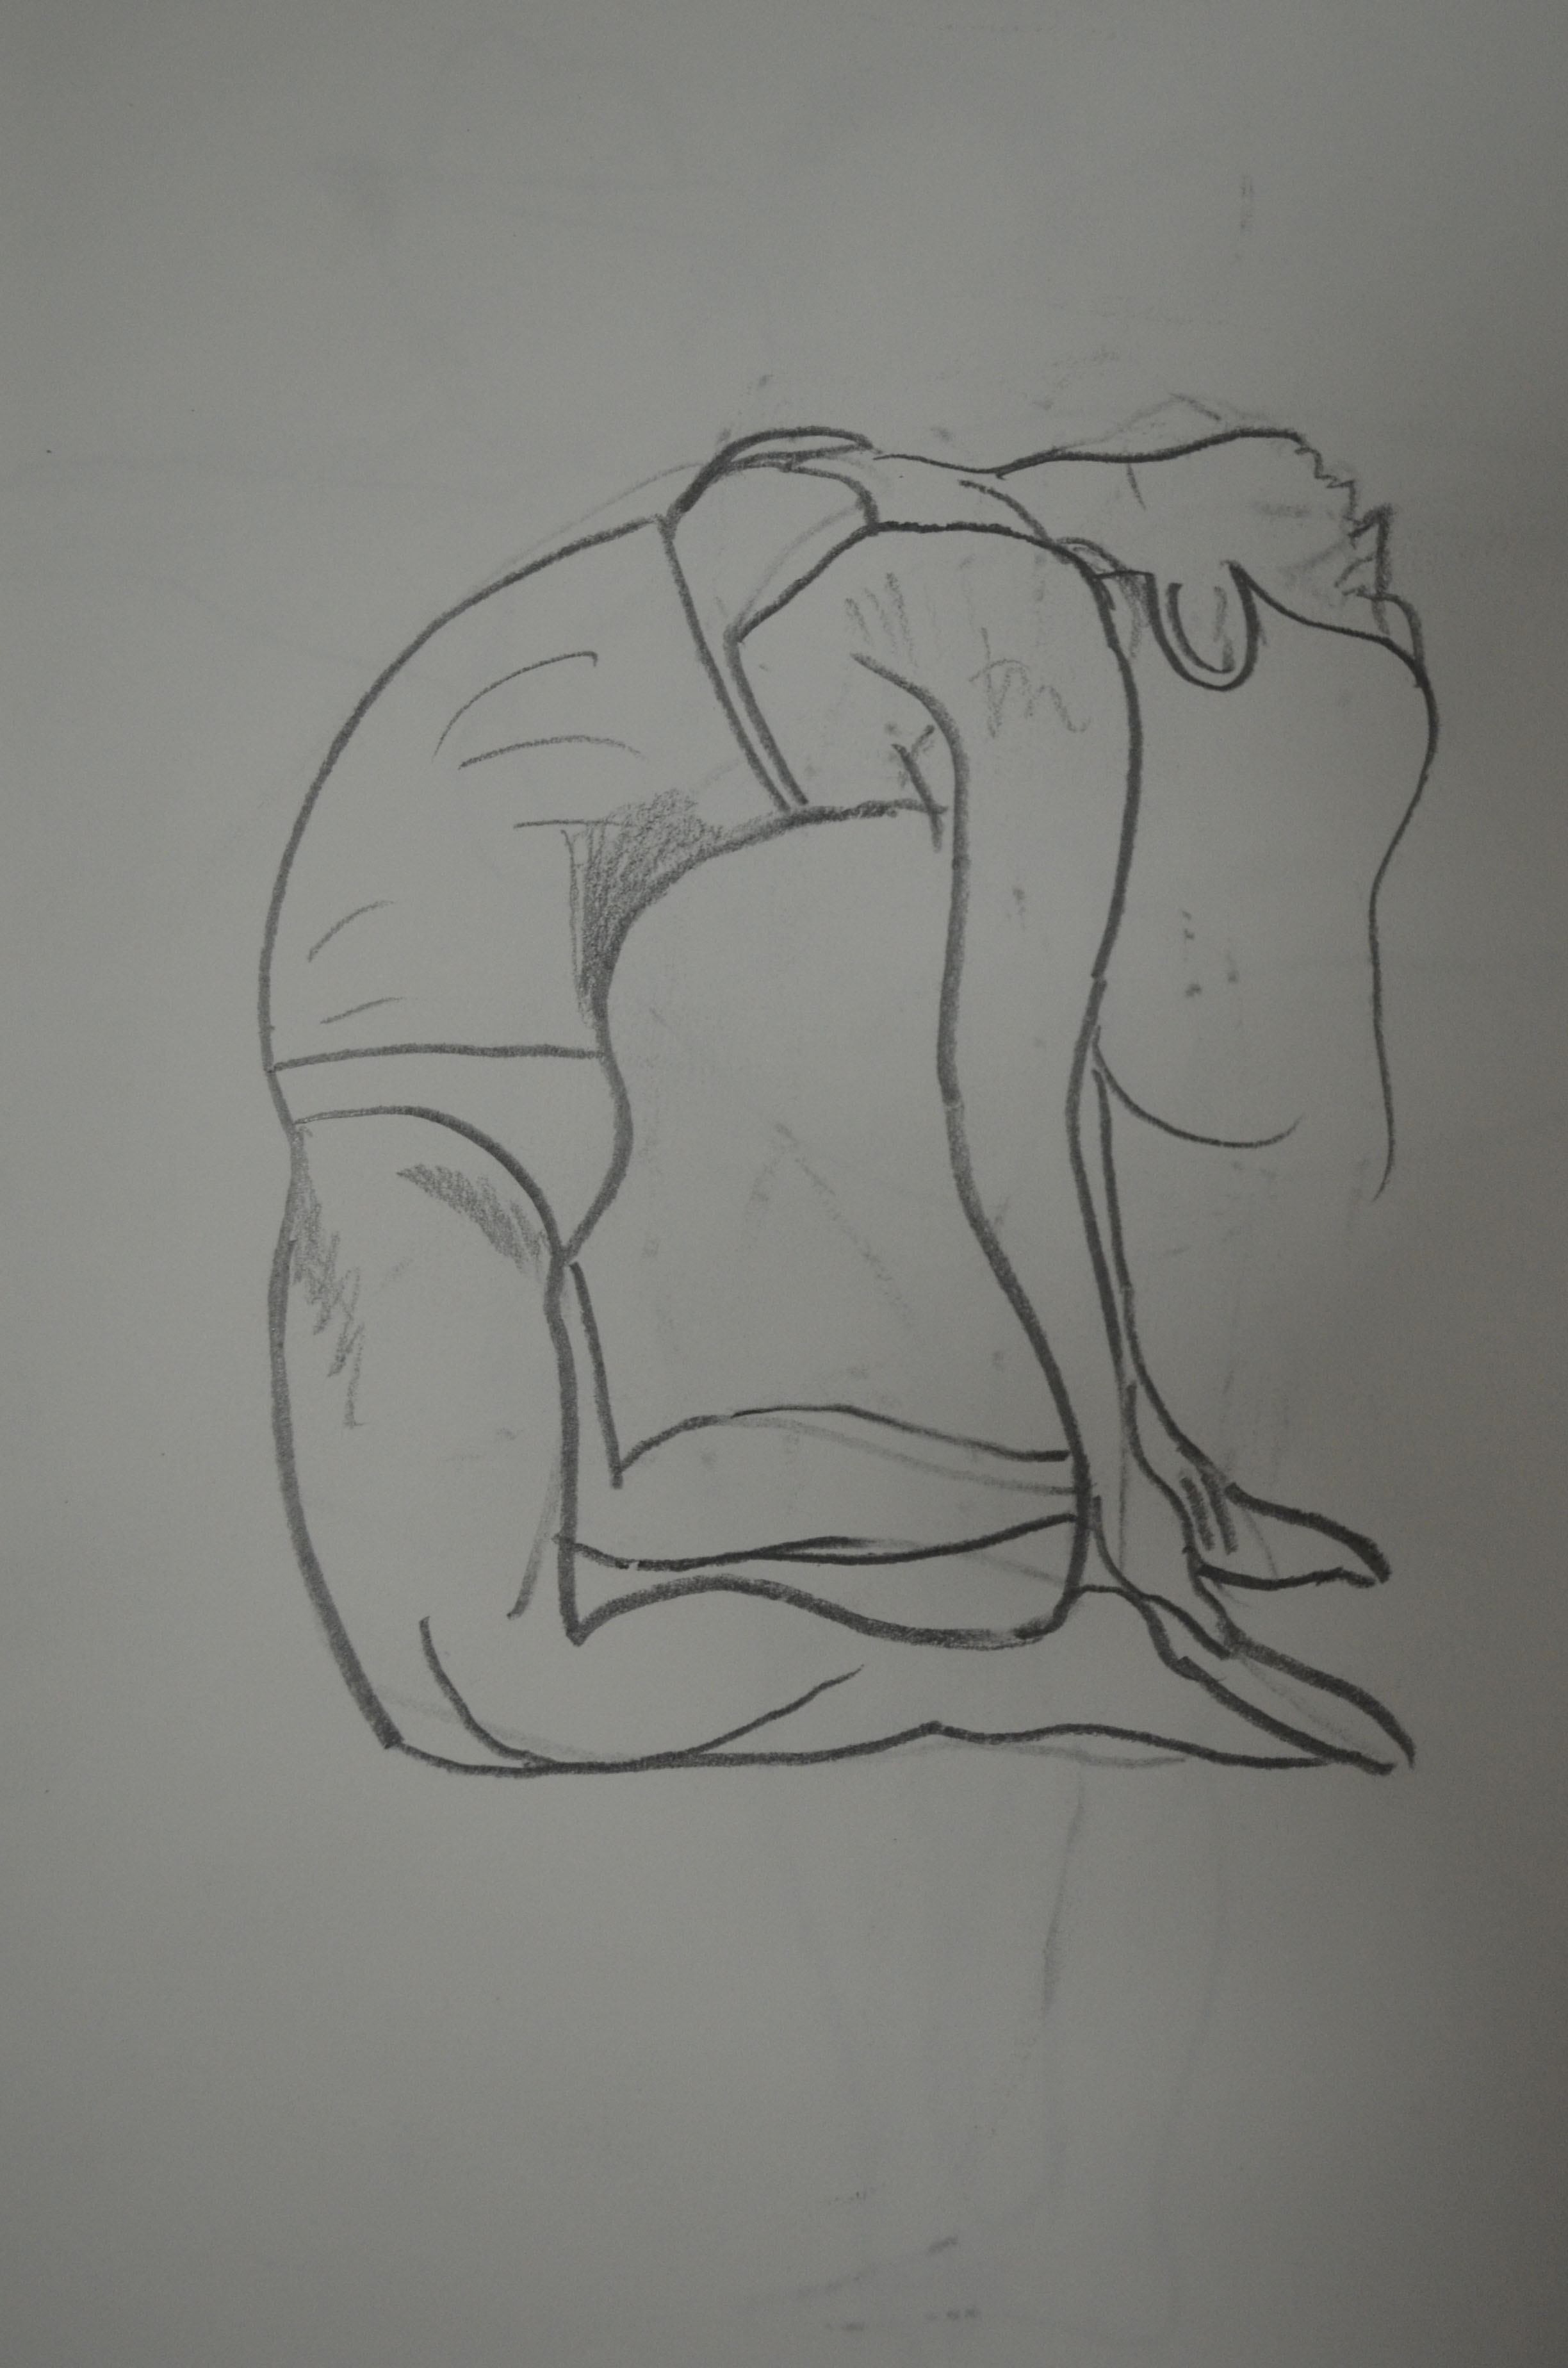
Drawing 9 – Standing Up – HB on A3Drawing 10 – Standing Up – HB on A3Drawing 11 – Standing Up – HB on A3Drawing 12 – Standing Up – HB on A3Drawing 13 – Standing Up – HB on A3Drawing 14 – Kneeling 2B SketchbookDrawing 15 – Kneeling 2B Sketchbook