As the kettle started to boil I thought I would test myself to see if I could start to draw the coffee cup on the table and then finish sketching it after it had been moved and then put back in the same place. But as I began I realised that I had never been successful in drawing the delicate rim of a coffee cup but this time I was armed with a new technique. I lightly sketched the outline of the cup, hatched around the outside and inside the cup then took out the edges of the object with an eraser. Drawing wood has never been my forte but taking advantage of my position as a teacher in a Thai temple school I sat down to sketch the ideal wooden object to overcome this.
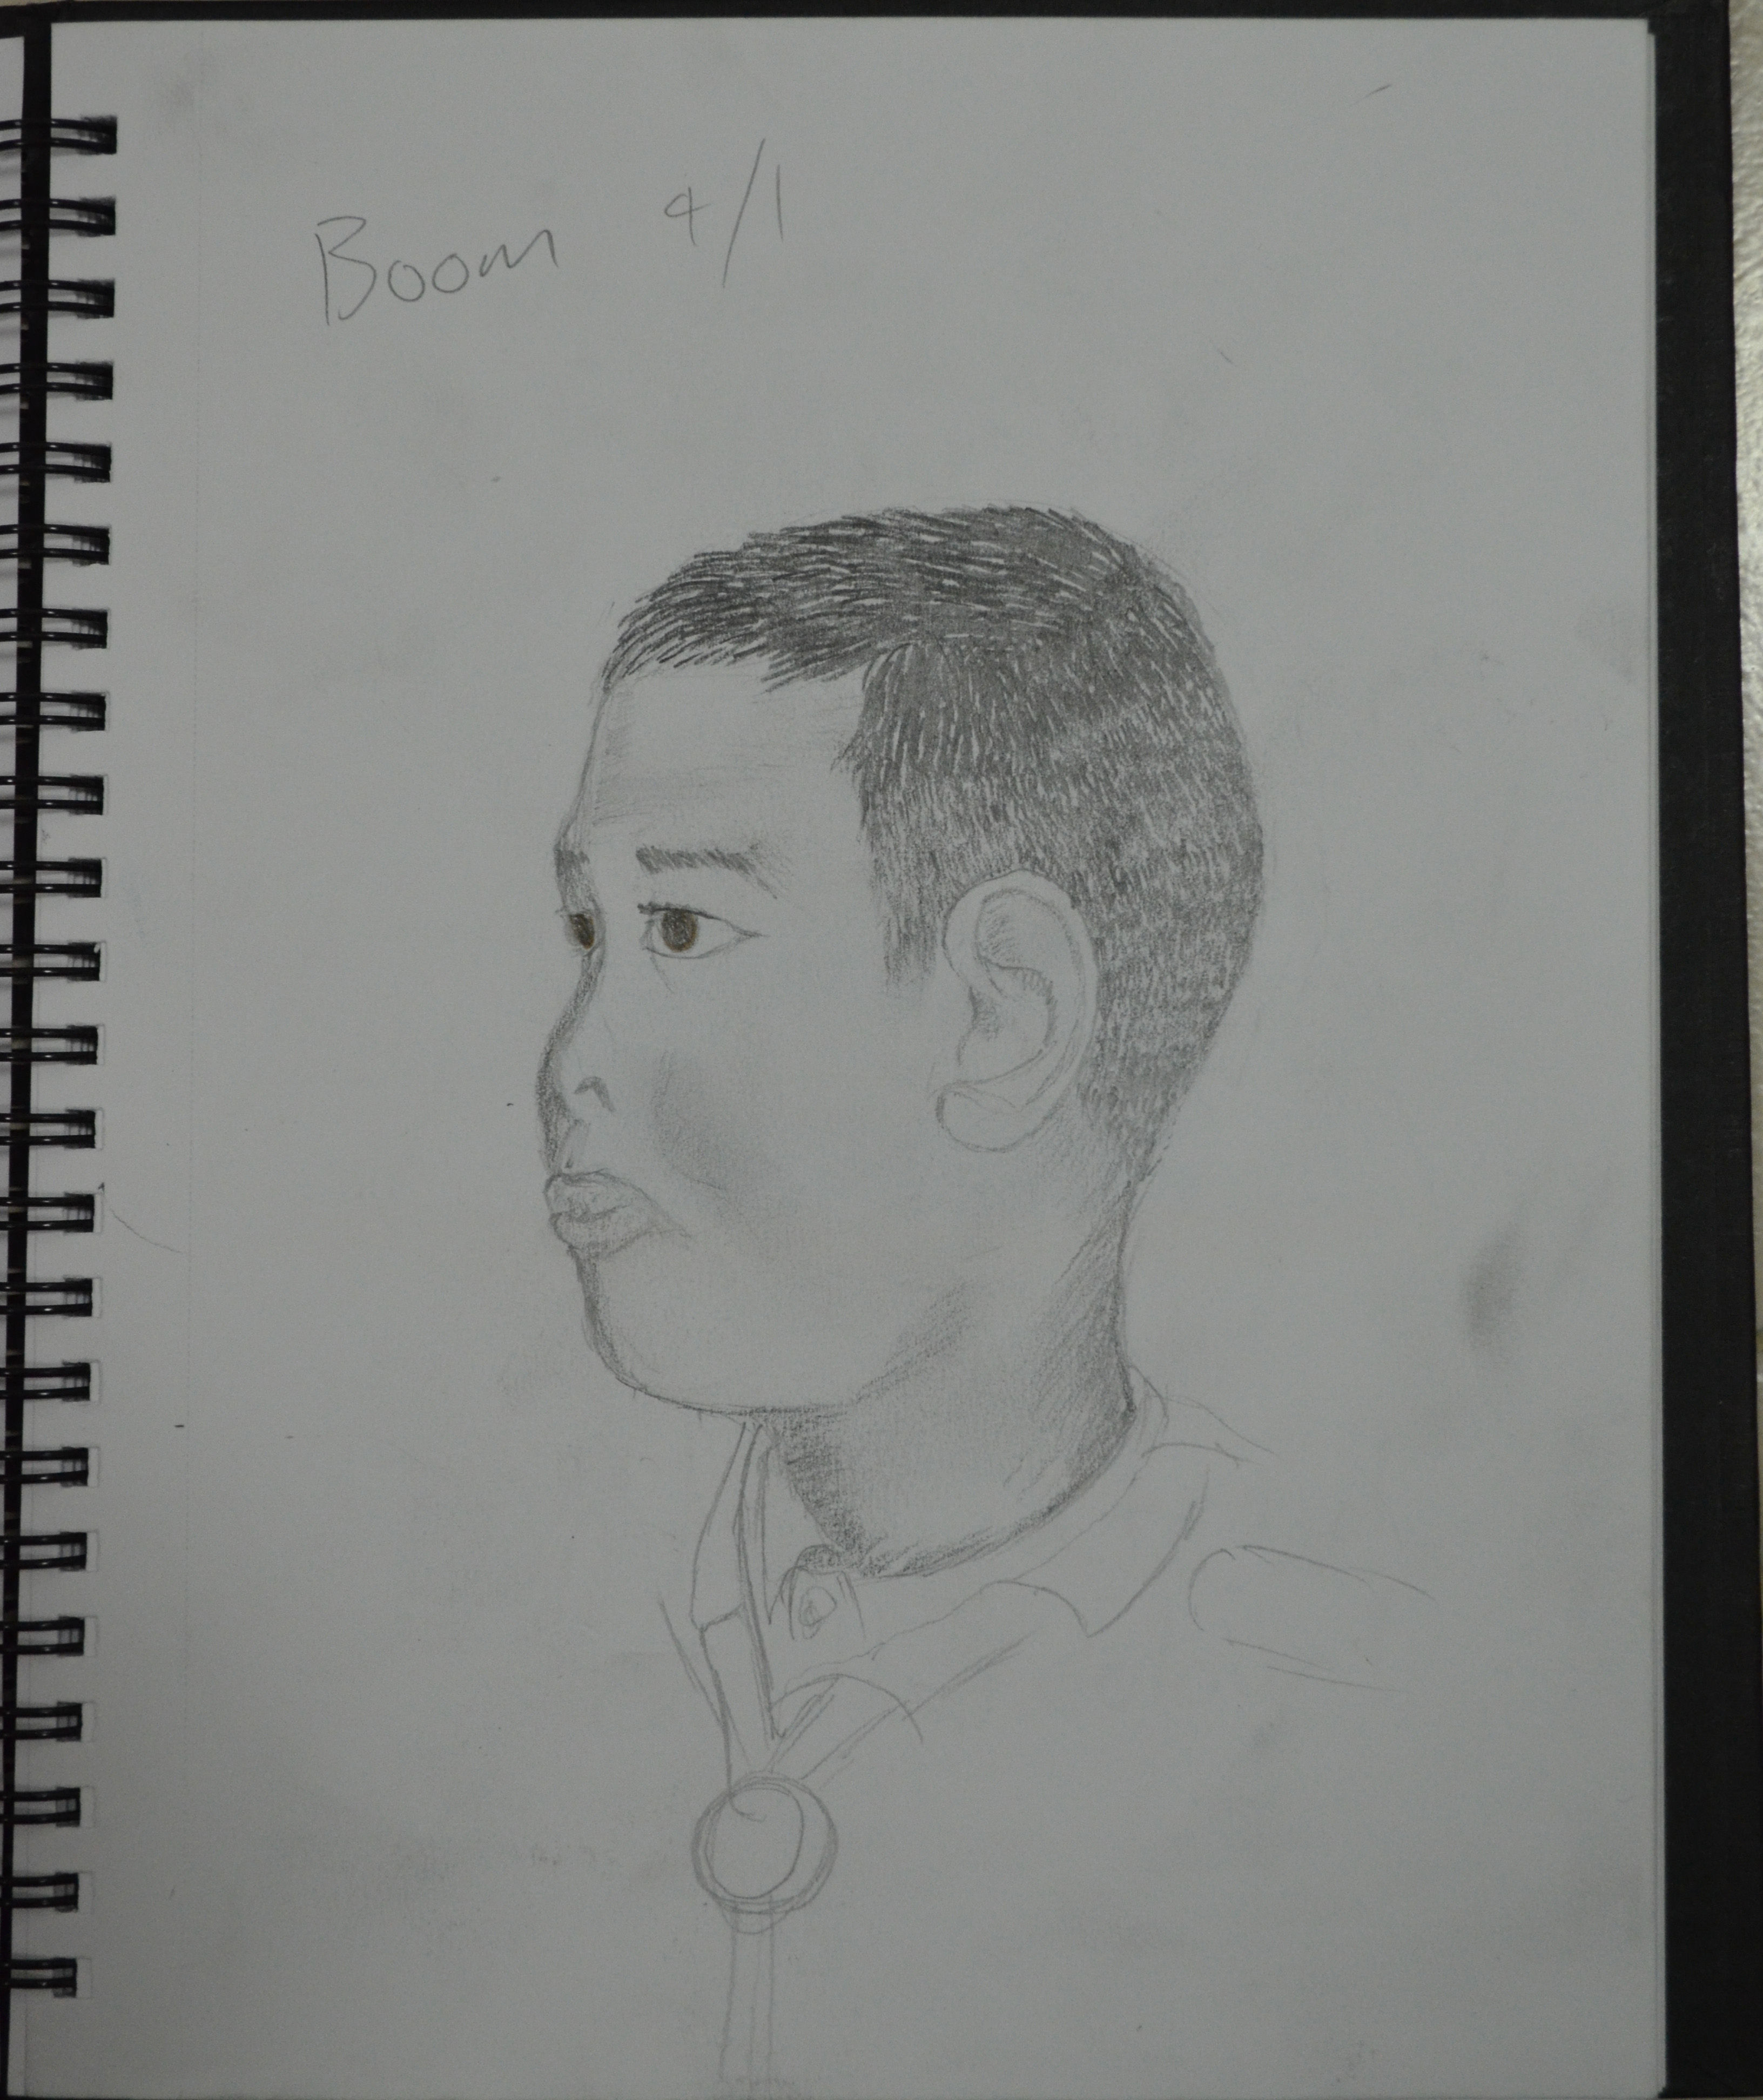
As my Thai students copied the oral test questions off the white board I found the perfect opportunity to practise drawing the head of a Thai child. The boy kept lifting his head up and down to browse the board which just added to the challenge however I will be finishing this off another time as certain features such as balloon lips and the uniquely shaped heads of Thai people are not something that I can finish off from memory. I would like to recreate this drawing again on large paper using colour.
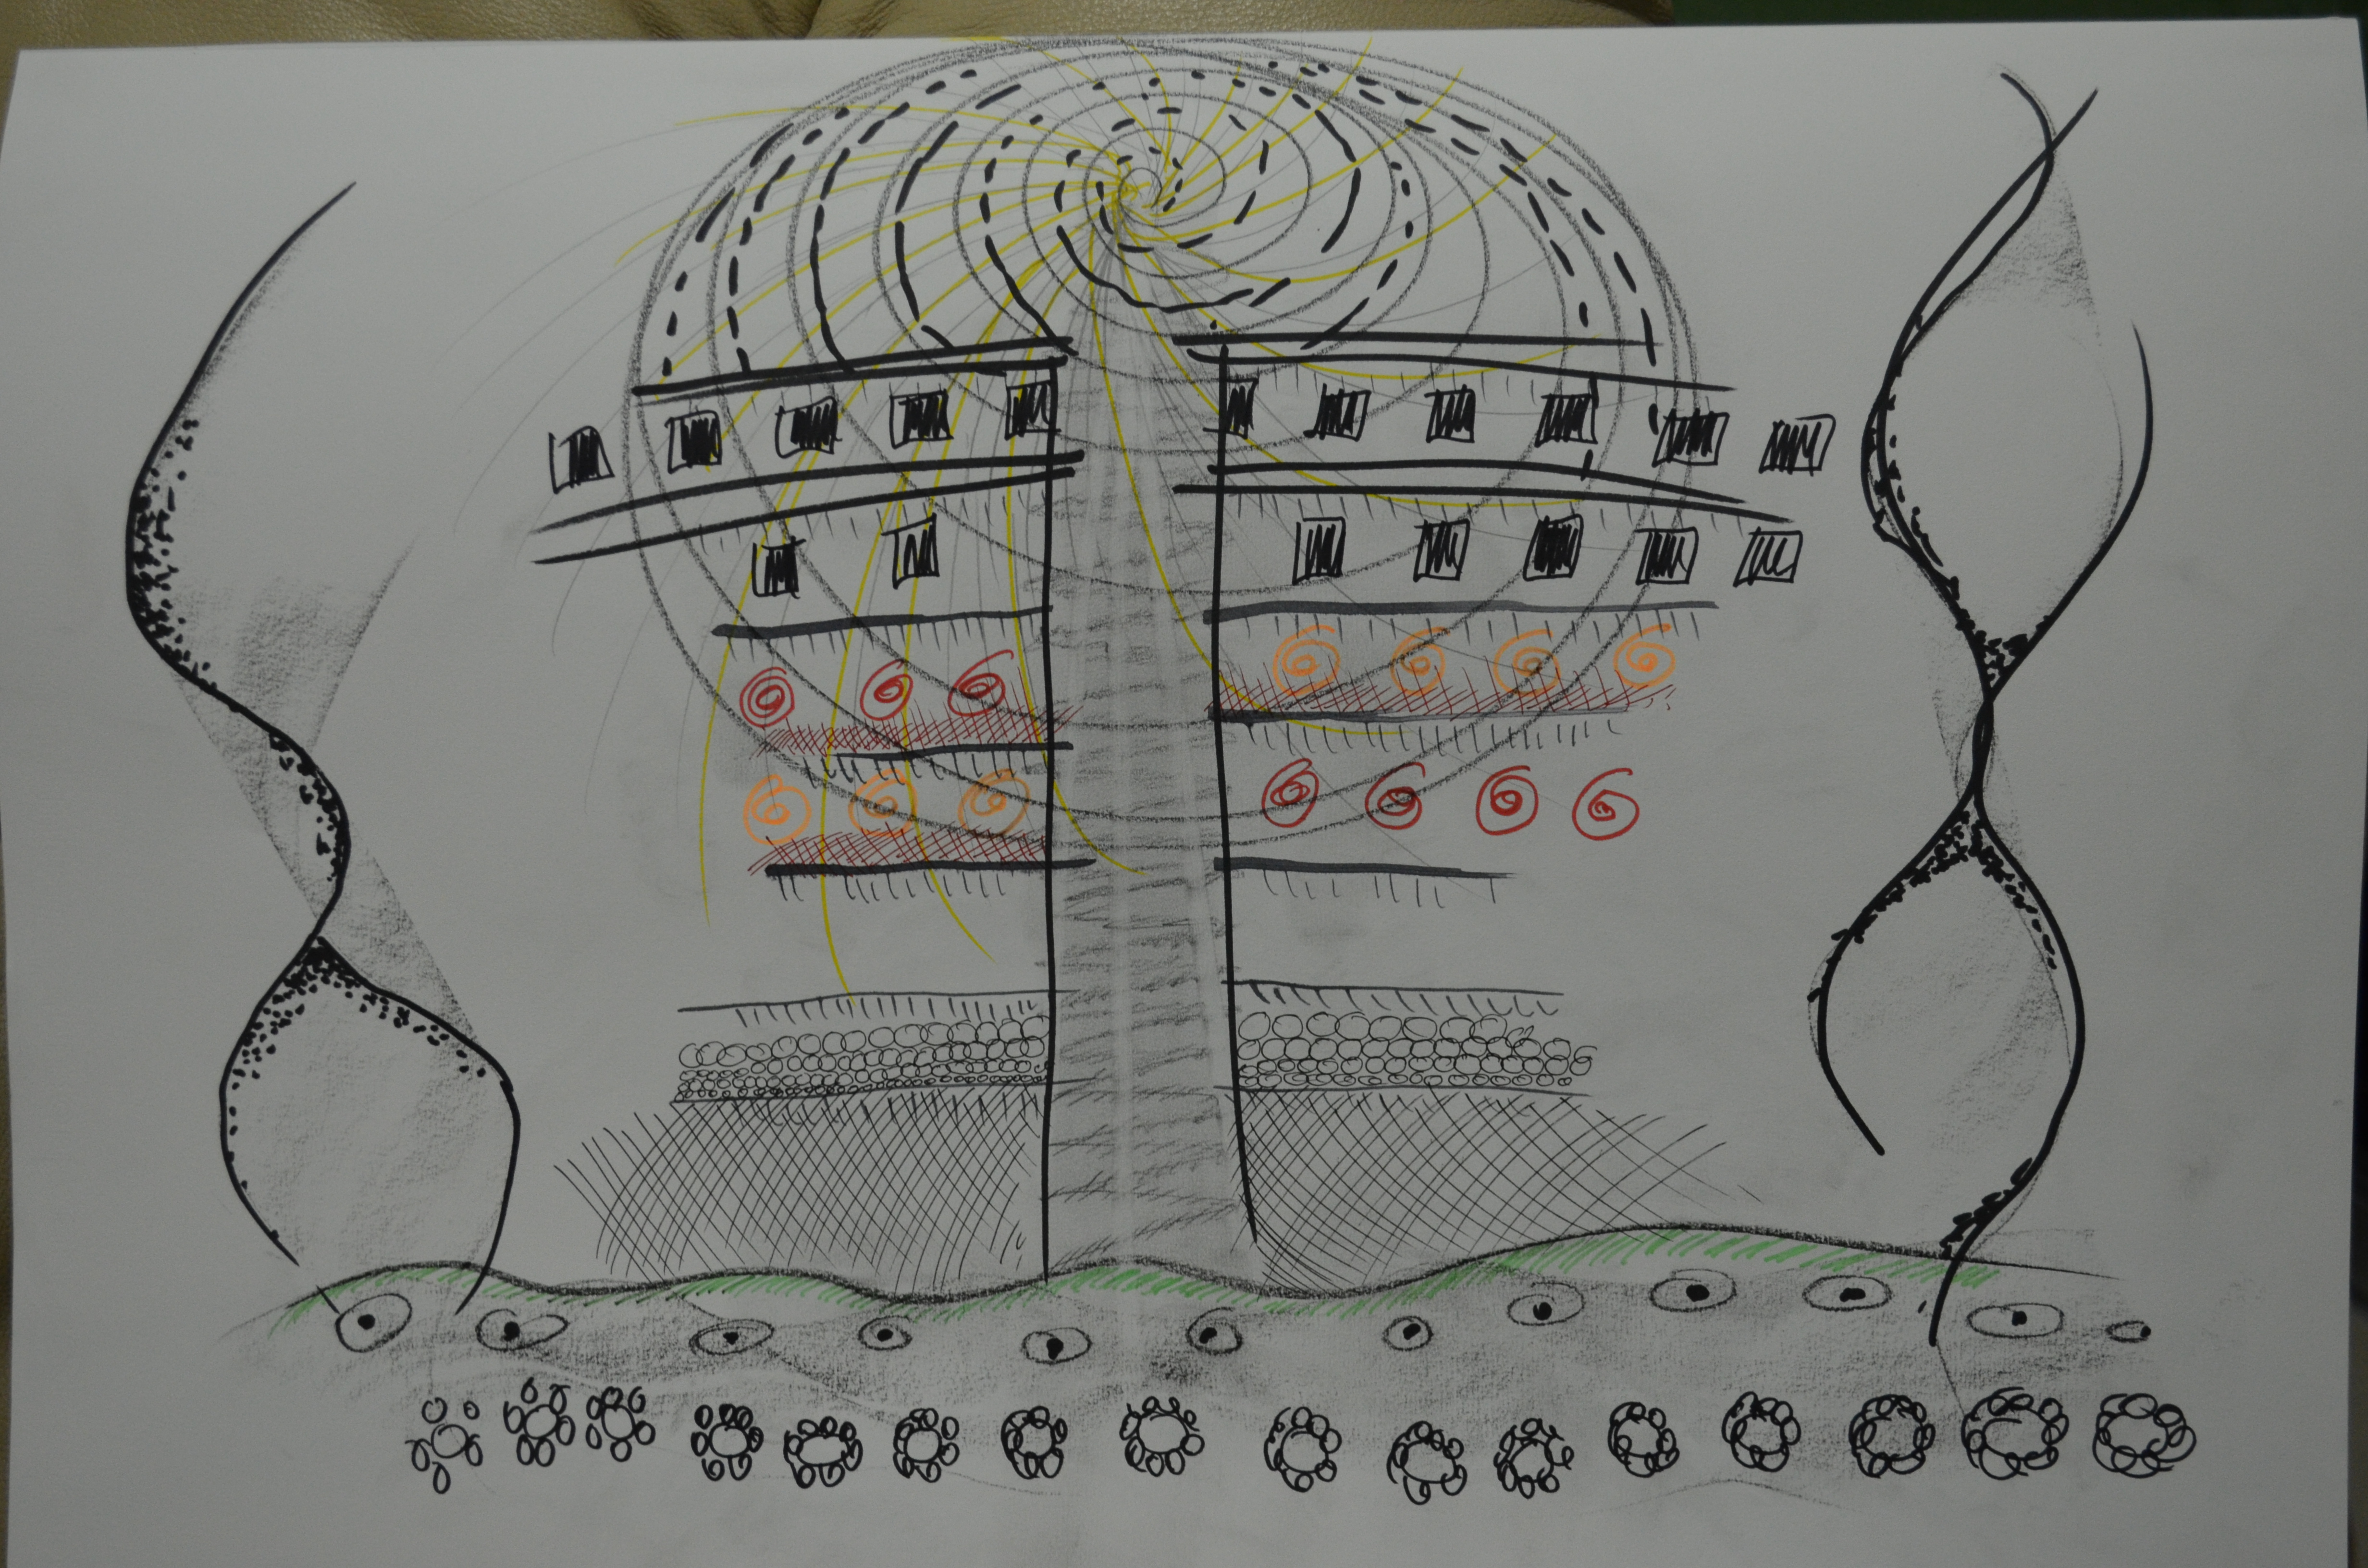
‘Free your mind and make as many possible marks as your hand will let you; let you let it trail across the paper slowly or use fast movements to give strong bold marks such as dashes, long wavy lines, dots and circles. Be inventive. Don’t attempt to draw anything in particular. Just try to become involved in the lines, dots and different kinds of shading which each medium will produce.’
I didn’t expect this exercise to be as difficult as it was, as a teenager I would spend most of my nights doodling to bring out ideas and still do to this day; but when asked to clear my mind and think of ‘water, flowers, buildings…‘ I found myself locked into my surroundings and the tall concrete buildings of Bangkok.
Dipping Pens, Charcoal, Markers, Felt Tip Pens and Graphite Pencil
I decided that the best way to approach the exercise was to limit the different drawing tools I used in each doodle as the position of my hand while holding a pen or pencil would smudge other soft mediums. And so I had to decide what I would use to create each image beforehand.
Felt Tips, Marker, Graphite Sticks and Hard Pastels
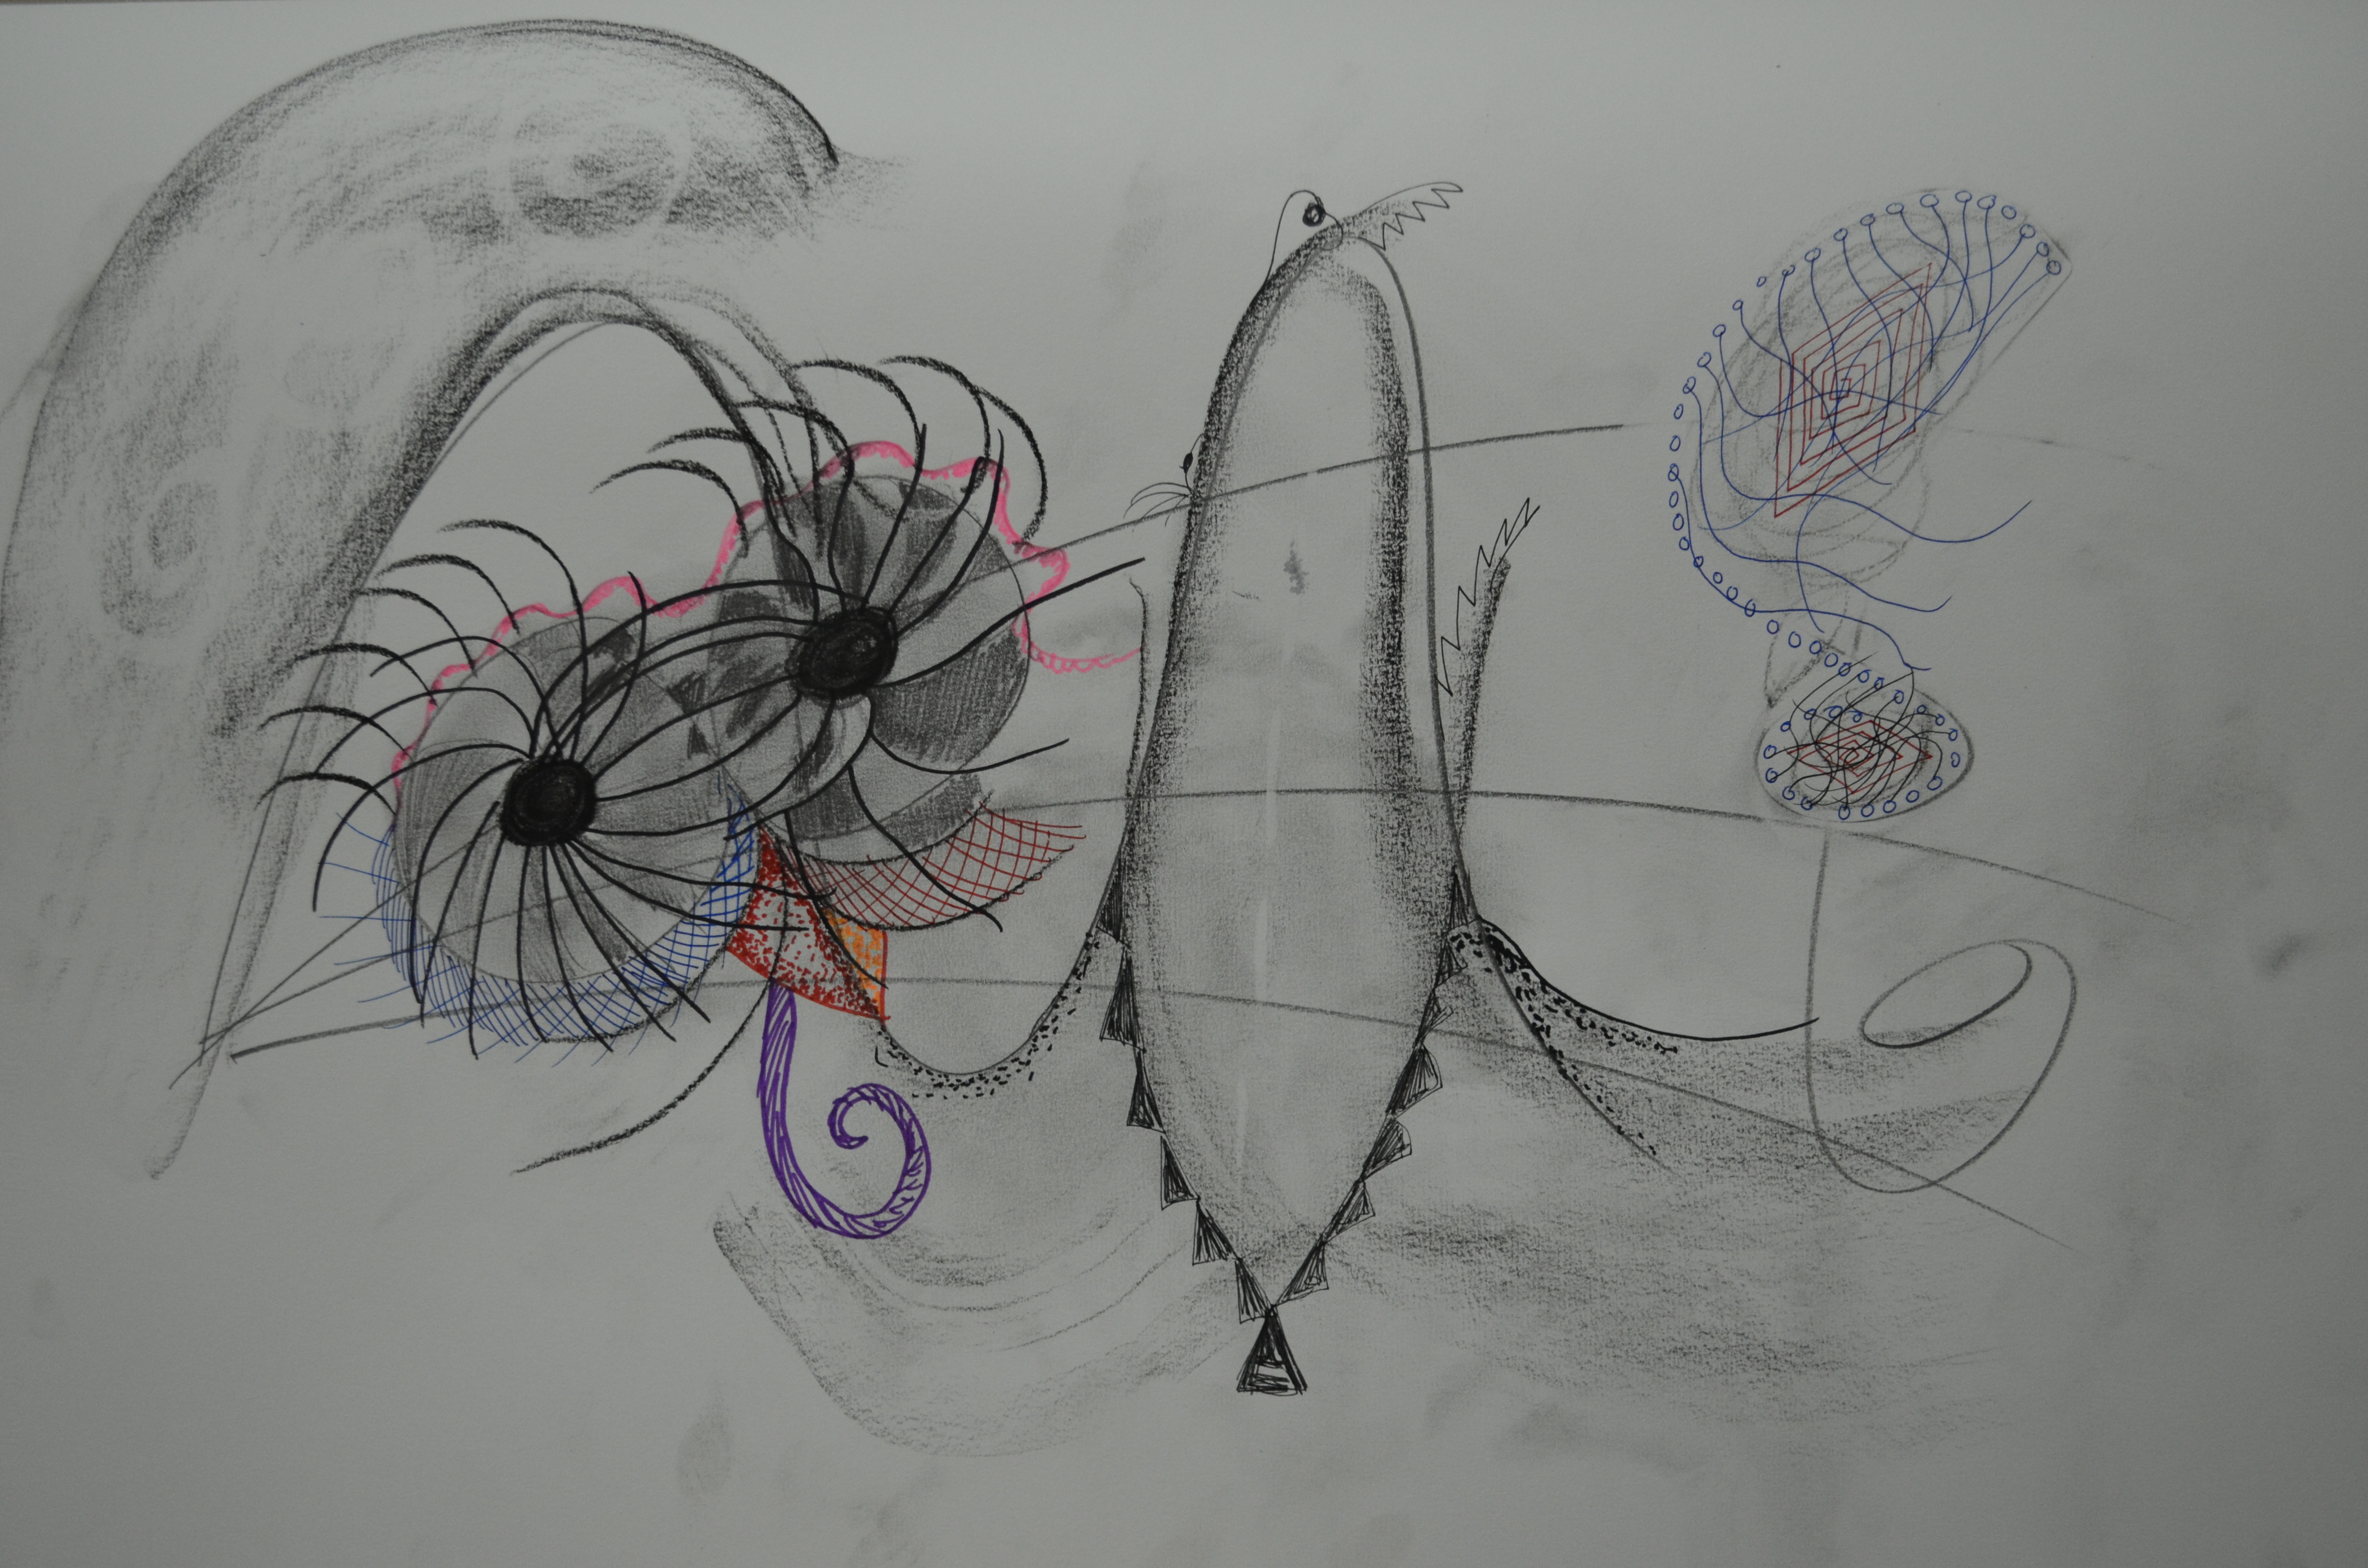
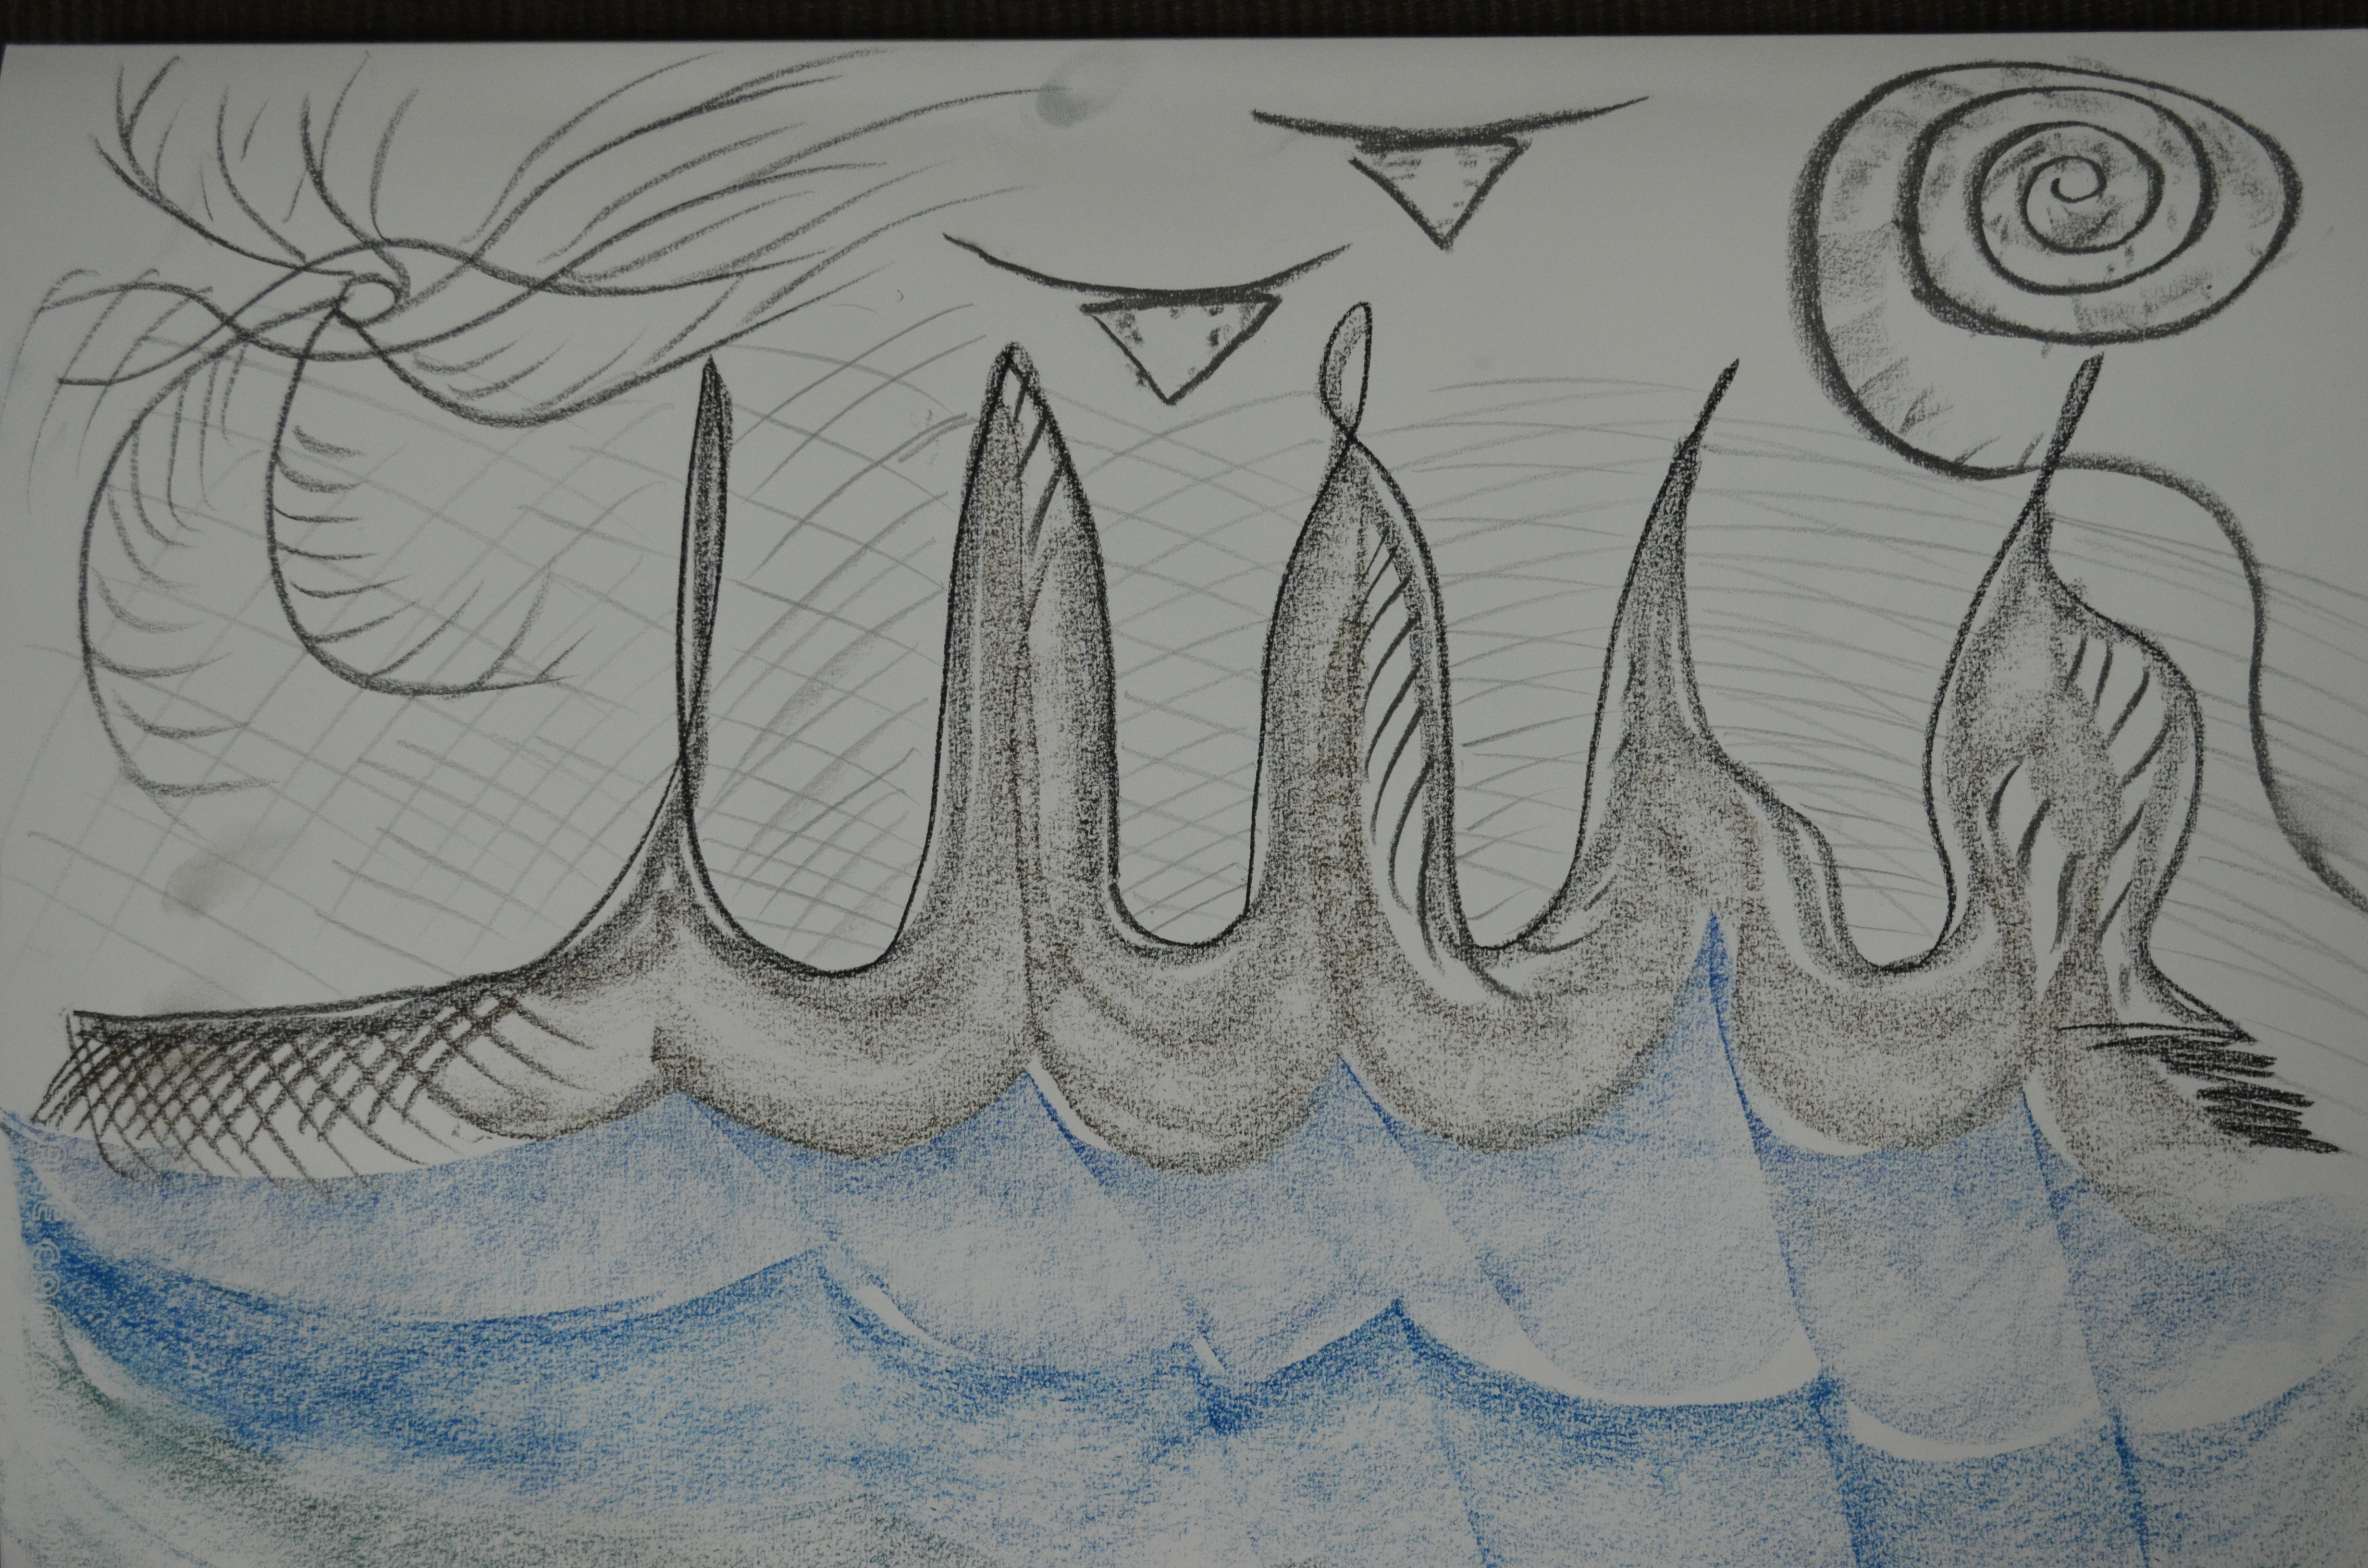
After the first two or three I was still struggling to break free and every time I thought I succeeded in the task at hand the Bangkok skyline would make another appearance so I decided to take time-out for a couple of days.
Charcoal, Biro, Markers, Felt Tip Pens, Graphite Pencil
Round two was a lot easier, I chose to start off with charcoal which was something that I had never used until exercise 1 ‘Holding Pens and Pencils‘. The charcoal was great for creating swooping lines and swirls which helped me to get away from the squares and rectangles I’d been creating in previous doodles while still thinking about buildings and water. I thoroughly enjoyed creating the next few doodles and it was great to try out new mediums such as graphite sticks and hard pastels.
This was a great exercise for getting to my newly purchased drawing tools, nib pens, Conté crayons, soft pastels, oil pastels, charcoal, solid graphite pencils and drawing pens plus a few more. The aim was to practise holding pens and pencils in different ways to see how they affect the way we approach drawing and the difference they make to our mark-making and how we draw.
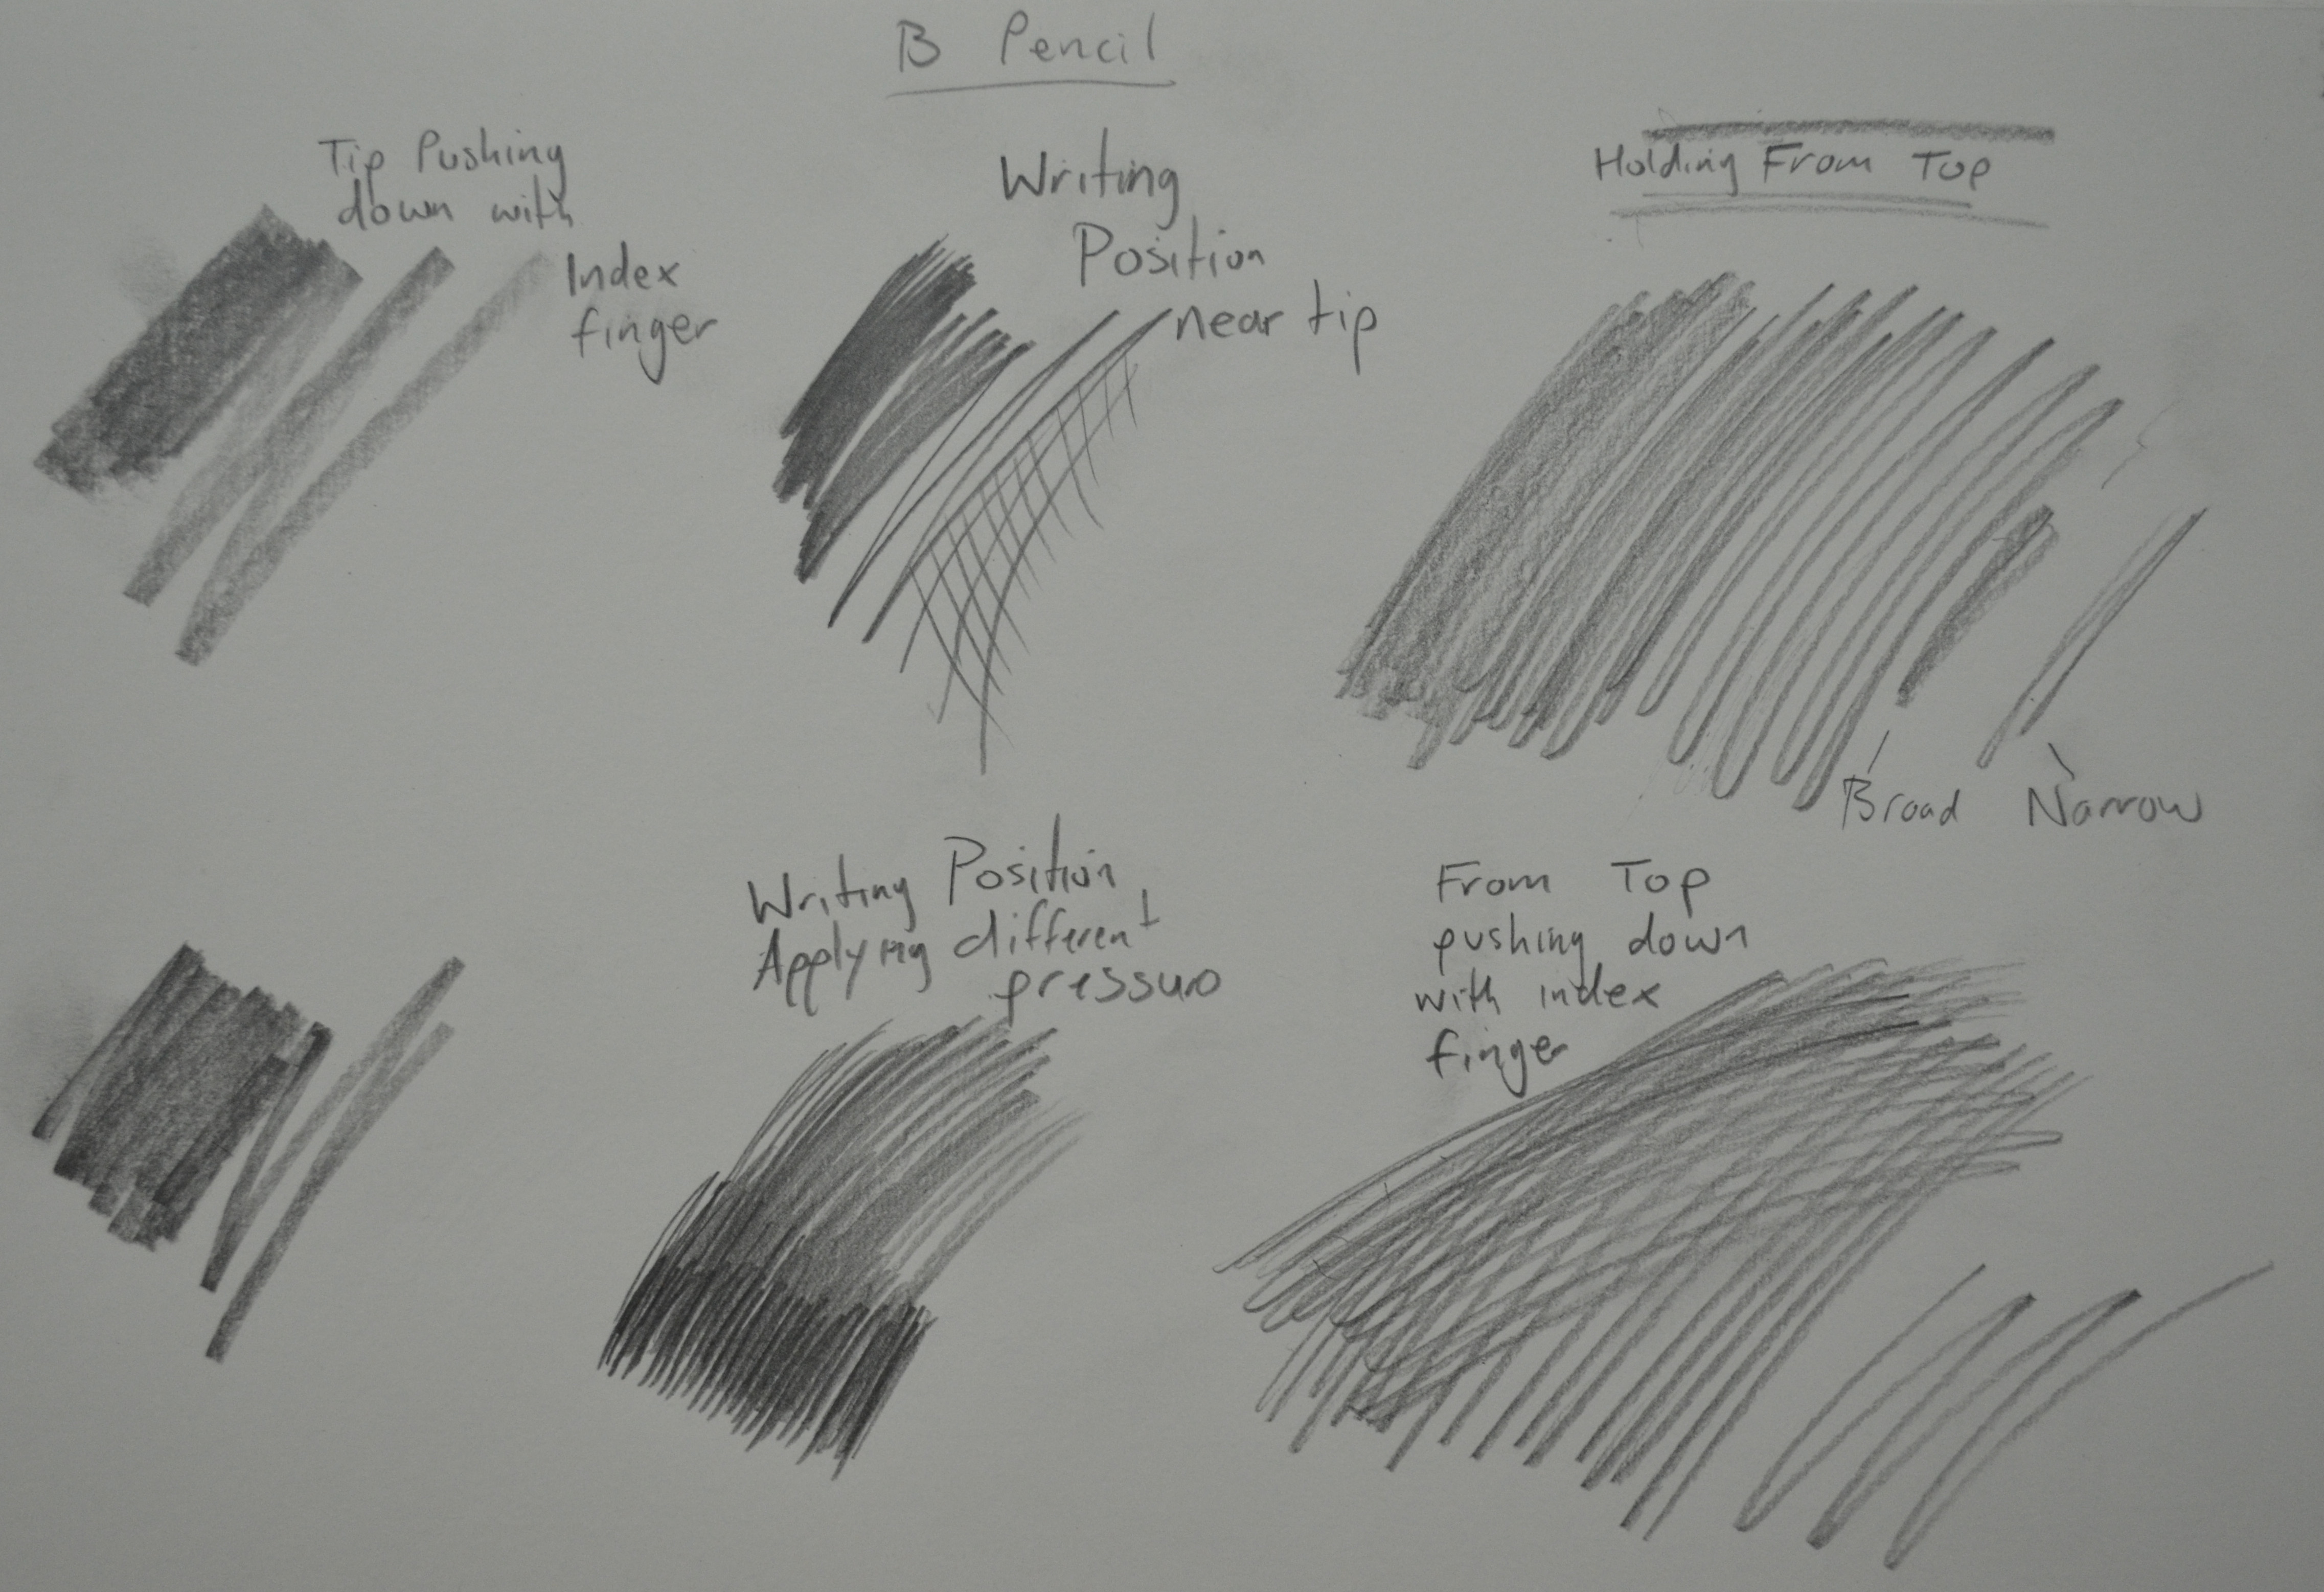
Starting off with a B sketching pencil I found that holding the pen close to the end in what I would call the natural writing position gives you the most control with the wrist acting as the pivot for movement which allows you to make marks more precisely. The conclusion I got from the making large strokes is that this technique is limited to drawing outlines.
Holding the pencil at the tip and pushing down with the index-finger gave me broad, soft lines, full of texture, amplified by the texture of the paper in my sketch book. It can be used for larger strokes by using the elbow as a pivot but it is undoubtedly better for covering small areas.
By holding the pencil at the very top and letting it dangle between my fingers created different marks, sometimes narrow other times broad and more textured, depending on the angle of the pencil which changed depending on how close my hand was to the paper. Holding the pencil in this manner gives you softer marks and allows for a longer stroke, although not precise this seems to be the most expressive.
Mark making with a B Sketching Pencil
I took note of the mood that strokes made by the different ways of holding the pencil seemed to express, calm, aggressive etc. I noticed that by applying more pressure and moving in larger strokes that the mood seemed to change.
Applying More Pressure
I tried holding several types of pens in the same three ways and found that only my Artliner drawing pens and Bic ballpoints changed in stroke and texture when gripping them in different ways. The size of the stroke from my 1.0 mm marker altered only slightly and the nib pen using different sized nibs and Chinese ink only allowed me to make downward strokes. The nib pen is probably my least favourite at the moment but in time I shall learn how to use it successfully.
Mark-Making Using Different Pens
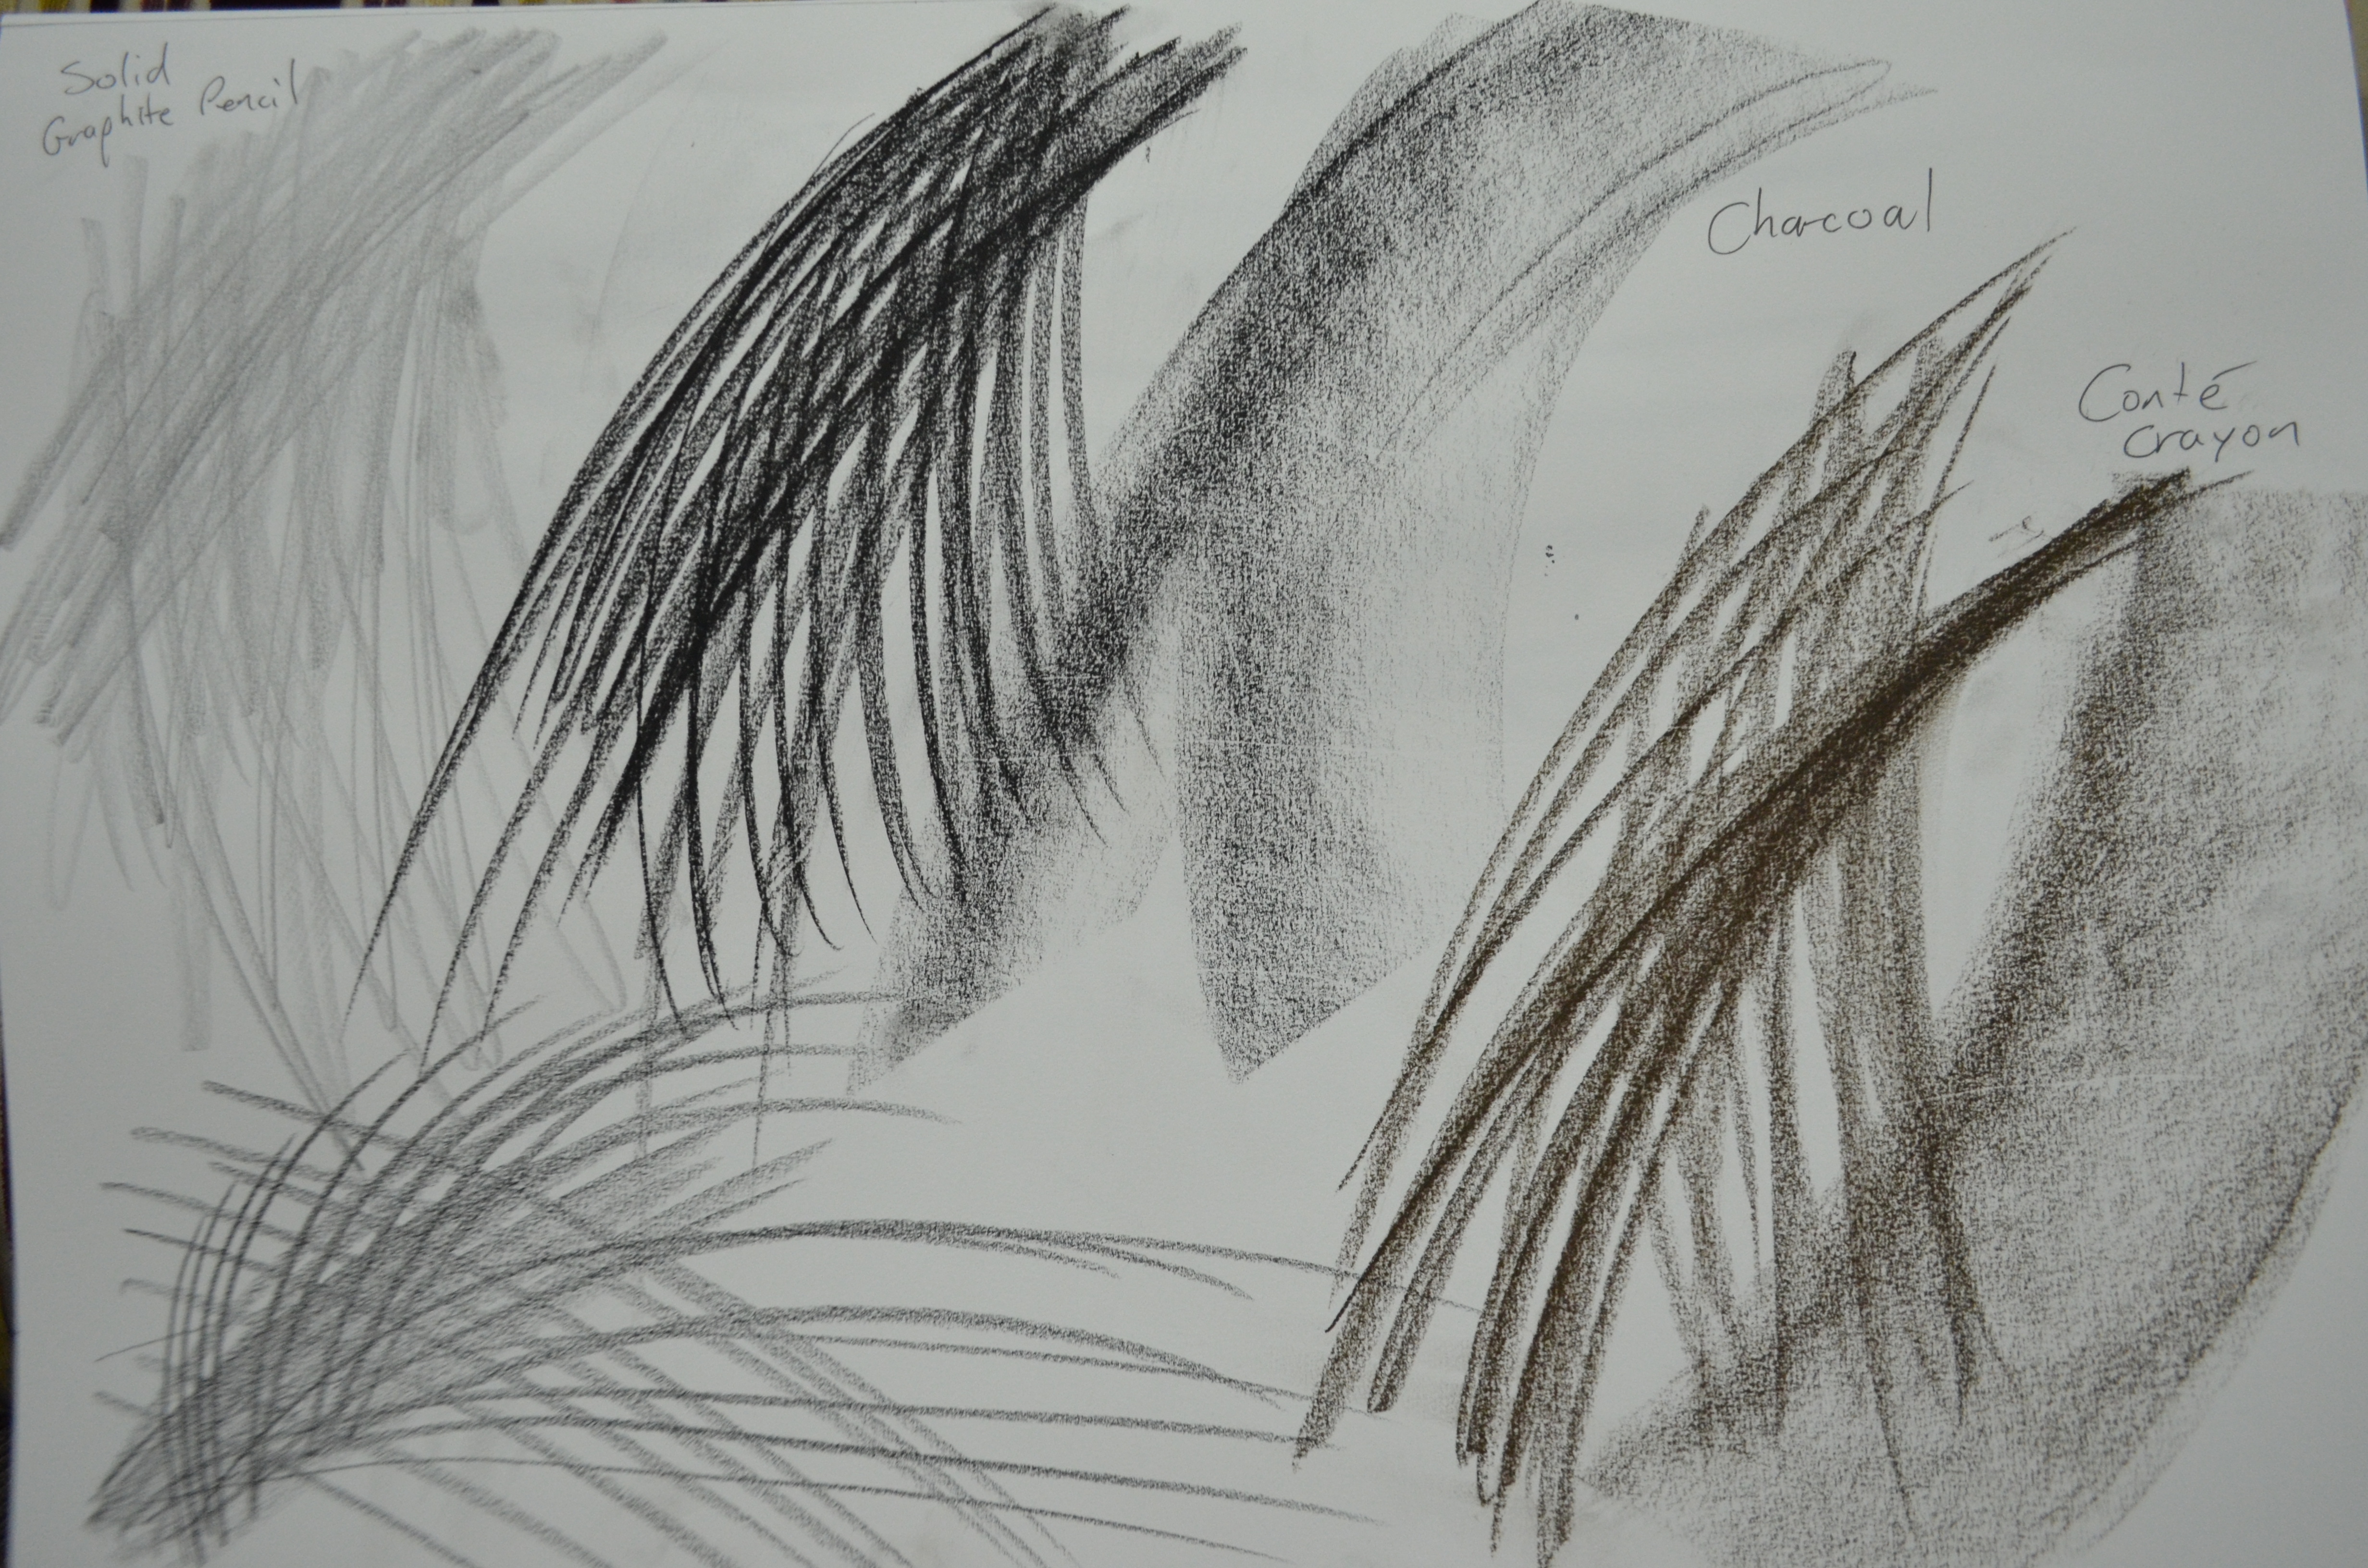
It was the first time I had used charcoal or Conté crayons but I found that they both make very similar marks. Using the edge of the tip of both gives a very strong line whilst using the side of both produces wide, soft, textured marks.
Charcoal and Conté Crayons
It was also the first time I had used soft pastels and oil pastels and found that the oil pastels had although making a similar mark to soft pastels felt more like a wax crayon while drawing on the paper. The soft pastels like the charcoal and Conté and charcoal can be smoothed in with the finger but I found them very messy and I shall have to practise how to use these along with fixative spray.
Its been two weeks since I enrolled on the Drawing Skills Level 1 course with OCA. My course materials arrived at the front office of my apartment last Wednesday, which I wasn’t informed about, so didn’t pick them up until Saturday when I tracked my parcel via the UPS site. I spent the weekend reading through the student handbook and then yesterday, changing my learning blog over from Blogger to WordPress. After one last outing to two different art supplies shops today, that included a ten mile bicycle ride, followed by a one hour nap, I finally started on part 1 of the course work.
I spent the two weeks before I enrolled making sure I could buy all the drawing tools and other things needed for the course, travelling round different areas of Bangkok and to several universities with shops that sold cheap art supplies. When downloaded the sample course materials from the site there was a few things I’d never heard of such as nib pens and kneadable rubbers so I had to check if the Thais knew what they were and where I could buy them from.
I’d only ever drawn with sketching pencils before but over the last two weeks I have built up a stock pile of wonderful and sometimes expensive drawing tools so it’s been great to finally put them to paper.

 Drawing wood has never been my forte but taking advantage of my position as a teacher in a Thai temple school I sat down to sketch the ideal wooden object to overcome this.
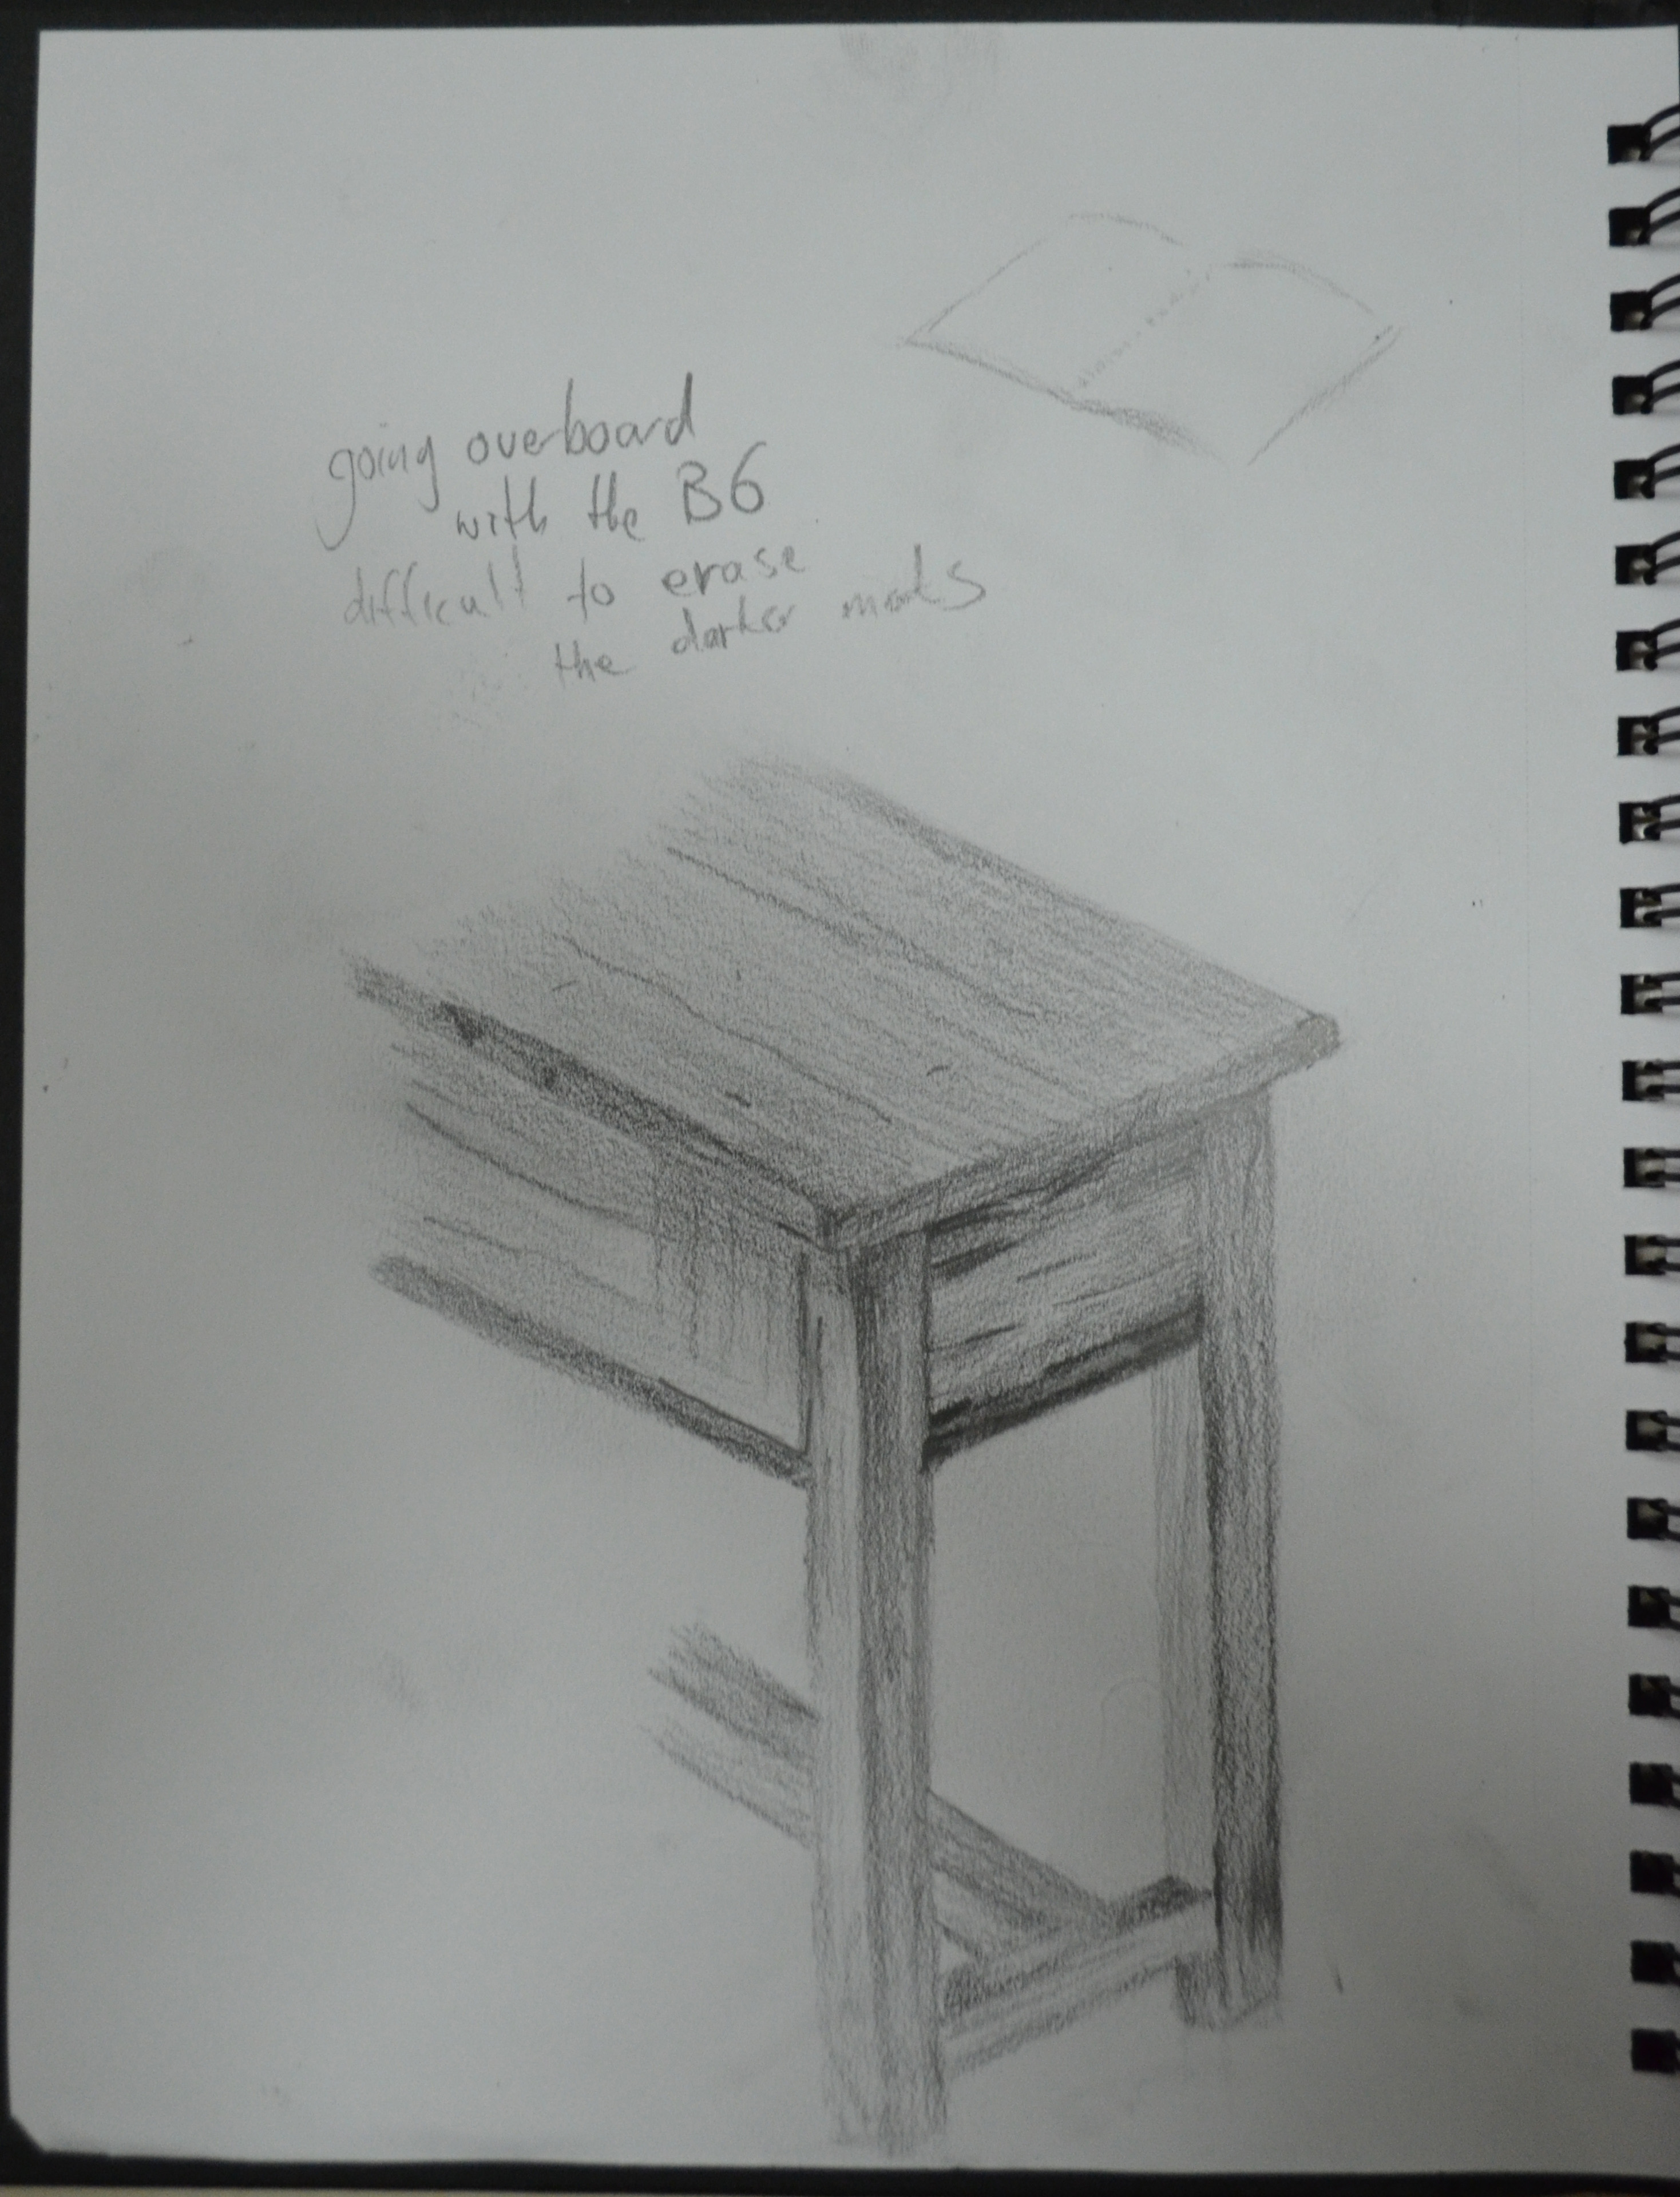 As my Thai students copied the oral test questions off the white board I found the perfect opportunity to practise drawing the head of a Thai child. The boy kept lifting his head up and down to browse the board which just added to the challenge however I will be finishing this off another time as certain features such as balloon lips and the uniquely shaped heads of Thai people are not something that I can finish off from memory. I would like to recreate this drawing again on large paper using colour.