1 Holding the Airbrush

2-holding-the-airbrush
1-holding-the-airbrush
1 Holding the Airbrush

In this exercise I followed similar steps to those in the first exercise of the drawing course. The aim was to see what marks I could make wit the airbrush and record what I did to make those marks.

Unlike the pencil where you can hold it at different angles with your fingers at different distances away from the tip or press down with varying pressure to get lots of types of marks, with a gravity feed airbrush it always has to be upright. Nonetheless, you can still achieve different marks.

Materials used for this exercise

  • Iwata Eclipse HP-CS
  • Badger Air Compressor
  • Sealer Dark
  • 190 gsm drawing paper

My Findings

Thin Lines – If I held the airbrush close to the paper with minimum pressure on the trigger (pulling back)  I created light, thin lines. If I applied more pressure I created dark, thin lines. If I applied to much pressure then to much paint come out and the lines smudged. Although thin lines would be good for drawing outlines I’m not sure if an airbrush artist would draw first in airbrush… would he draw in pencil or chalk first?

2-holding-the-airbrush
2 Holding the Airbrush

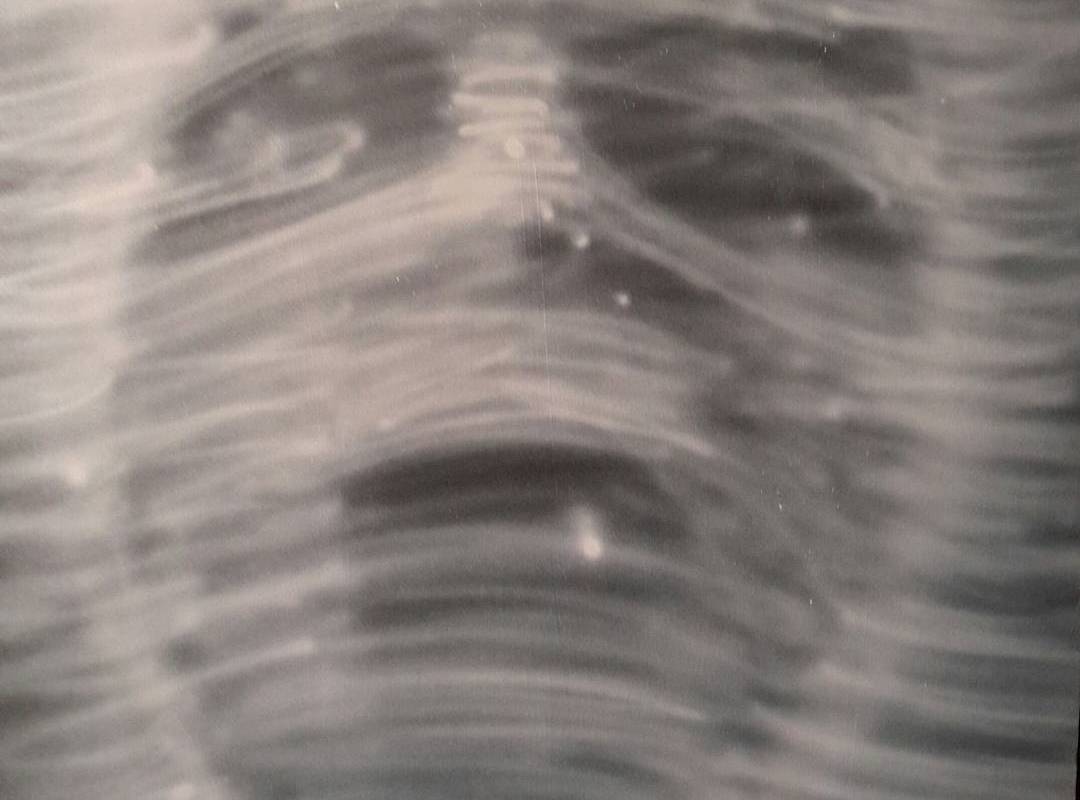
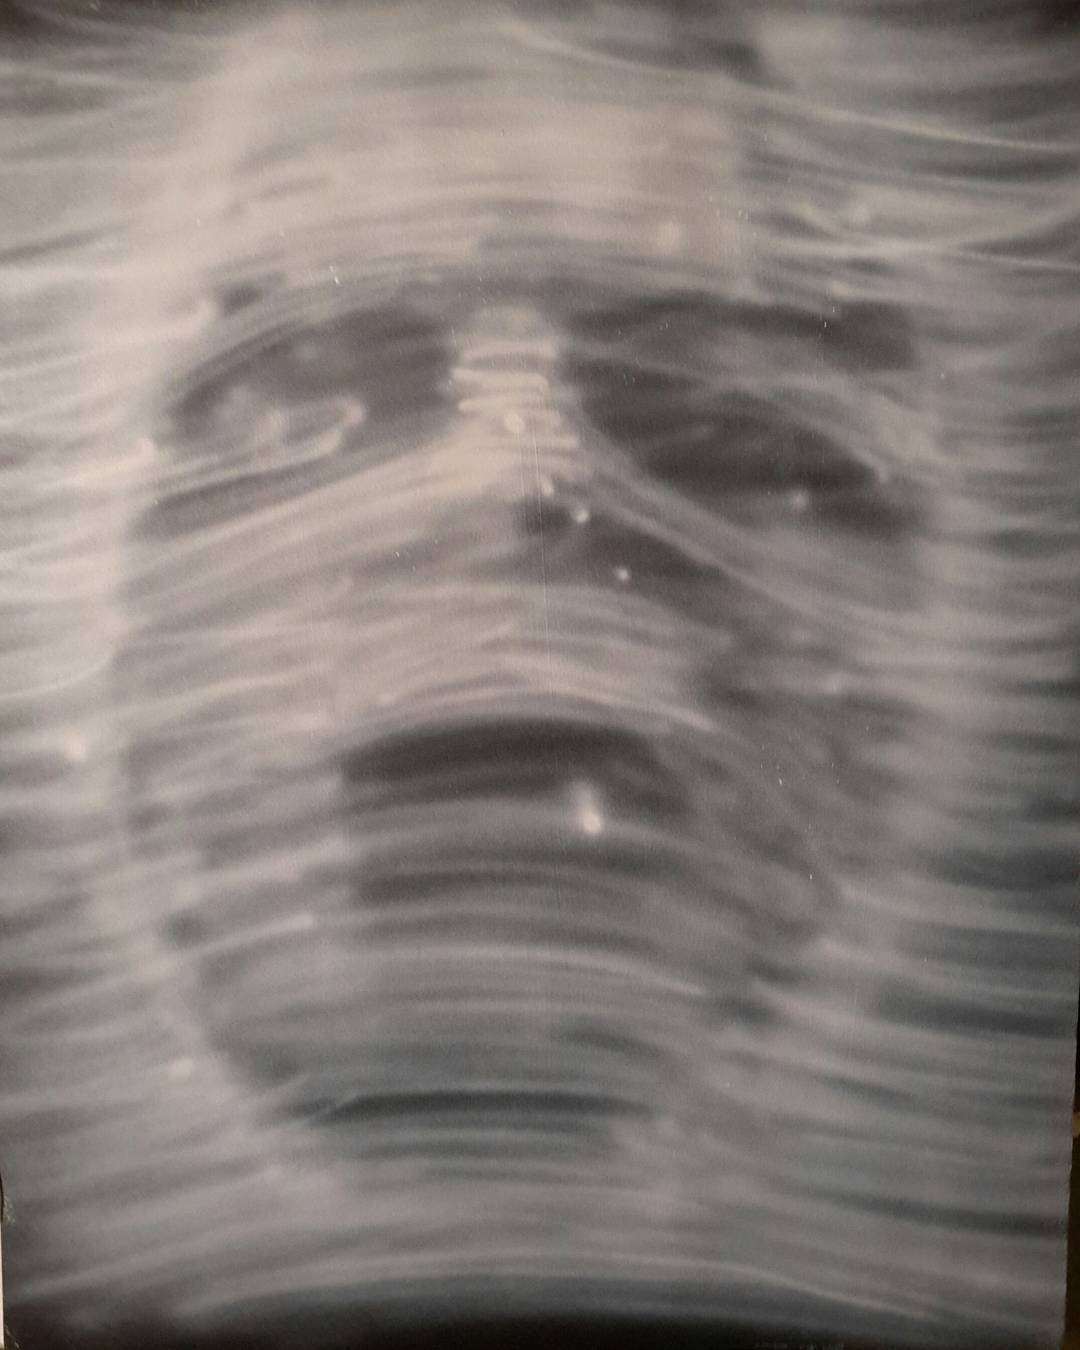
Broad lines – Broader lines are made in much the same way as the thin lines but with more distance between the airbrush and the surface being painted on. However if used to fill in blocks of colour or shading it is pretty difficult to layer the paint evenly, this will take a lot of practise.

Covering large areas – The Eclipse HP-CS seems to be for finer detail, although I bought it believing it was a good all rounder. It doesn’t seem to cover large areas very well so a larger spray gun will probably be needed.

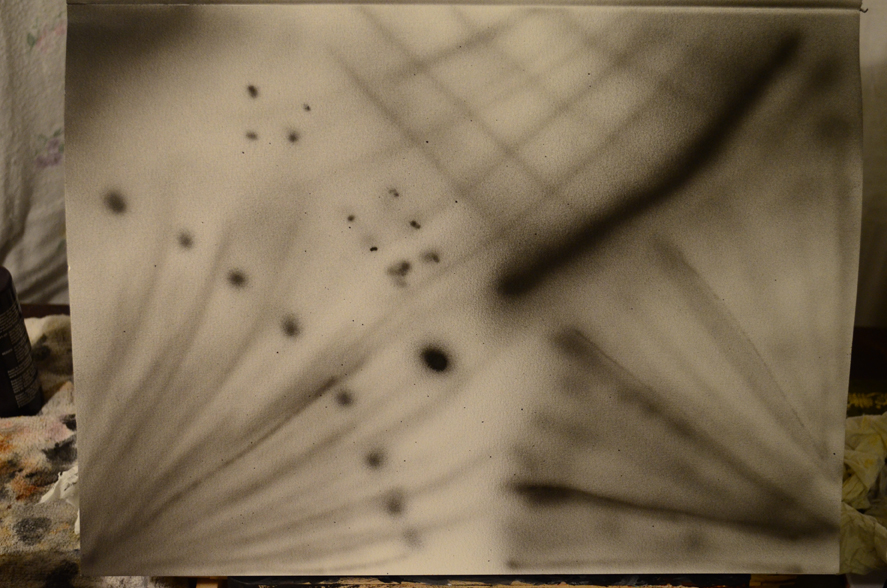
Spots and dots – As above with thin lines and broader lines the same effects can be achieved with spots, with the airbrush close to the paper it makes a more defined spot, moving the airbrush away from the paper for a larger spread.

Conclusion

3-holding-the-airbrush
3 Holding the Airbrush

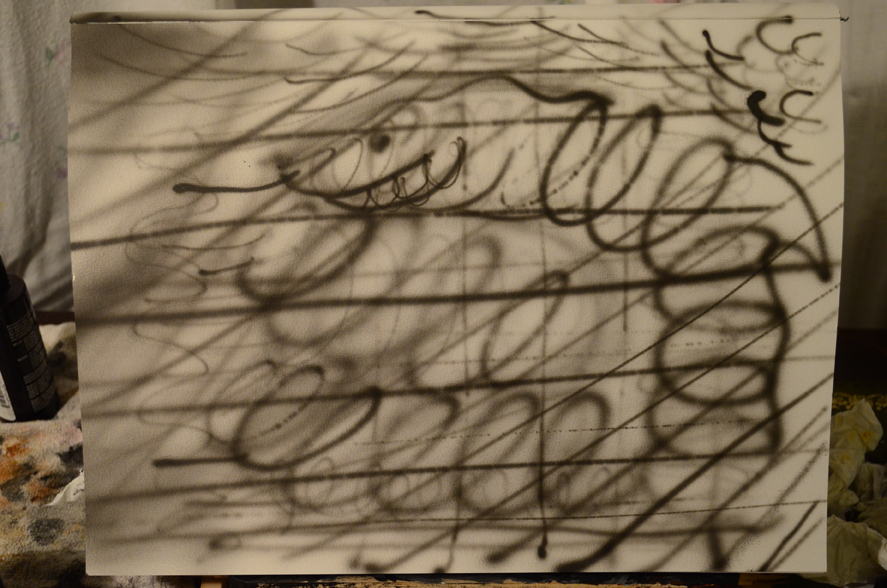
A wide range of marks can be made with the airbrush, which with a bit of practice can create some really smooth lines and effects but at this stage what I am lacking is control.

A New Direction in Airbrush

My First Drawing in Airbrush

Due to lack of funds and earning a wage less than what i needed to live, I returned from Thailand last June in the hope that I would earn more money and be able to continue my degree in the UK where the course fees would be cheaper. Unfortunately I missed my assessment deadline on my painting course  and had to drop out of the painting degree programme.

However, I’m not one to be held back by something like that and will do everything I can to continue my art journey, wherever that will take me, and for now that seems to be in the direction of airbrush art work.

While in Thailand I came up with an idea to do custom paintwork for motorbikes, helmets and snowboards etc with a friend of mine, so prior to my departure from the land of smirks I bought some airbrush equipment and paints and had them to delivered to my friends house who had a year to practise with them before my arrival.

The equipment I purchased was an Iwata Eclipse HP-CS along with a Badger Air compressor, Auto-Air Colors water-based paints, various cleaning equipment and Artool Freehand stencils. Still, the challenge is that I have never used an airbrush and before being able to produce work for paying clients, I have to become not just competent but excellent with this this type of media.


And so I will start this drawing course again using the airbrush as my chosen drawing tool in the hope that I will develop my skills with a tool that so far I seem to have no control over, as can be seen in my first airbrush piece above.

Nevertheless, I don’t just plan to be a commercial artist, I still want to continue experimenting and try to find my own style so that I can continue top produce contemporary paintings as well, hopefully airbrush can play apart in those.