1 Holding the Airbrush

2-holding-the-airbrush
1-holding-the-airbrush
1 Holding the Airbrush

In this exercise I followed similar steps to those in the first exercise of the drawing course. The aim was to see what marks I could make wit the airbrush and record what I did to make those marks.

Unlike the pencil where you can hold it at different angles with your fingers at different distances away from the tip or press down with varying pressure to get lots of types of marks, with a gravity feed airbrush it always has to be upright. Nonetheless, you can still achieve different marks.

Materials used for this exercise

  • Iwata Eclipse HP-CS
  • Badger Air Compressor
  • Sealer Dark
  • 190 gsm drawing paper

My Findings

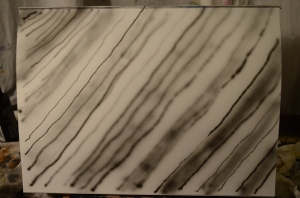
Thin Lines – If I held the airbrush close to the paper with minimum pressure on the trigger (pulling back)  I created light, thin lines. If I applied more pressure I created dark, thin lines. If I applied to much pressure then to much paint come out and the lines smudged. Although thin lines would be good for drawing outlines I’m not sure if an airbrush artist would draw first in airbrush… would he draw in pencil or chalk first?
2-holding-the-airbrush
2 Holding the Airbrush

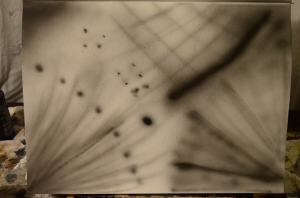
Broad lines – Broader lines are made in much the same way as the thin lines but with more distance between the airbrush and the surface being painted on. However if used to fill in blocks of colour or shading it is pretty difficult to layer the paint evenly, this will take a lot of practise.

Covering large areas – The Eclipse HP-CS seems to be for finer detail, although I bought it believing it was a good all rounder. It doesn’t seem to cover large areas very well so a larger spray gun will probably be needed.

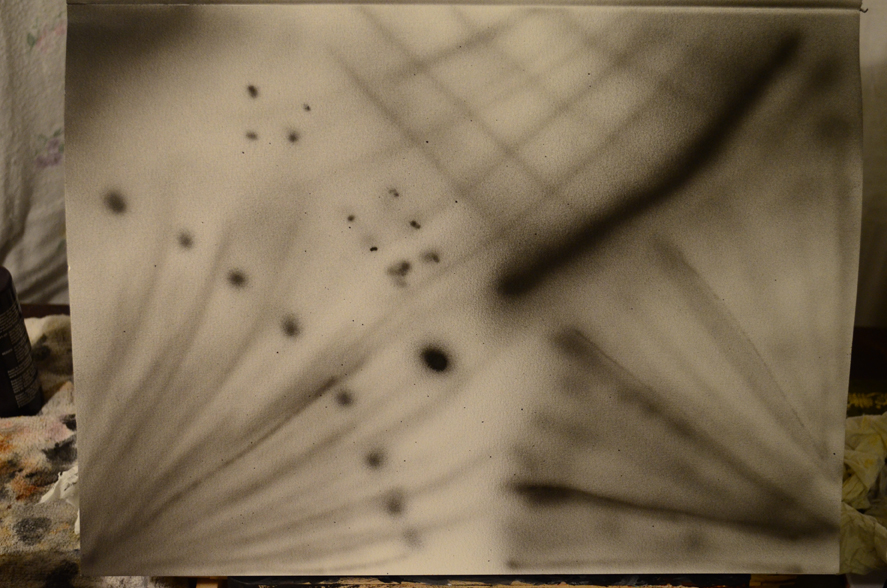
Spots and dots – As above with thin lines and broader lines the same effects can be achieved with spots, with the airbrush close to the paper it makes a more defined spot, moving the airbrush away from the paper for a larger spread.

Conclusion
3-holding-the-airbrush
3 Holding the Airbrush

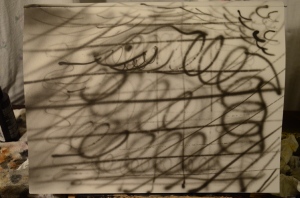
A wide range of marks can be made with the airbrush, which with a bit of practice can create some really smooth lines and effects but at this stage what I am lacking is control.
Making Marks – Check and Log

How did holding your pen or pencil in a different way affect your drawing? 

By holding near the bottom of the pen or pencil you allow yourself more control when making marks giving you more precise lines and the control to add more pressure if and when needed. Holding a pen from the top or ‘dangling from the top’ creates less controlled, lighter marks but and can allow you to fill larger areas at a much quicker pace. By holding the pen with finger pushing down on the tip you create broad heavy strokes that are both dark and smooth.

Which drawing tools suited the different mark-making techniques you used? 

For shading the best tools in my opinion are soft pencils, solid graphite pencils, graphite sticka and charcoal. Pencils, fine drawing pens, ball points and also coloured pencils are great for cross-hatching; felt tips may also be good with a bit of practise and knowledge of which is the best paper to use with these. However felt tips are great for stippling as the ink soaks into the paper quickly to leave a strong dot, drawing pens are also great for stippling.

Did you find that any marks or tools you used matched particular emotions or feelings? Did one convey calm and another frenzy for example? 

This is difficult to answer, one can convey calm with tools such as soft graphite pencils, graphite sticks, drawing pens and charcoal by making regular marks, smooth lines and strokes with soft edges but then the same tool can conveyed frenzy when used in a different way on the large sheets of paper. I found that the nib (dip) pens were quite scratch and so probably created a more negative mood.

How did the introduction of colour (soft pastels, Conte crayons) affect your mark making?

Introducing colour especially soft pastels, Conte crayons, wax crayons and hard pastels was distracting because it made me realize I really need the practise and so spent more time trying to get things right than being creative. However once I had used them for the first time it left me wanting to use them more.

Which of these experiments you found most interesting and rewarding? 

Definitely the Line and Other Marks exercise, it introduced me to colour for the first time plus tools that I had never used before as well as finding out how different mediums react to one other.