Part 5, Option 4, Reflection

Large Tonal Drawing in Colour Pastel

I started off this part of the course with a fresh try at drawing with energy as my attempts at gesture drawing in Part 4 – Drawing Figures  where rather crap and so I read more of ‘Force’ by Michael D. Mattesi. So with a Chinese marker, larger sheets of drawing paper and my new found knowledge of applied force and road of rhythm, I set out to create more quick and dynamic figure drawings. Not only were these energetic drawings a vast improvement on any of my quick figure drawings in Part 4 but they were a great inspiration for the next few exercises.

Drawing 2
Drawing with Energy


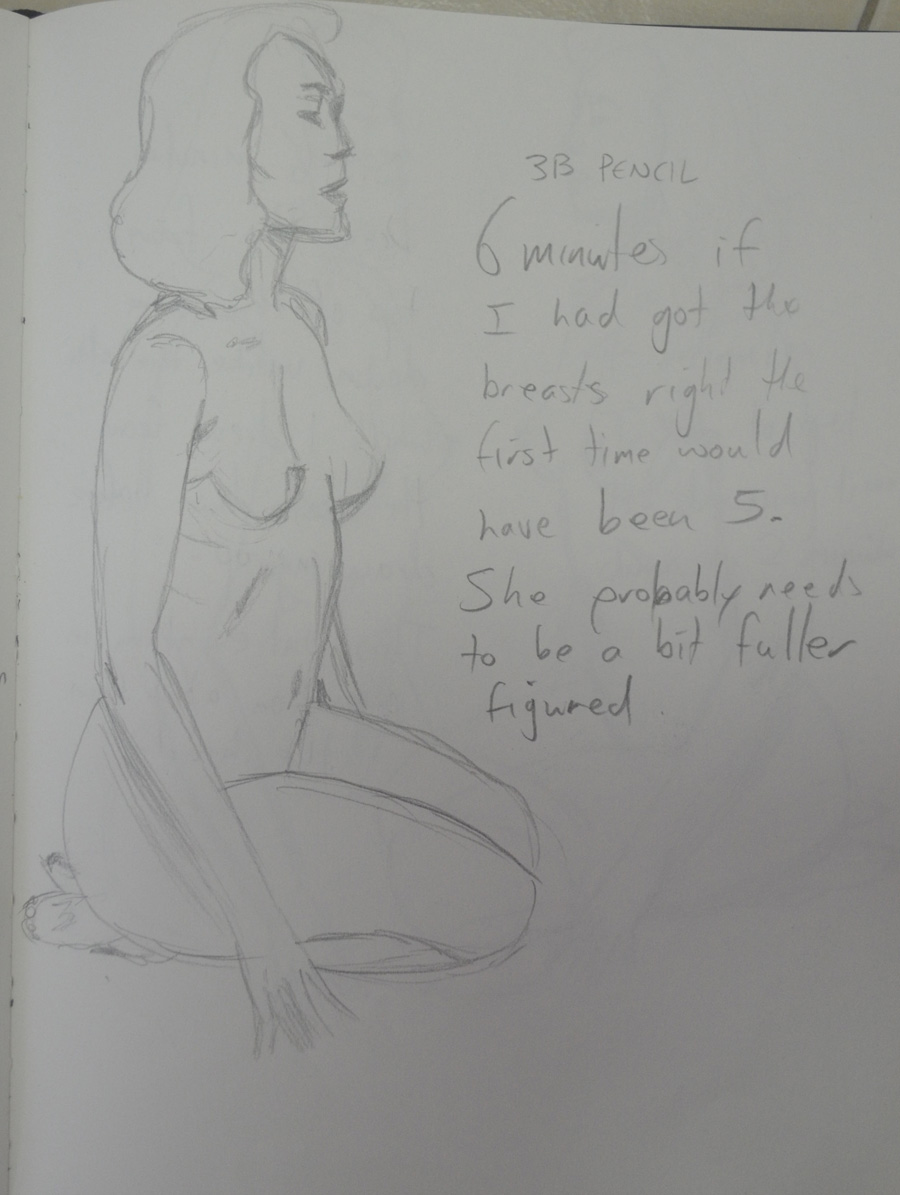
I had been struggling in the Quick Poses exercise in the last module but the Quick Studies exercise in Part 5 was a breeze due to the fresh practice at energy drawings and also applying what I had learnt, unlike the hairy sketches in Part 4 the quick studies in this part were smoother and with a new found confidence I drew faster and faster sometimes getting the drawing time down to 3 minutes.

Drawing 30 - Kneeling 3B Pencil
Quick Studies

After researching how famous artists used line I took that new found confidence and applied it to the second part of this research where I had a go at using line in the style of famous artists. The results weren’t that great, I’m not sure if drawing in the style of Klimt or Schiele resembled the two artists’ work but I was pretty happy with drawing in the style of Hockney, Ingres and Giacometti, particularly the last two artists.

5 - Drawing in the Style of Ingres
5 – Drawing in the Style of Ingres
6 - Drawing in the Style of Giacometti
6 – Drawing in the Style of Giacometti

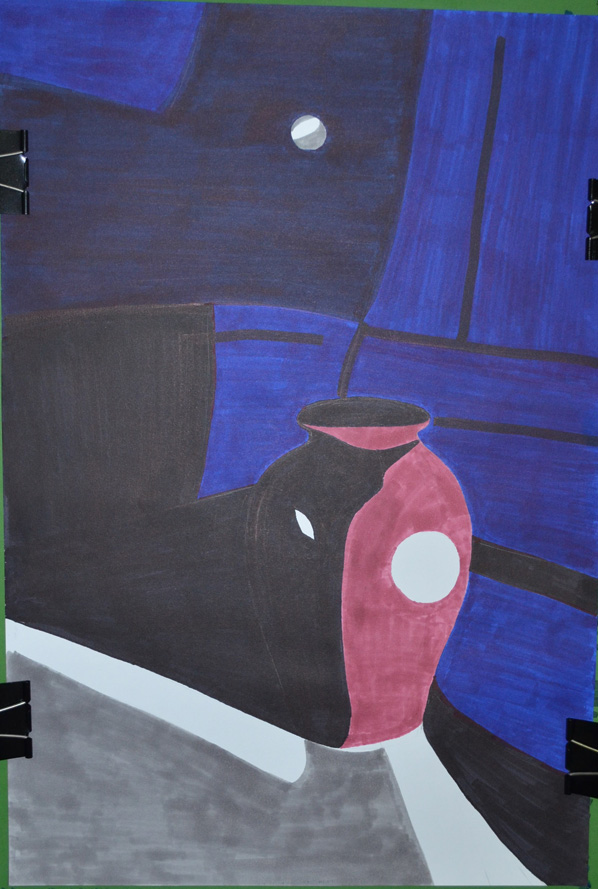
I’m not sure whether I did enough drawing with colour in the using colour exercise  but I do feel that I did ample experimenting with mixed media particularly the collage work which I was quite happy with, producing the drawing below was particularly satisfying but I may have to go over the hair in black.

3 - Collage with Black Felt Tip
3 – Collage with Black Felt Tip

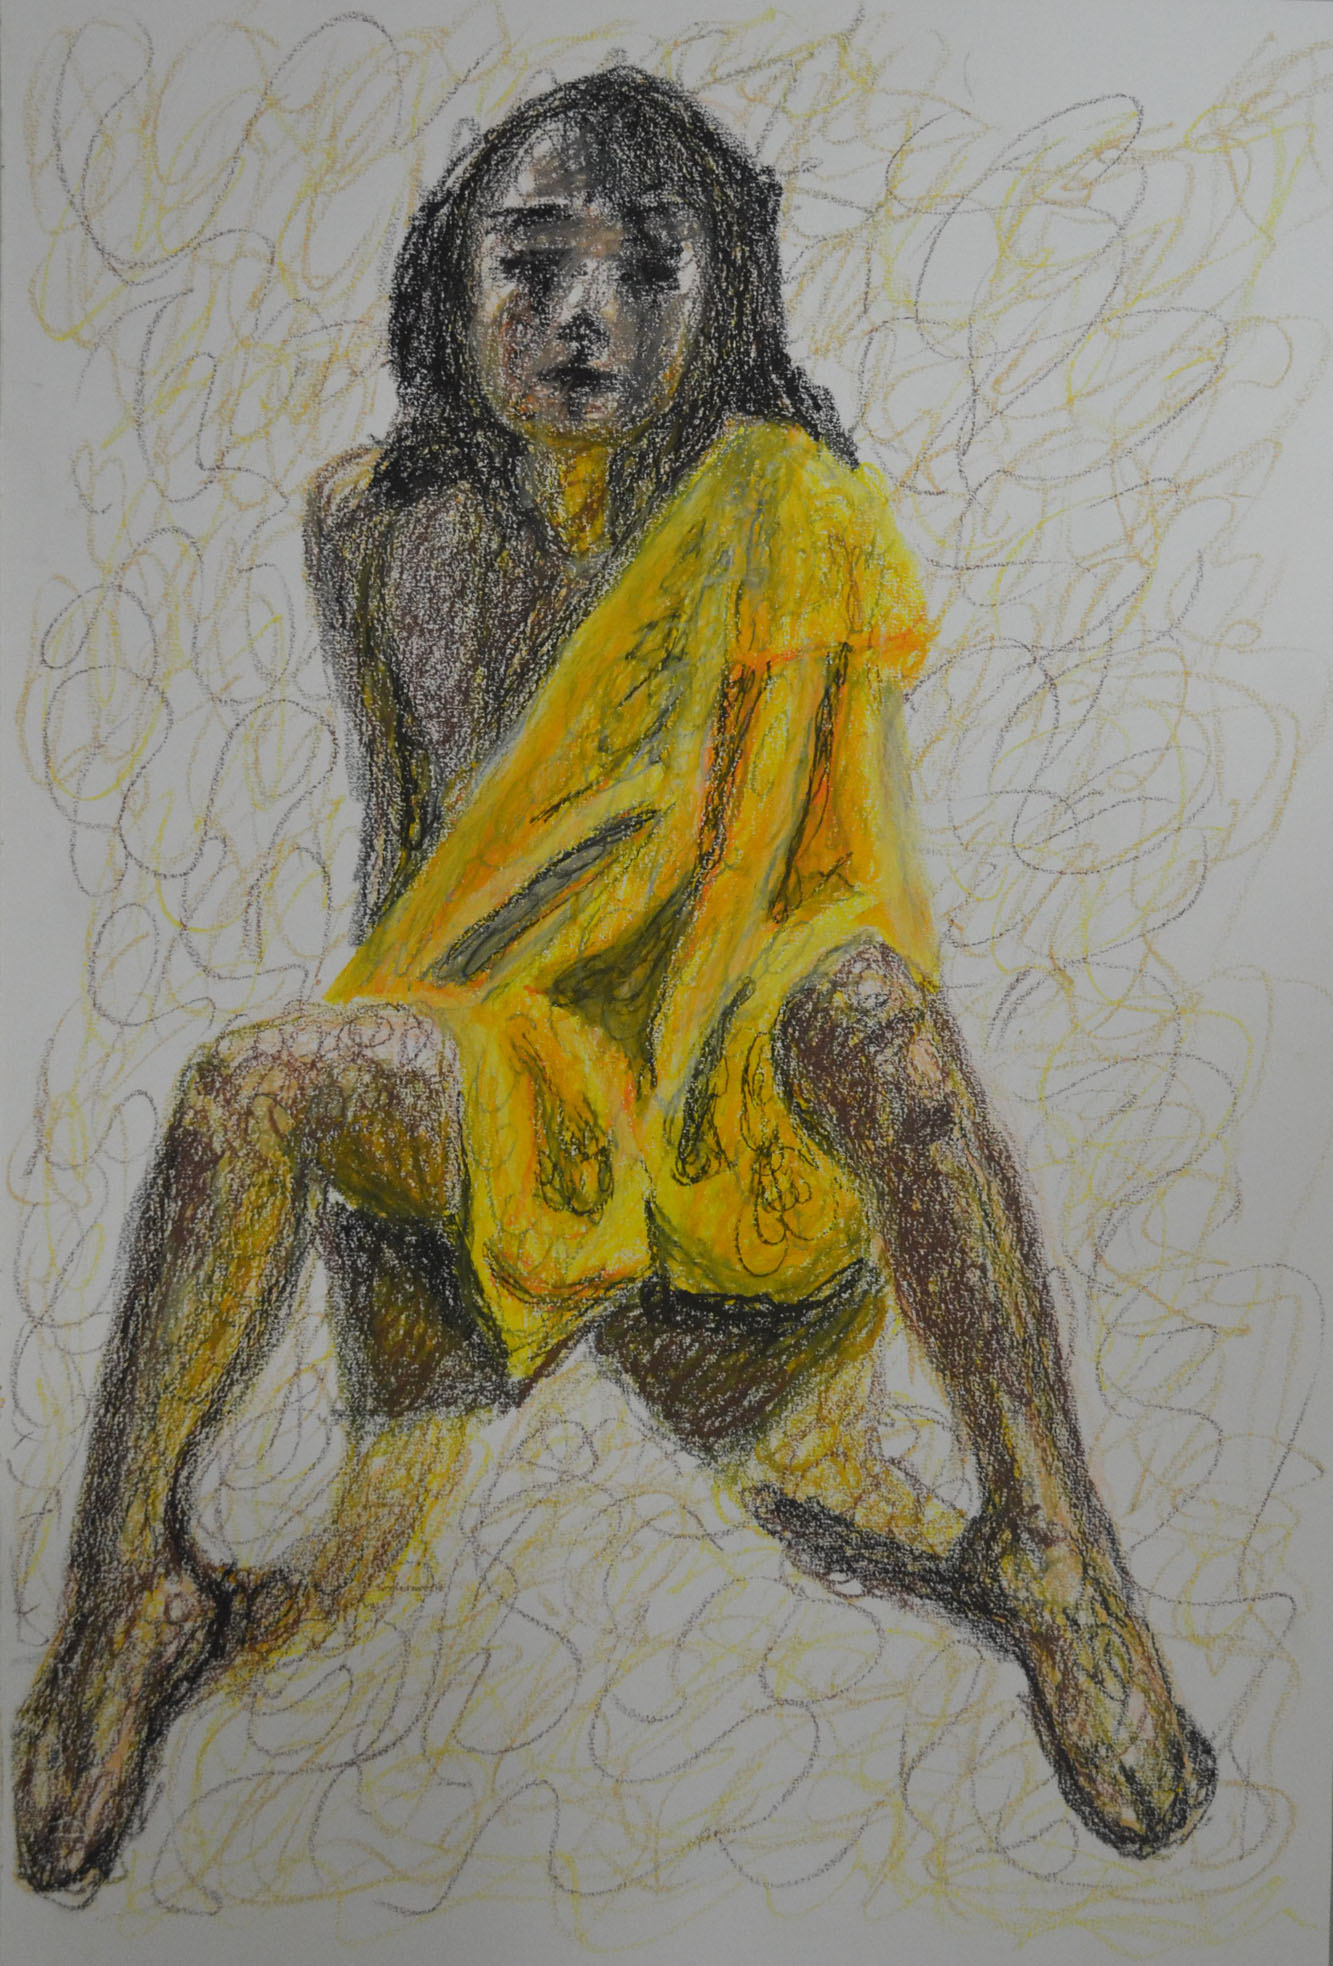
This drawing in oil pastel below gave me some very interesting ideas for Assignment 5, which I will reflect on in the next post.

1 - Oil Pastel with Robe and Squiggles
1 – Oil Pastel with Robe and Squiggles

I was trying  not to get sucked into producing nudes for the rest of this module but that’s the direction I felt I was going in as I knew there was so much I could do with the nude figure and so many drawing tools I could use for them, I was especially happy with the drawing below in hard pastel that I produced for the Tonal Studies exercise which I will also send off for assessment. I love the way that I used contrasting colours to build up the tone and form of the sitter with very fluid hatching.

Large Tonal Drawing in Colour Pastel
7 – A2 Tonal Drawing in Pastel Pencil on Ingres

This module gave me enough ideas and time to reflect on the type of piece I wanted to produce for Assignment 5, I knew I wanted to produce a full figure drawing, I knew the sitter would not be totally nude as I wanted to draw folds in cloth again but what I hadn’t decided on was if it was going to be an expressive figure drawing or analytical study or what medium I would be using for the assignment.

Project: Self Portrait – Research Point

7 - Seventh Self Portrait in 4B

Which drawing materials produced the best results? Why?

I have produced good ad bad drawings with all tools apart from soft pastel but that was down to me being sloppy I think taking proper care with soft pastel would have also got me good results.

Drawing with pencil may have not got me the best results but it is certainly the most precise tool for the job and easily corrected which I think self portrait drawings at this stage (for me anyway) need a lot of correcting in order to get a likeness.

I loved drawing with watercolour pencil as the finished drawing really does stand out but unfortunately because the lines made with this drawing tool were so strong it made me look ten years older. I could have probably kept working on it to get more of a likeness but I didn’t want to ruin the drawing.

Until I made the last drawing the watercolour pencil was my favourite self portrait, even though the conte pencil drawing doesn’t look like me I am, it is very expressive and I am very satisfied with the results.

Does your self portrait look like you? Show it to a couple of friends or family members and note down their comments.

There is an element of me each in each one of the drawings in this project, some drawings look more like me than others. The younger students had the best comments which were mainly ‘mr Mark! Children see differently from adults the fact that all us white folk look the same also helps.

Friends and family mostly said the same thing, that they made me look older and didn’t do me justice, I do agree with them to a point, I’m only 40 and the drawings make me look at least 50 apart from the drawing below, which has the best likeness, even though the rough hatching does add a few years to me.

7 - Seventh Self Portrait in 4B
7 – Seventh Self Portrait in 4B

Did you find it easy to convert your sketches into a portrait?

My sketches weren’t converted into portraits, each portrait was a fresh drawing with my head in a different position but with each drawing I did I do think I improved a lot, the preliminary sketches  in the Drawing Your Face Exercise did get me used to ‘drawing my face’ and head and so it was a lot easier in this ‘A Self Portrait‘ exercise.

Were your preliminary drawings adequate?

I really do need a lot more practise but I do think that my preliminary drawings got me to a stage where I am quite confident to do a self portrait without worrying if it is going to look like me or not. They taught me how to he key features correct and why the shape of the head is so important for a true likeness.

Proportions – Check and Log

8th Sketch 10 Minutes Compressed Charcoal

Have you managed to make a complete statement within this time? What were your main problems?

Within 2 minutes? No, there is definitely a lot more time needed at this stage, however, with more practise drawing the human figure, two minutes could be enough to make a statement of a sort, more so with ten minutes. With one hour in ‘The Longer Pose‘ I do feel I managed to make a complete statement but the drawings did suffer with consistency.

Problems…

1. I have this knack of drawing the bodies really well with flowing lines but then when I get to the head and face I tend to tighten up and give the subject Action Man/Thunderbirds’ like features. I don’t know how other people see the drawings but that’s what I see.

How well have you captured the characteristics of the pose?

In the 2 minute life-drawing sketches In the ‘Quick Poses‘ exercise I would say about 50/50 I can see the original pose in what I captured on paper but then I would say that others probably wouldn’t get it. But then in ‘The Longer Pose’ exercise I would say ever I have managed to capture, in the pose, what draw me to it in the first place.

Do the proportions look right? If now how will you try to improve this?

In the quick poses the sketches do seem to be out of proportion in 2 or 3 but I think this was down to excitement more than anything else, it was the first time I had done any life-drawing and I was also worried that the model (my girlfriend) would be uncomfortable so I rushed my strokes. All the sitting poses however were in proportion and measured the same from the head to the seat of the backside.


Observing Negative Space and Perspective

This exercise of observing negative space and perspective involved following the silhouette of a group of objects that shared similar elements with a soft drawing tool such as soft pencil without taking it off the paper.

I drew in from the left using the furthest edge of the table as a starting point and followed the upper silhouette of the objects carefully assessing the silhouette and proportions of each object and changing the direction of the line as the silhouette of one object impacted off another.

Then I went back to my original starting point and followed the line until it reached the first object again then followed the bottom silhouette of the objects following the same steps as the top half. When the bottom half of the silhouette was complete I went back and drew in the details of the objects themselves.

Observing Negative Space and Perspective 1
Observing Negative Space and Perspective 1st Attempt

I used a 6B pencil for this exercise as I am still waiting for Derwent to send me replacements for my 7, 8 and 9B. I found the exercise quite difficult and frankly one that I should keep having ago at from time to time.

Observing Negative Space and Perspective 2
Observing Negative Space and Perspective 2nd Attempt

I made a few attempts without taking my pencil off the paper and I was actually very surprised when I drew the bottom silhouette and the objects looked something similar to what they did in my composition. There were a few errors in each of my attempts, vase to wide (starting to draw it too early and the bowl to narrow and the jar on the right hand side was quite wonky in each of my attempts, but the negative space between each object was the correct shape just not always the right size.

observing-negative-space 3
Observing Negative Space and Perspective Attempt 3 and 4

Like I said earlier it is an exercise that I think I will gain a lot from and should practice from time to time, I also like the way that I arranged the objects and would like to do a similar still life using a similar composition, this exercise maybe a great starting point for that still life.

Research Point – Patrick Caulfield (Part 2)

drawing in the style of in the chair that I would patrick caulfield

The brief for this was to make a drawing in a similar style to Patrick Caulfield White Ware screen prints, it wasn’t that easy. I decided that I wasn’t going to keep looking at his images so after I finished my part 1 of this research point, researching him, I thought I could remember enough about his prints and paintings to work in a similar style.

I decided to work on an A2 sheet from my larger sketchbook which is too big to work with felt tips and I wanted to show as little pen or brush strokes as possible so I went out and bought some Kurecolor graphic design markers, which were very expensive but well worth the money.

I used the vase that I used in an an earlier exercise ‘Study of Light Reflected from one Object to Another’ and placed it in the chair that I would usually sit in to do my work. I wanted to shine a more acute light on my subject so instead of using the bendy light that I used before I used a torch that I got free from the local western supermarket. I knew that the batteries in the torch wouldn’t last that long so I turned all the lights off found the right angle for the torch to shine at and took a photo, then I worked completely from the photo.

drawing in the style of in the chair that I would patrick caulfield
Photo with Torch, vase and Chair

I started by drawing the shadow on the vase, then instead of using white I used colour for the other half, I purchased the markers day before but I swapped vases so the colour did not match but I wasn’t worried about that, I just wanted to know if I could draw something in the similar style as Patrick Caulfield, I highlighted the light reflected from the vase vase by leaving those areas blank.

drawing in the style of in the chair that I would patrick caulfield
Drawing after first Two Colours

I used grey for the light that spread from the torch beam as I had I didn’t want the drawing to be completely dark and I had seen Patrick Caulfield also use grey in his paintings, this paid off.

drawing in the style of in the chair that I would patrick caulfield
Finished drawing

I cut down on the detail in my drawing and over exaggerated the detail that was left, after adding colour to the vase shadows and foreground I stopped looking at the photo and worked completely from memory hence the various differences like the position of the door handle  and seams in the chair positioning where I thought they would look best rather than where they should be.

I was really happy with the finished drawing and even though it doesn’t resemble any 1 particular Caulfield style of painting you can tell he is the inspiration behind it.

Study of Light Reflected from one Object to Another

The brief was to ‘Arrange two three objects ,  at least one of which has a shiny reflective surface, side by side with a small space in between them. Place a light source so that it is to one side of your (two) objects to cast clear shadows. Sit so that you can easily see the shadow on one side of the objects and the light on the other’.

Objects with Coloured Paper Background

The first sentence said two or three and the second paragraph said two but the example students drawing had quite a few objects so I want for four, which were a ceramic bowl, a pearlescent vase, a Chinese style vase and a glass teapot. The glass teapot had a chrome band around it but it didn’t cover a large area so I filled it up with a very strong black coffee in order to make the glass more reflective

The sample student drawing was on coloured paper which gave me an idea, so I bought some large sheets of orange coloured paper and set one as the background and did the drawing on the other. The medium I chose for this exercise was hard pastel by Cretacolor, I had never drawn with hard pastel before and this was the perfect chance to lose my virginity.

I was instructed to draw the main shadow pattern created by the light source first then add the reflective light and shadow patterns to the drawing. I followed the instructions drawing it in graphite pencil first as I knew that when it came to add the shadow patterns and reflective light with the hard pastel I would have to work on an object at a time due to how much work blending in this medium needed especially on the coloured paper that I chose.

A Close up of my Finished Drawing in Hard Pastel

I found that I bit off more than I could chew and it took me about 6 hours to finish the exercise, and the colours on the objects in the drawing were quite different from real life, I find blending most mediums quite difficult and really need to spend more time experimenting before working on a piece.

Although happy with the finished drawing I feel I have let myself down and could have gone out of my way to find better objects that were more reflective, although the teapot reflected the colour of the other objects quite well over the small reflective area, the pearlescent vase also did quite a good job.

I could have also done a better job of positioning the objects on the paper which was approximately A3 with about a third of the paper gone to waste.

The valuable lessons that I have learnt from this are that I should choose my mediums and objects wisely and  to use more of the paper next time.

Bad Example of Paper Wastage